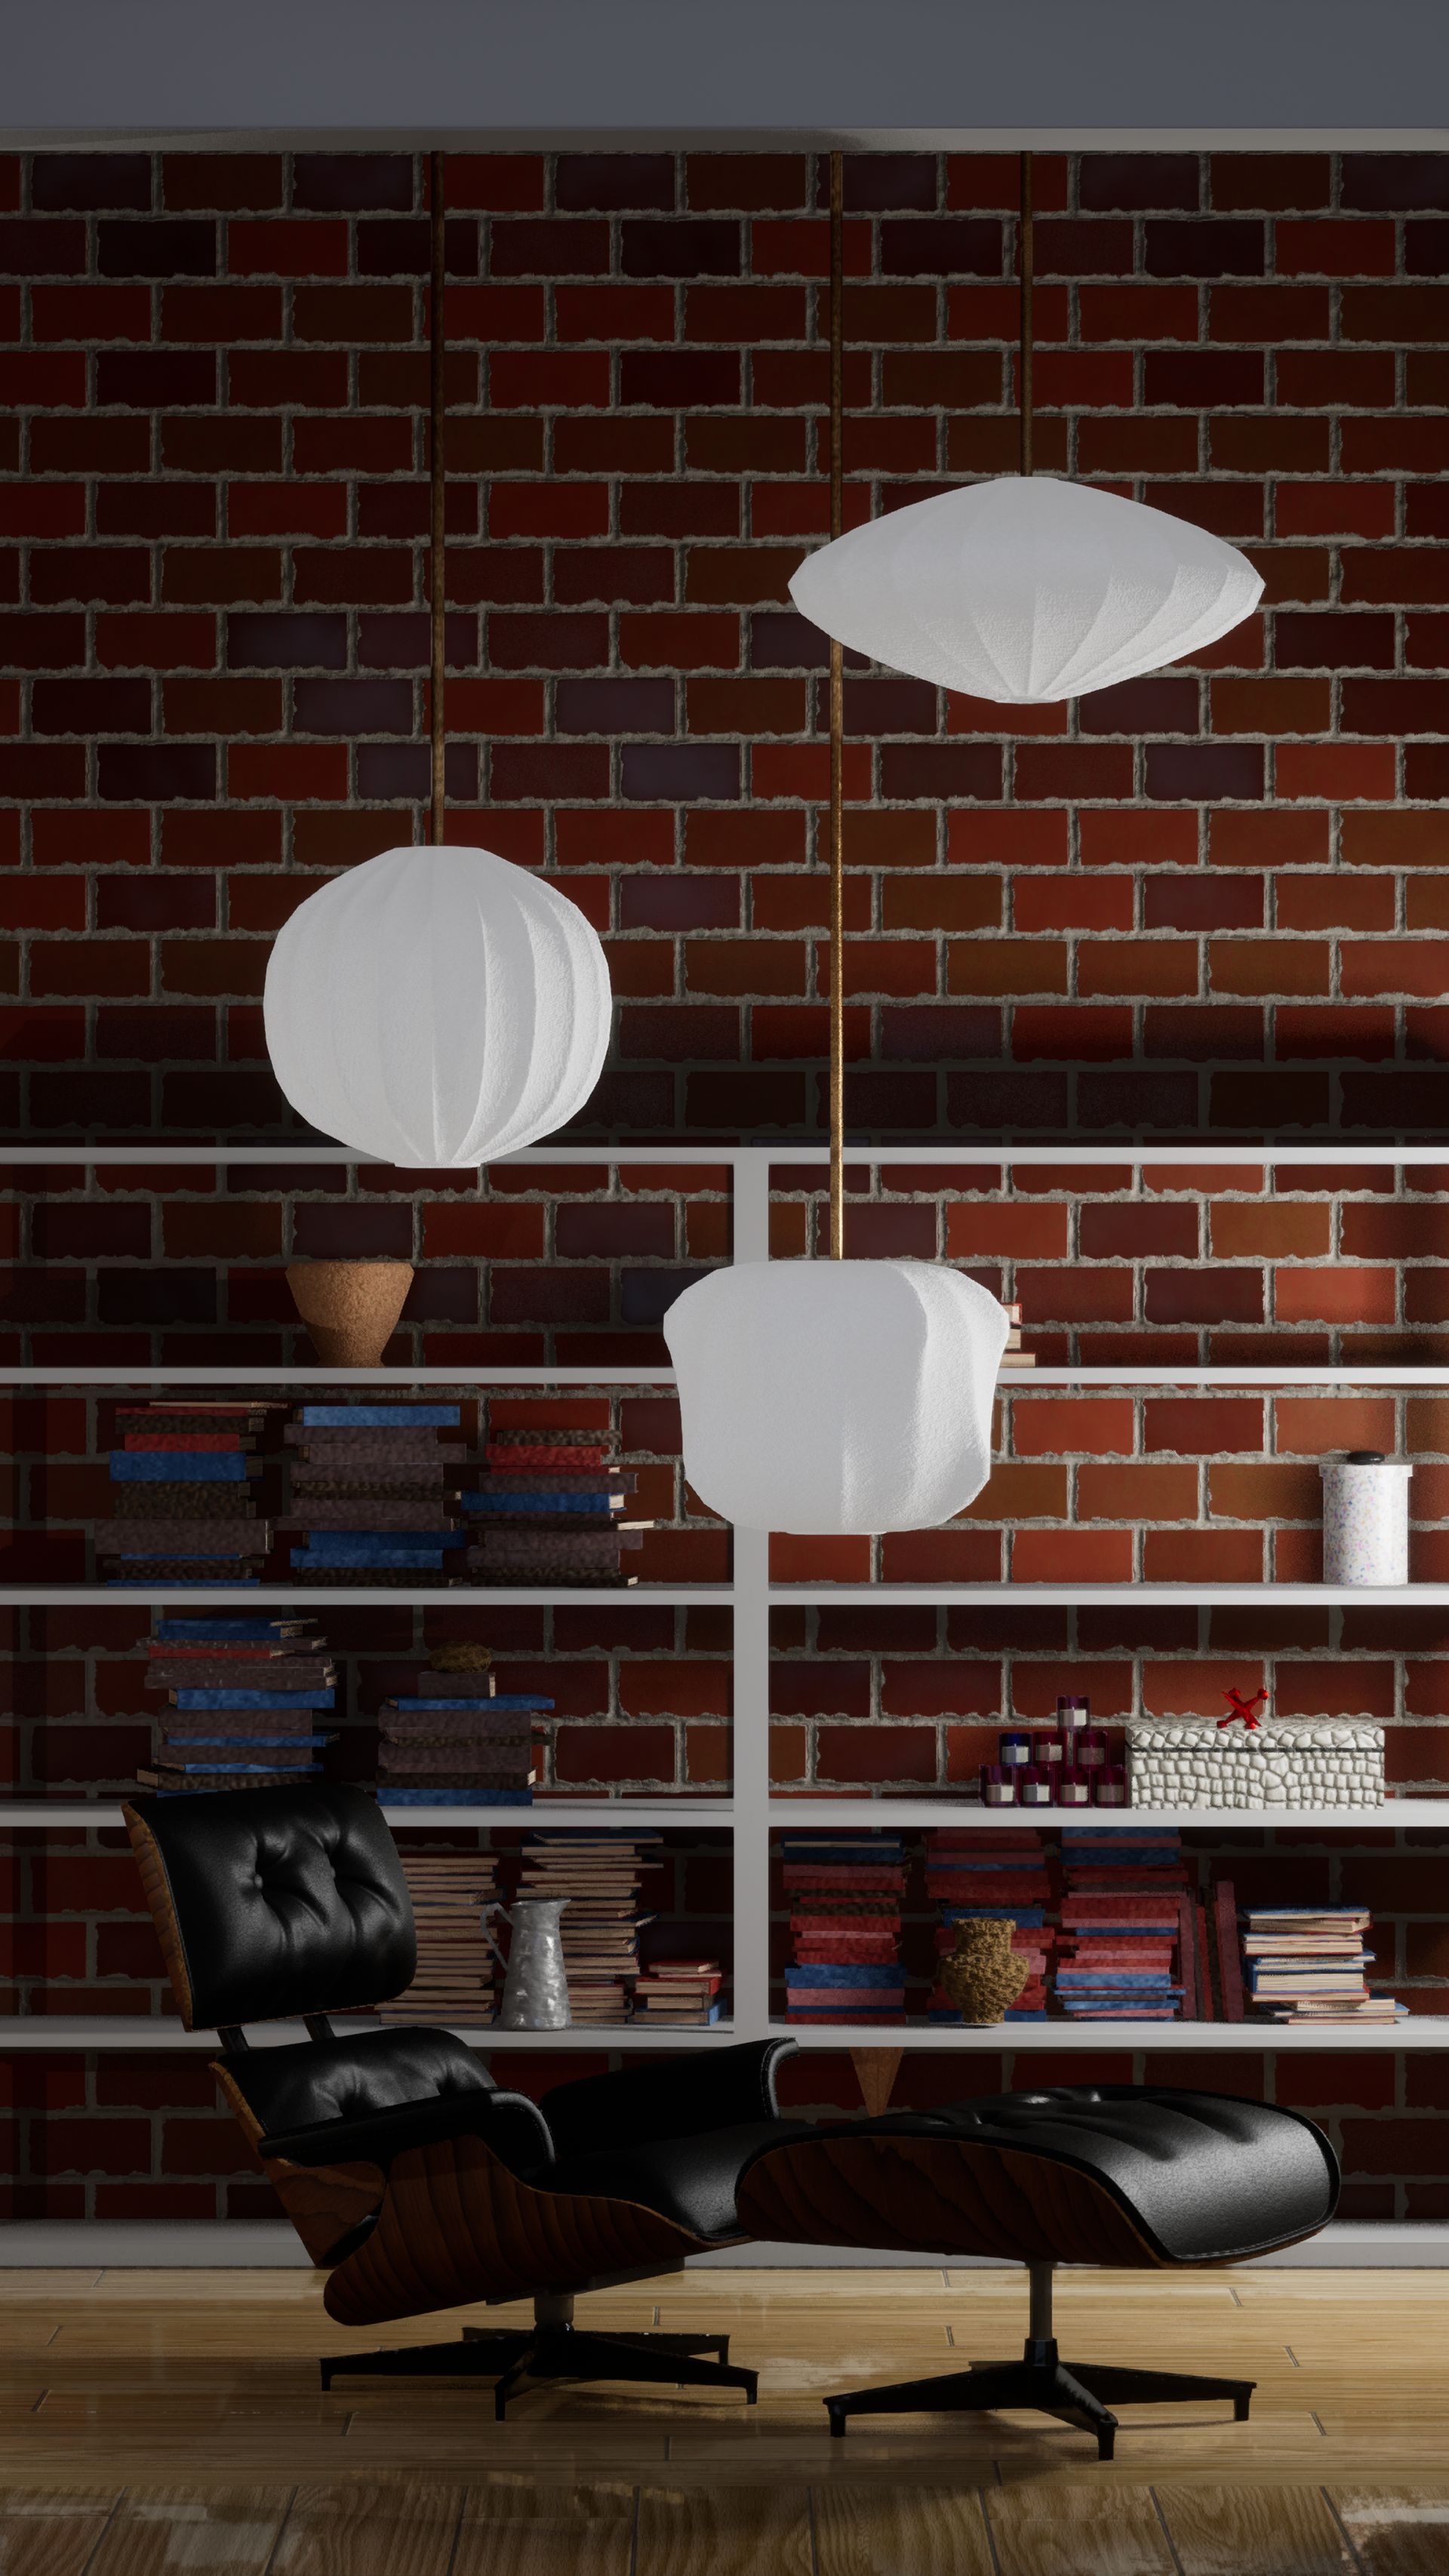
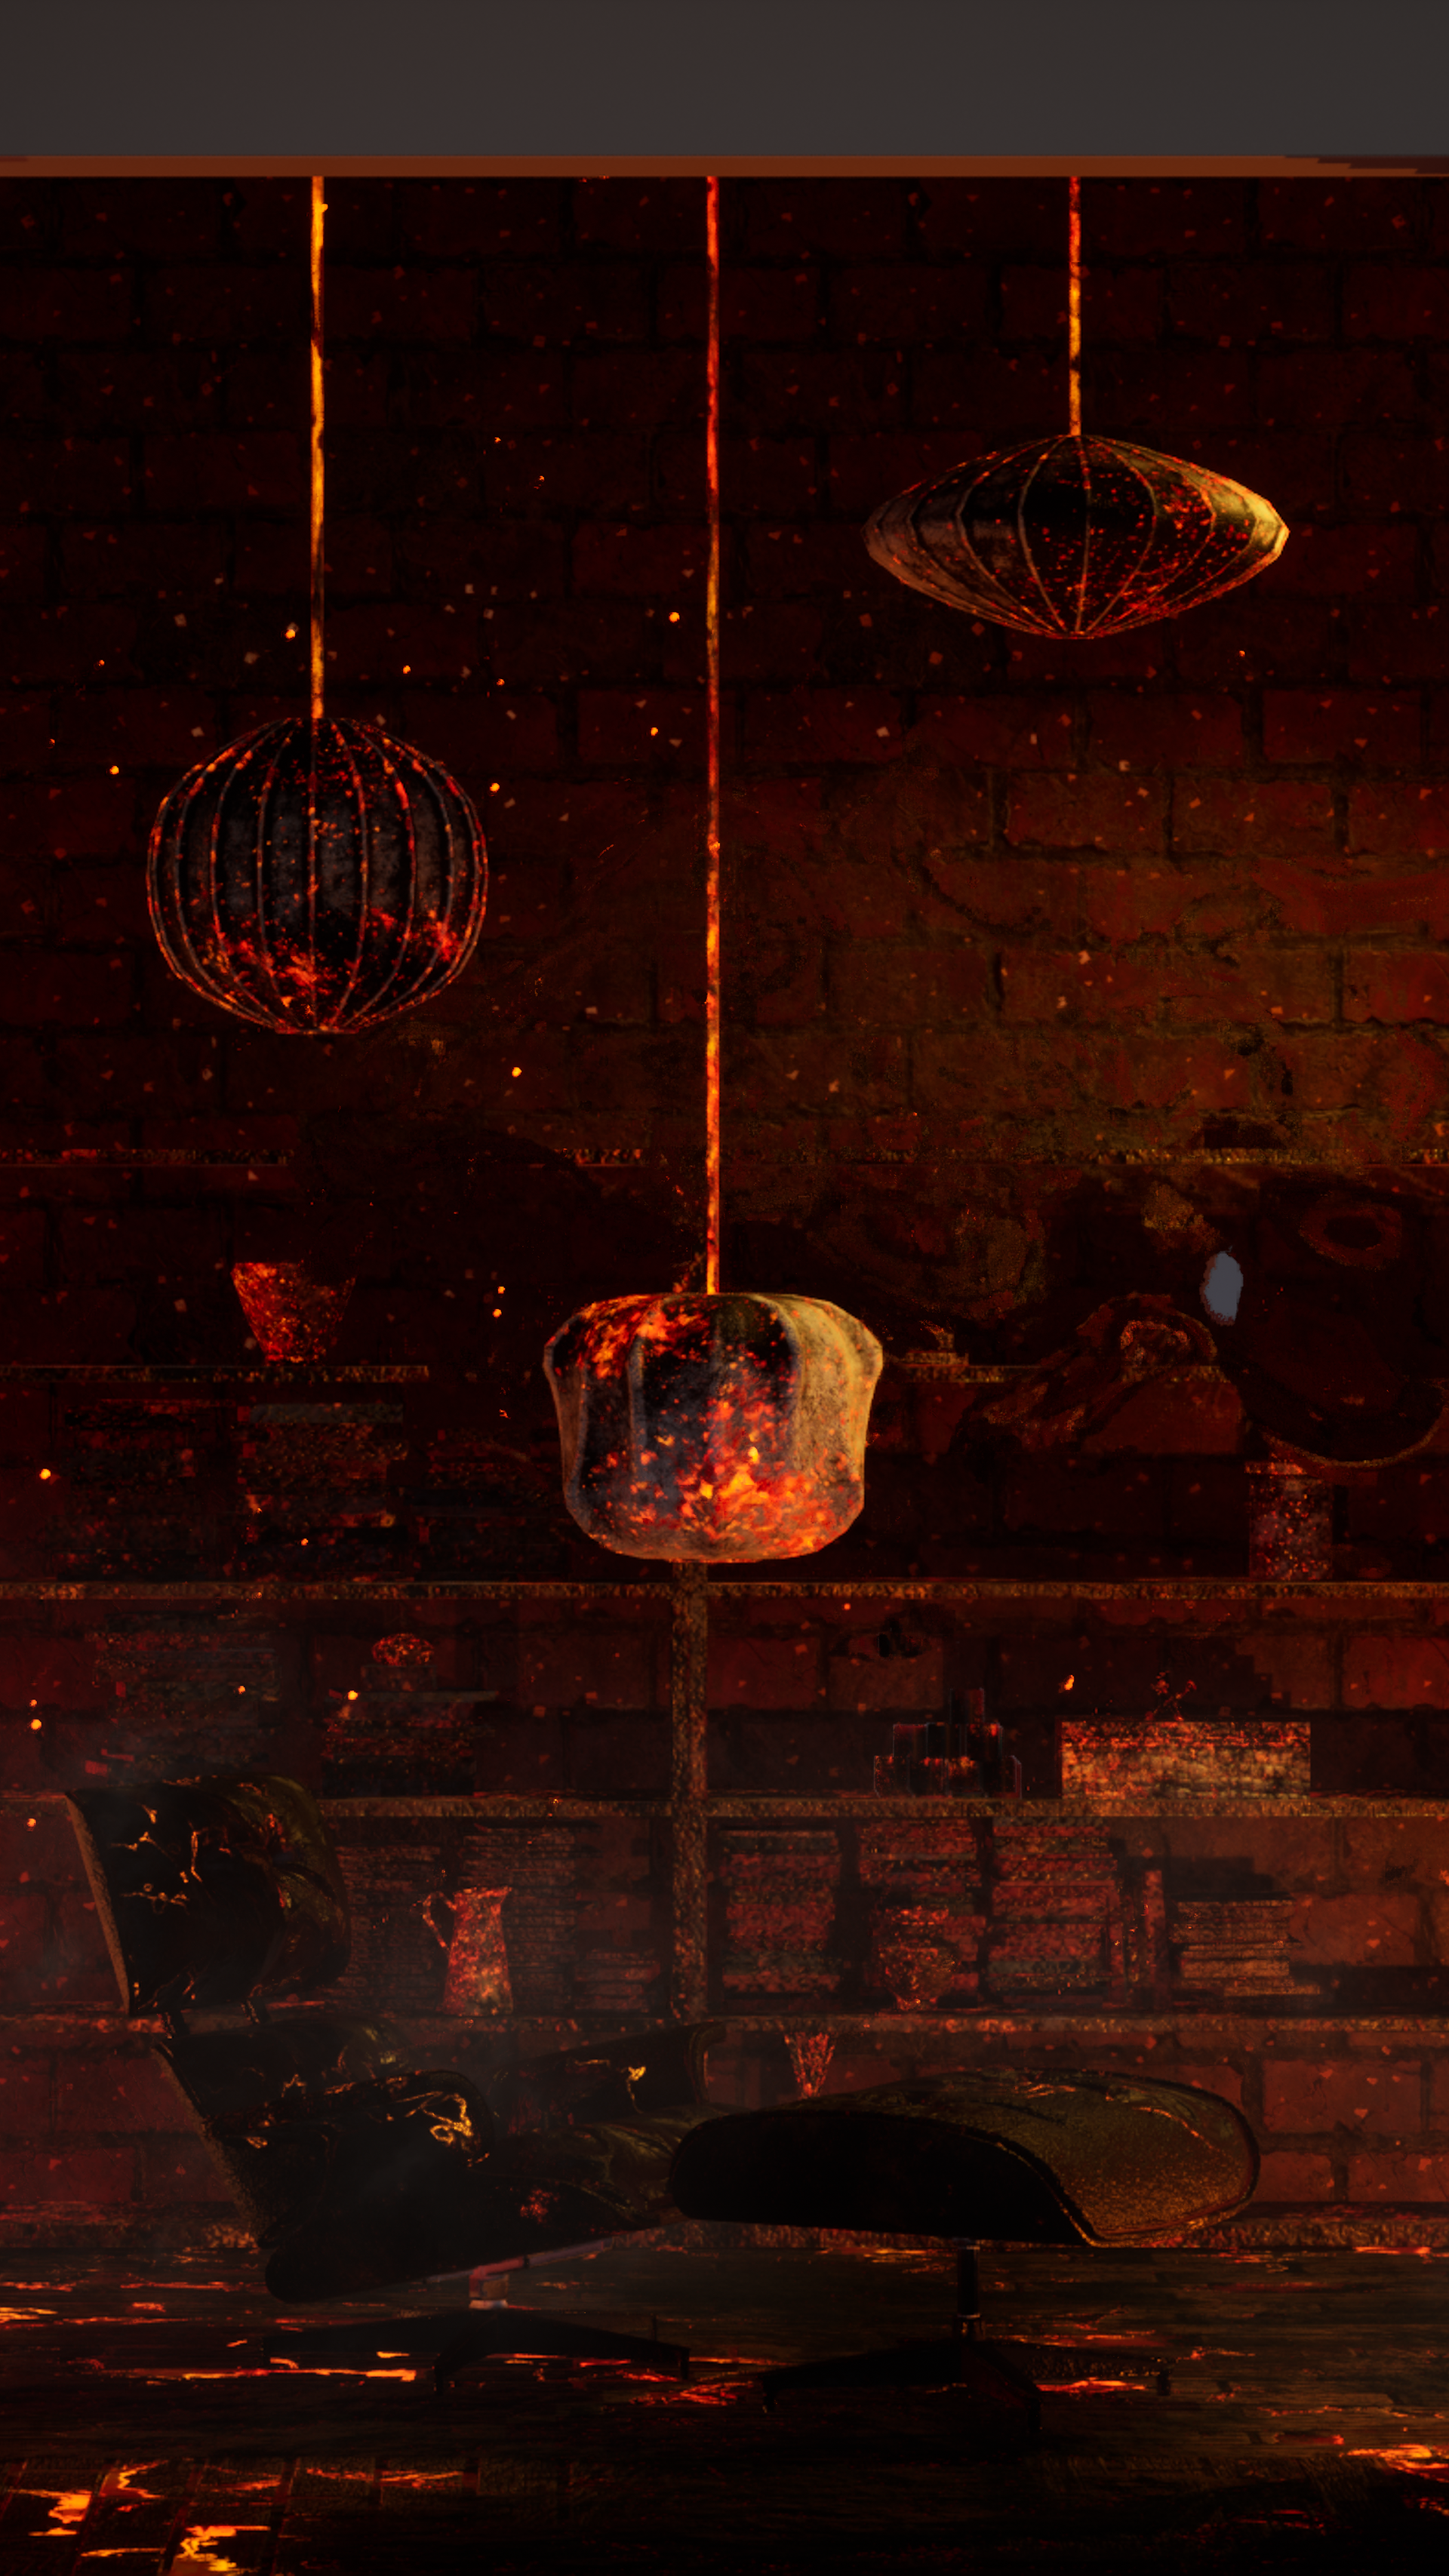
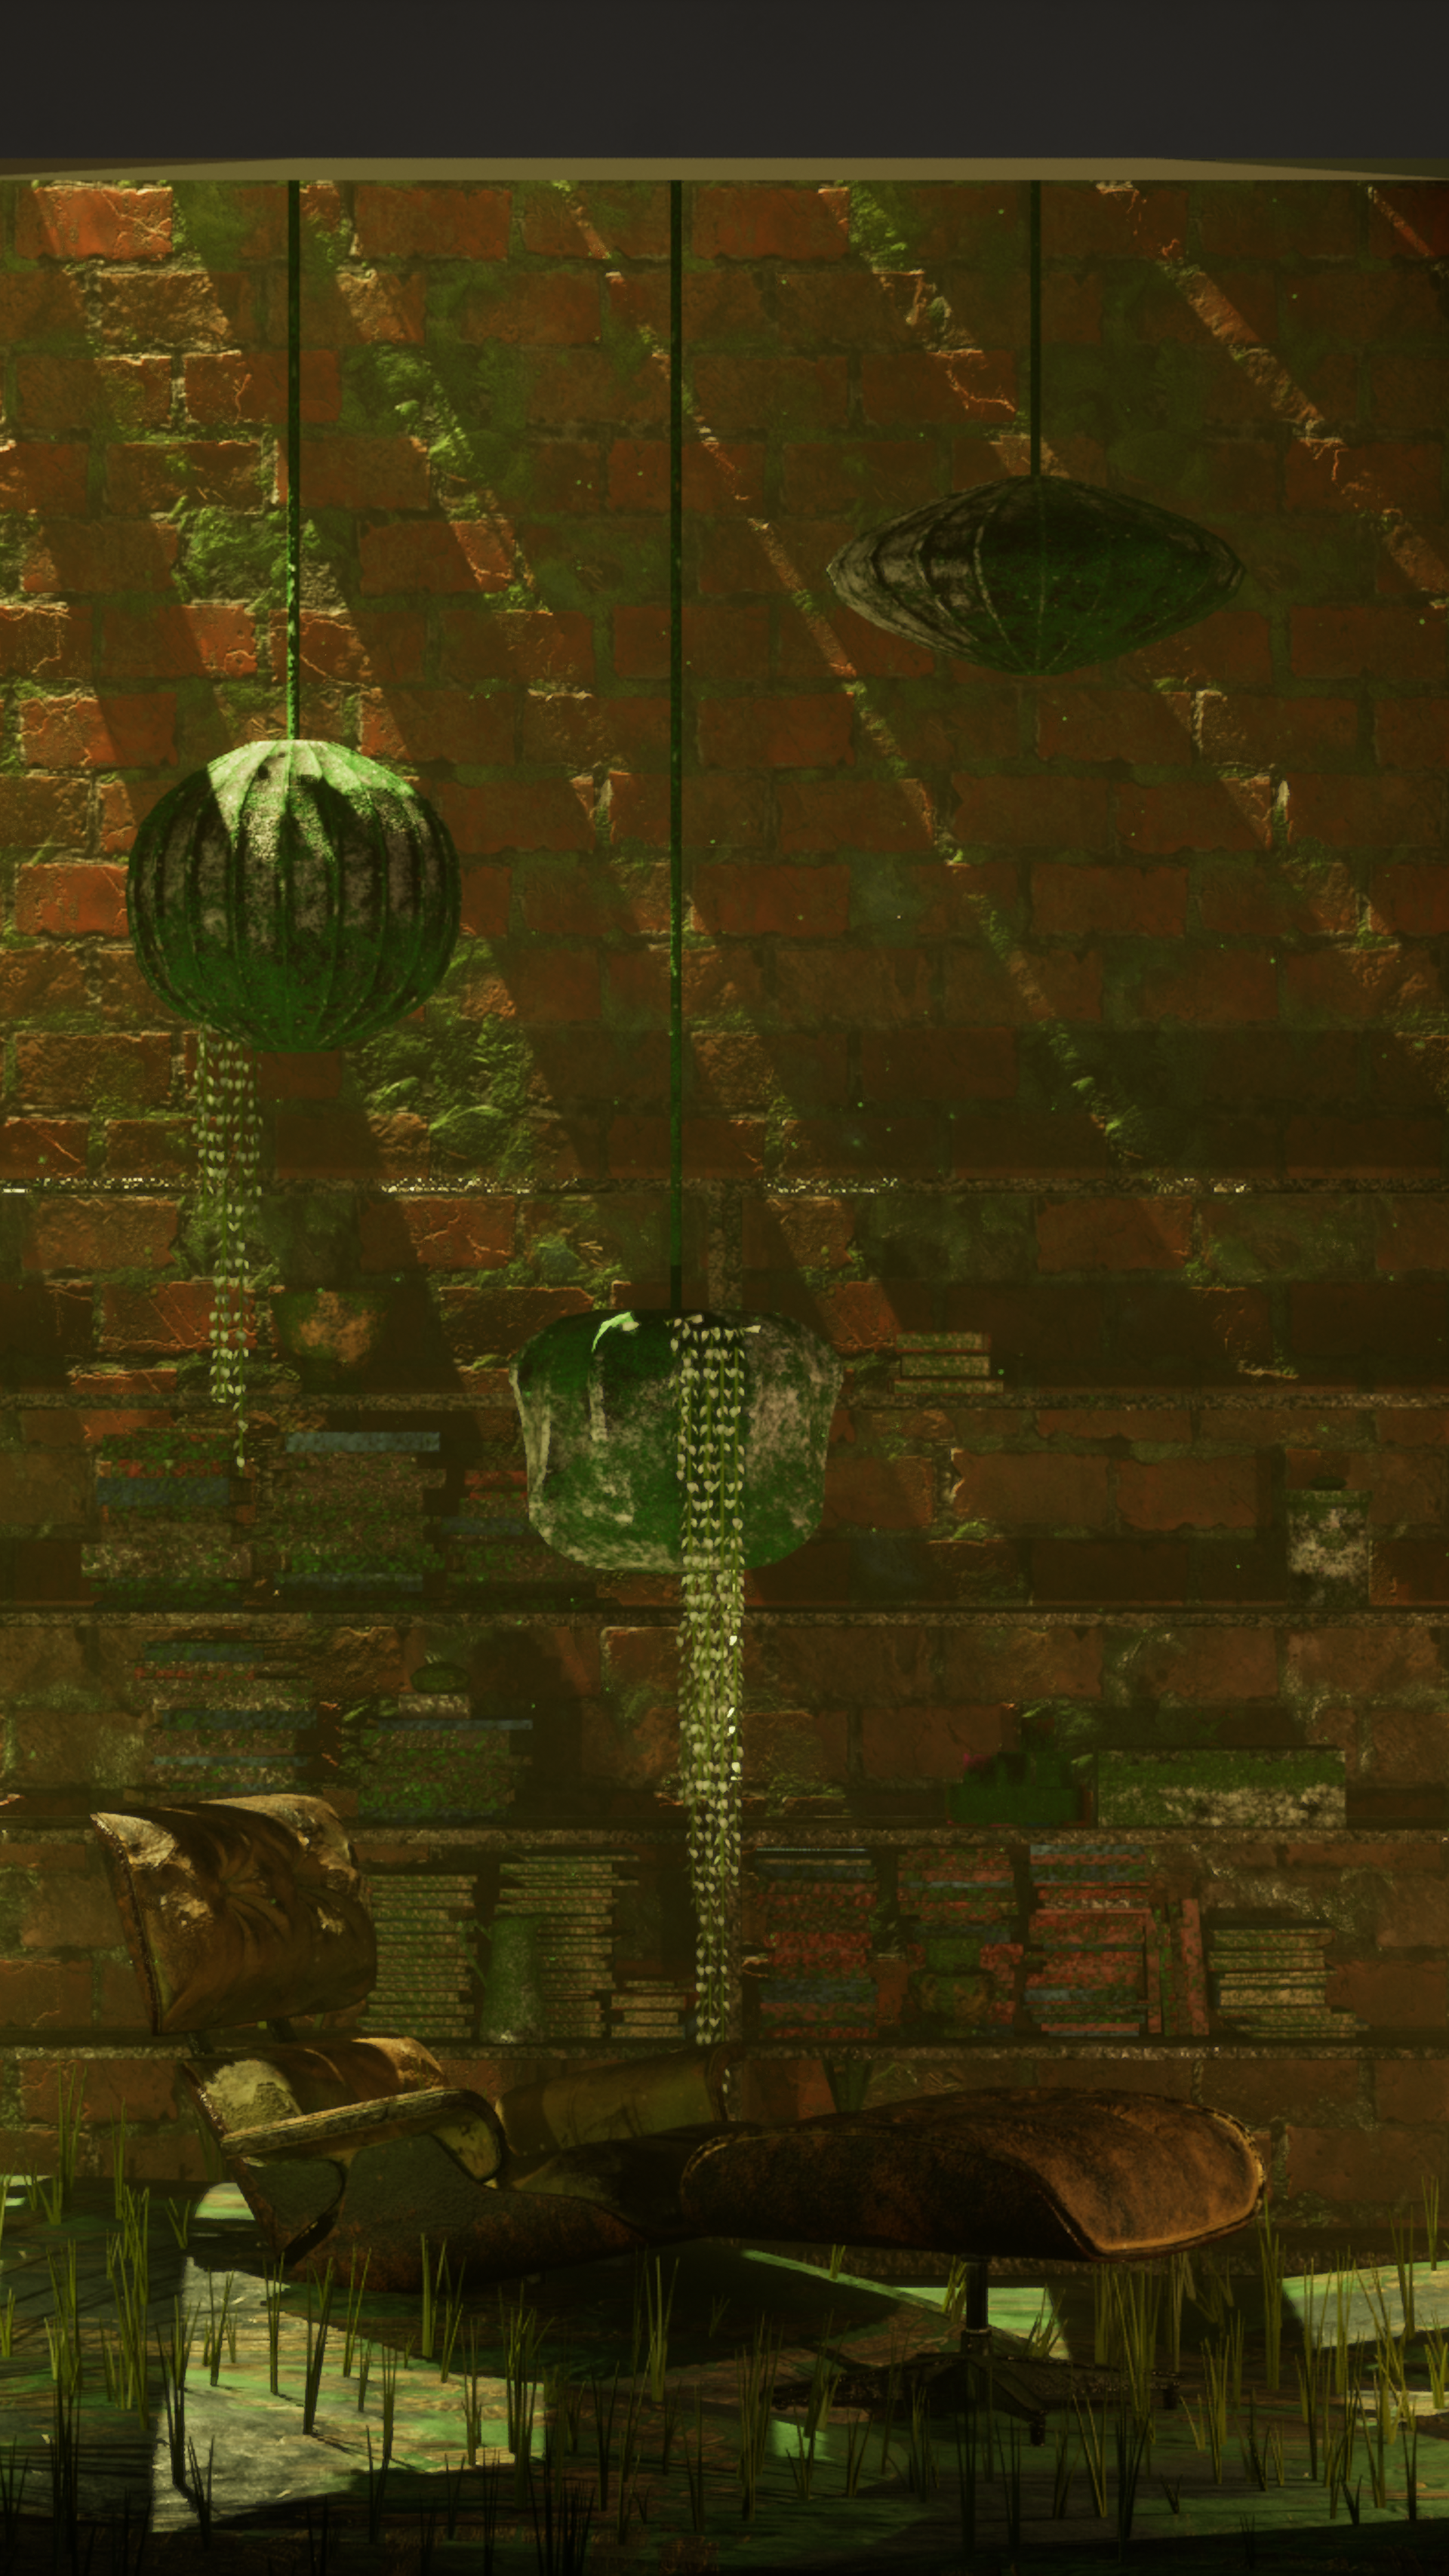
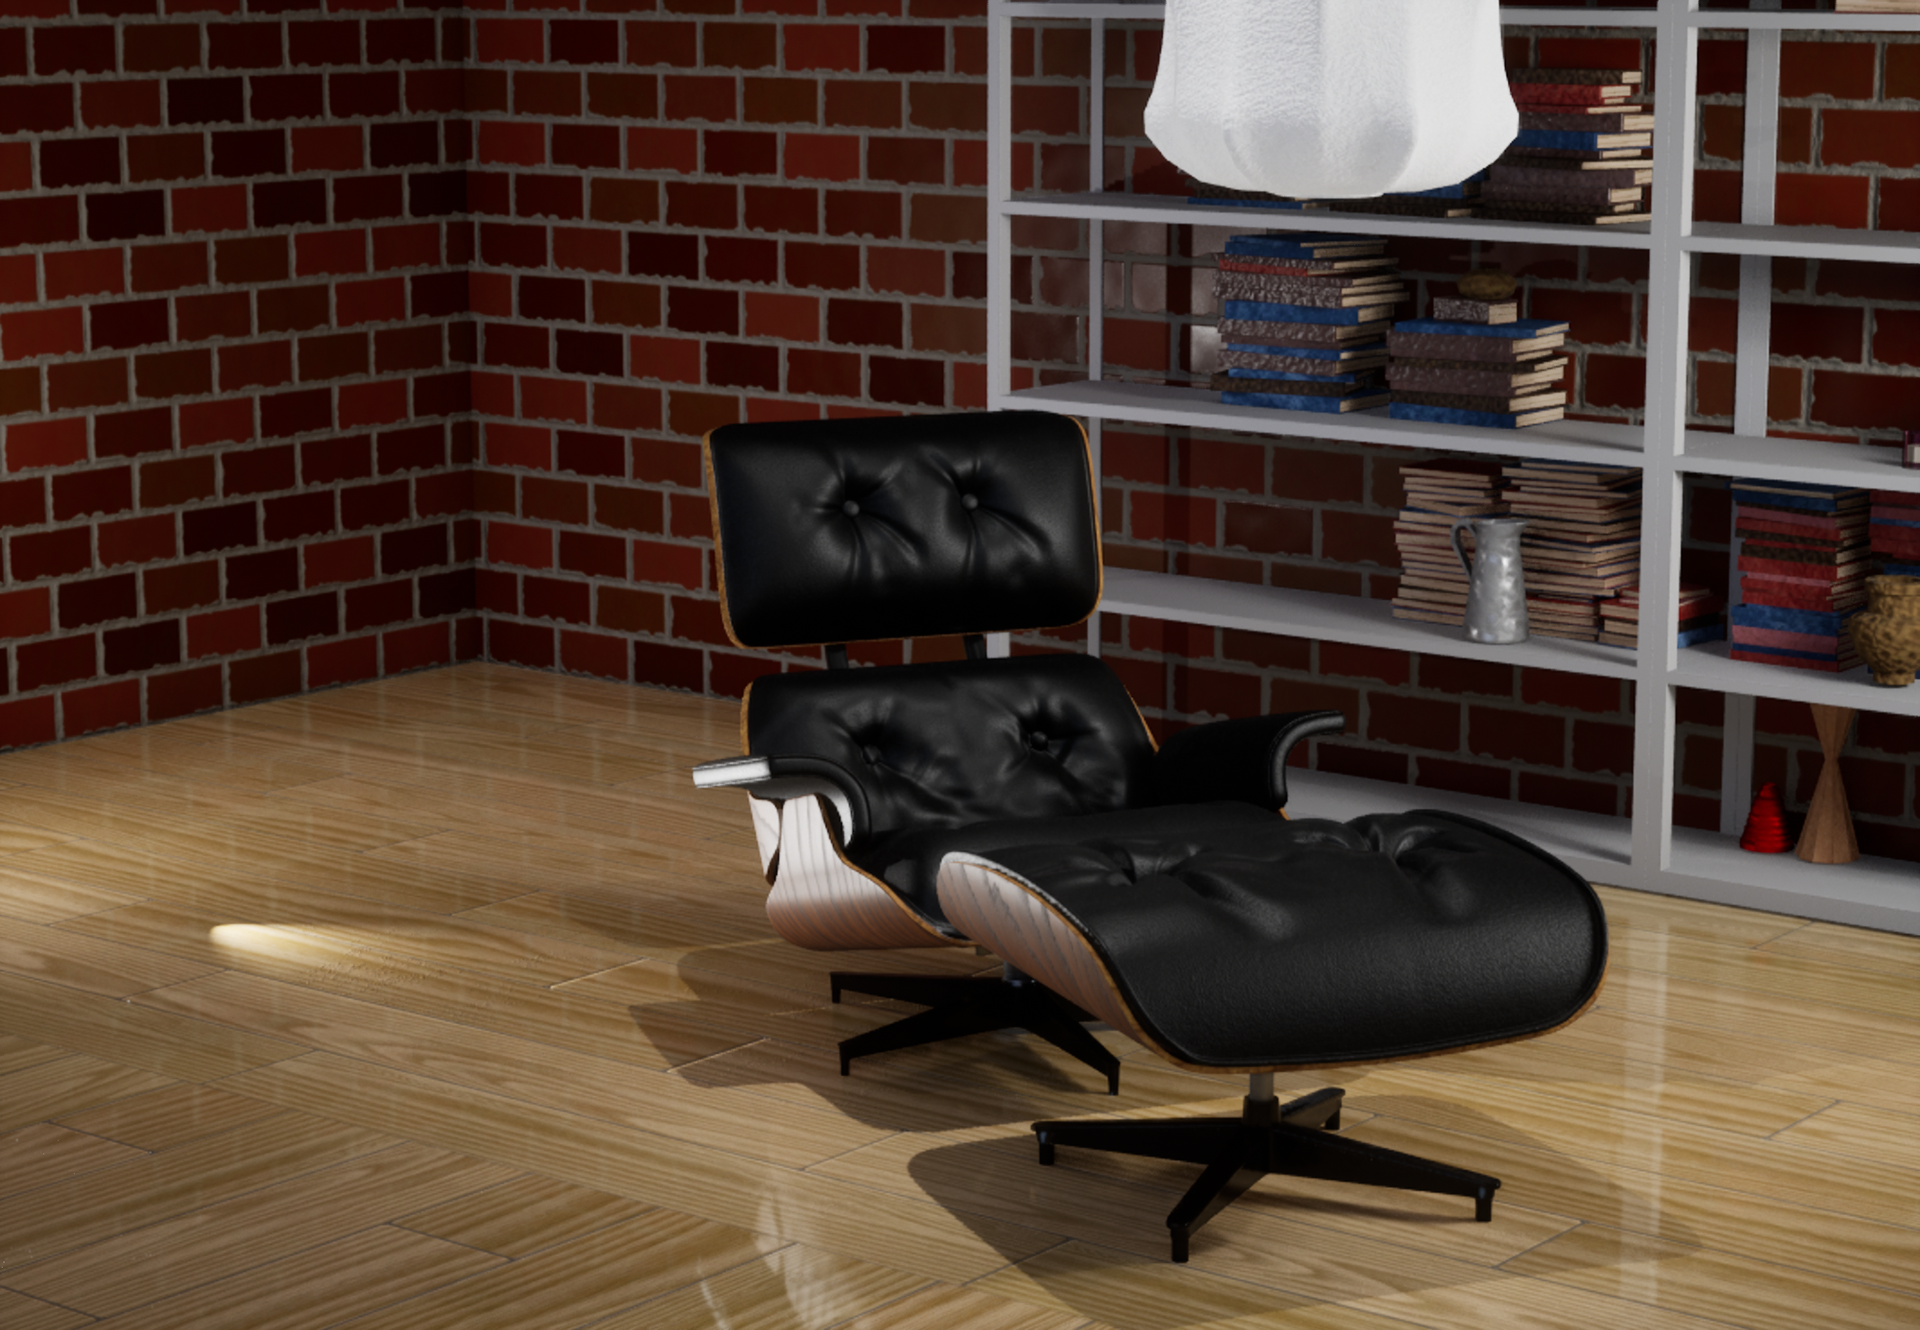
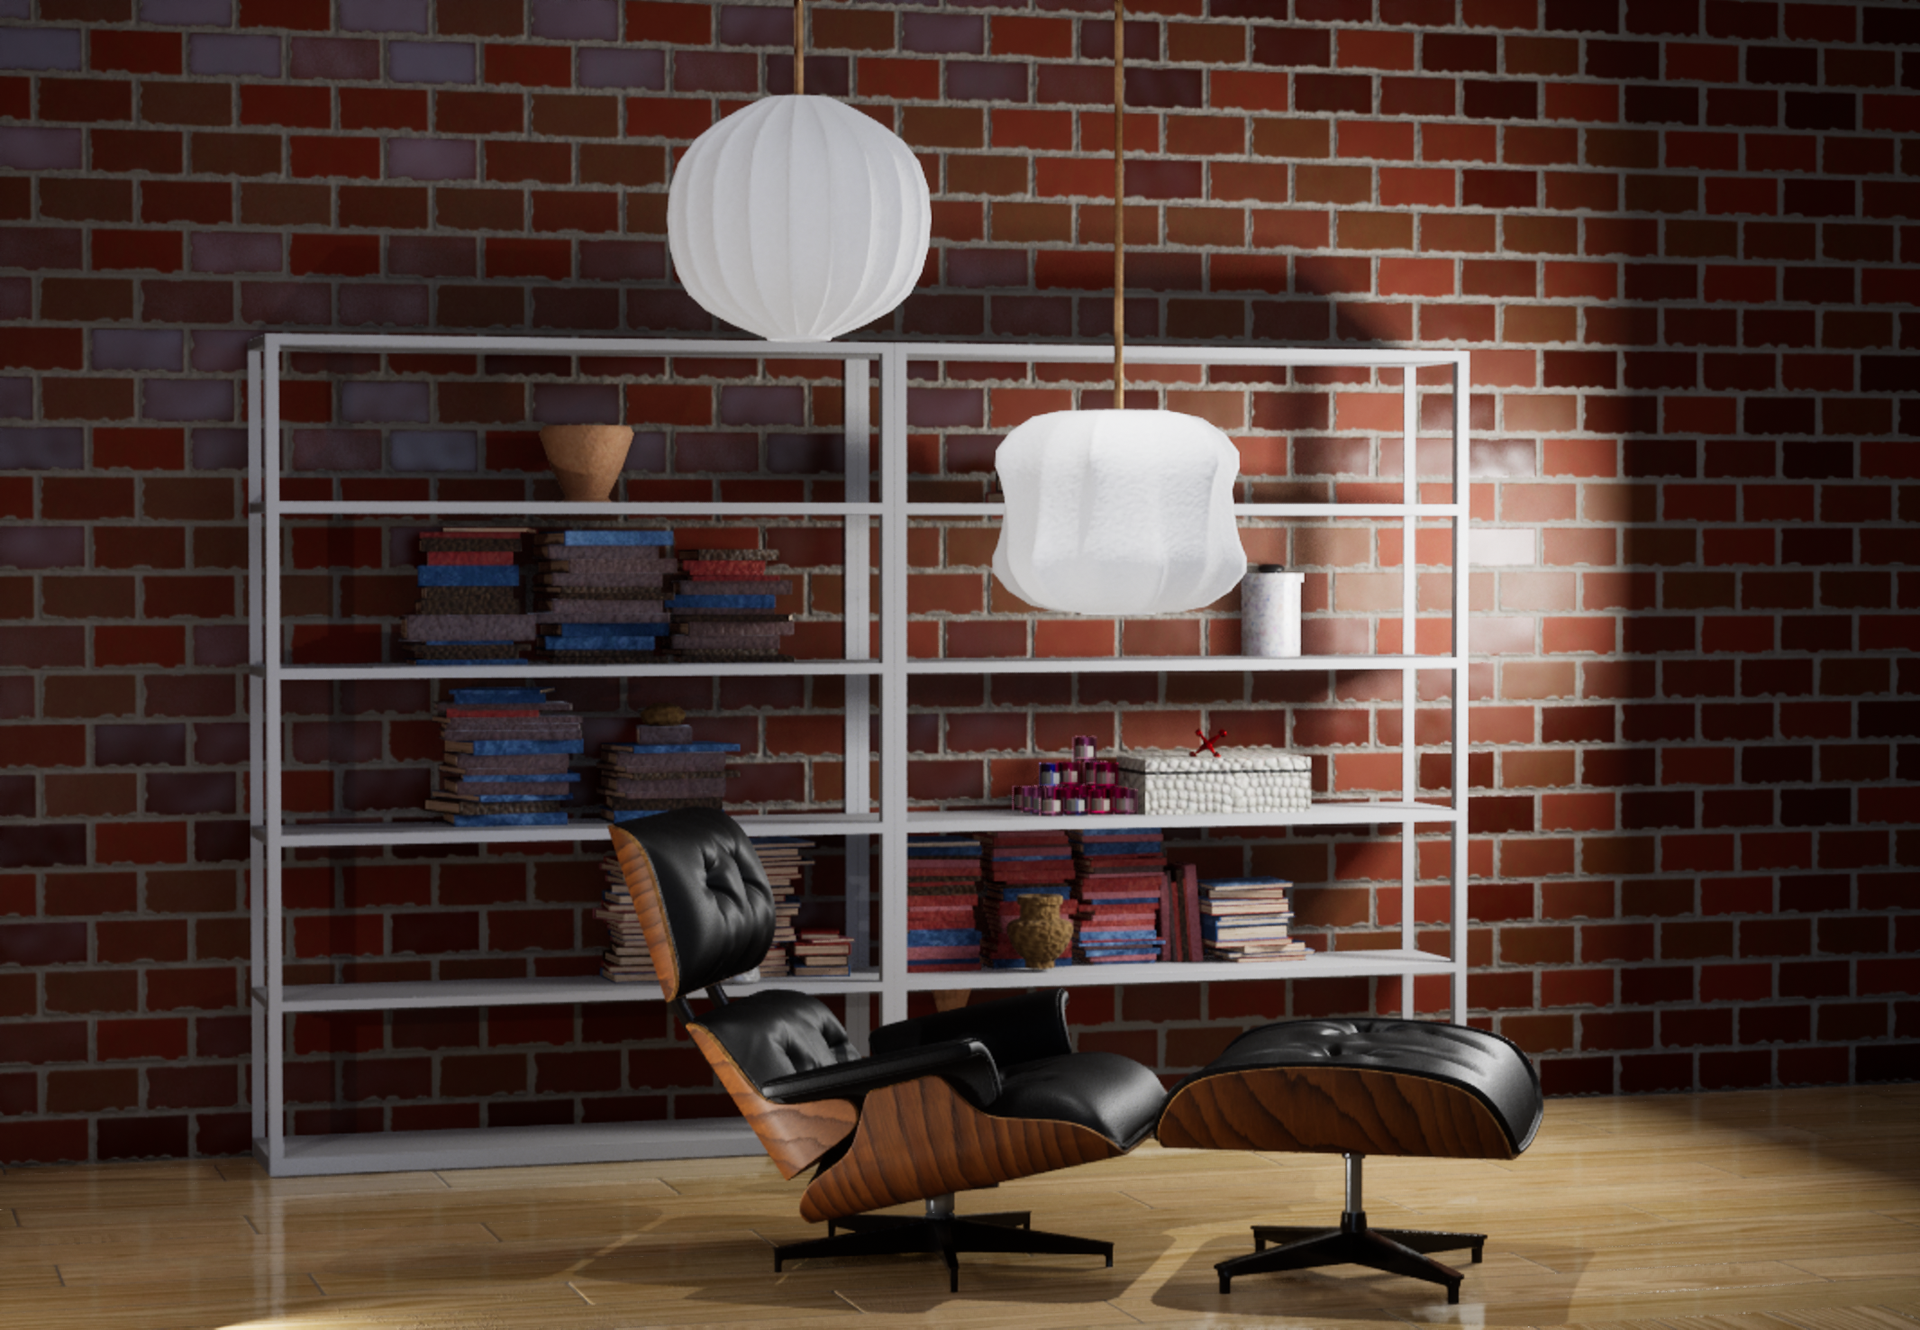
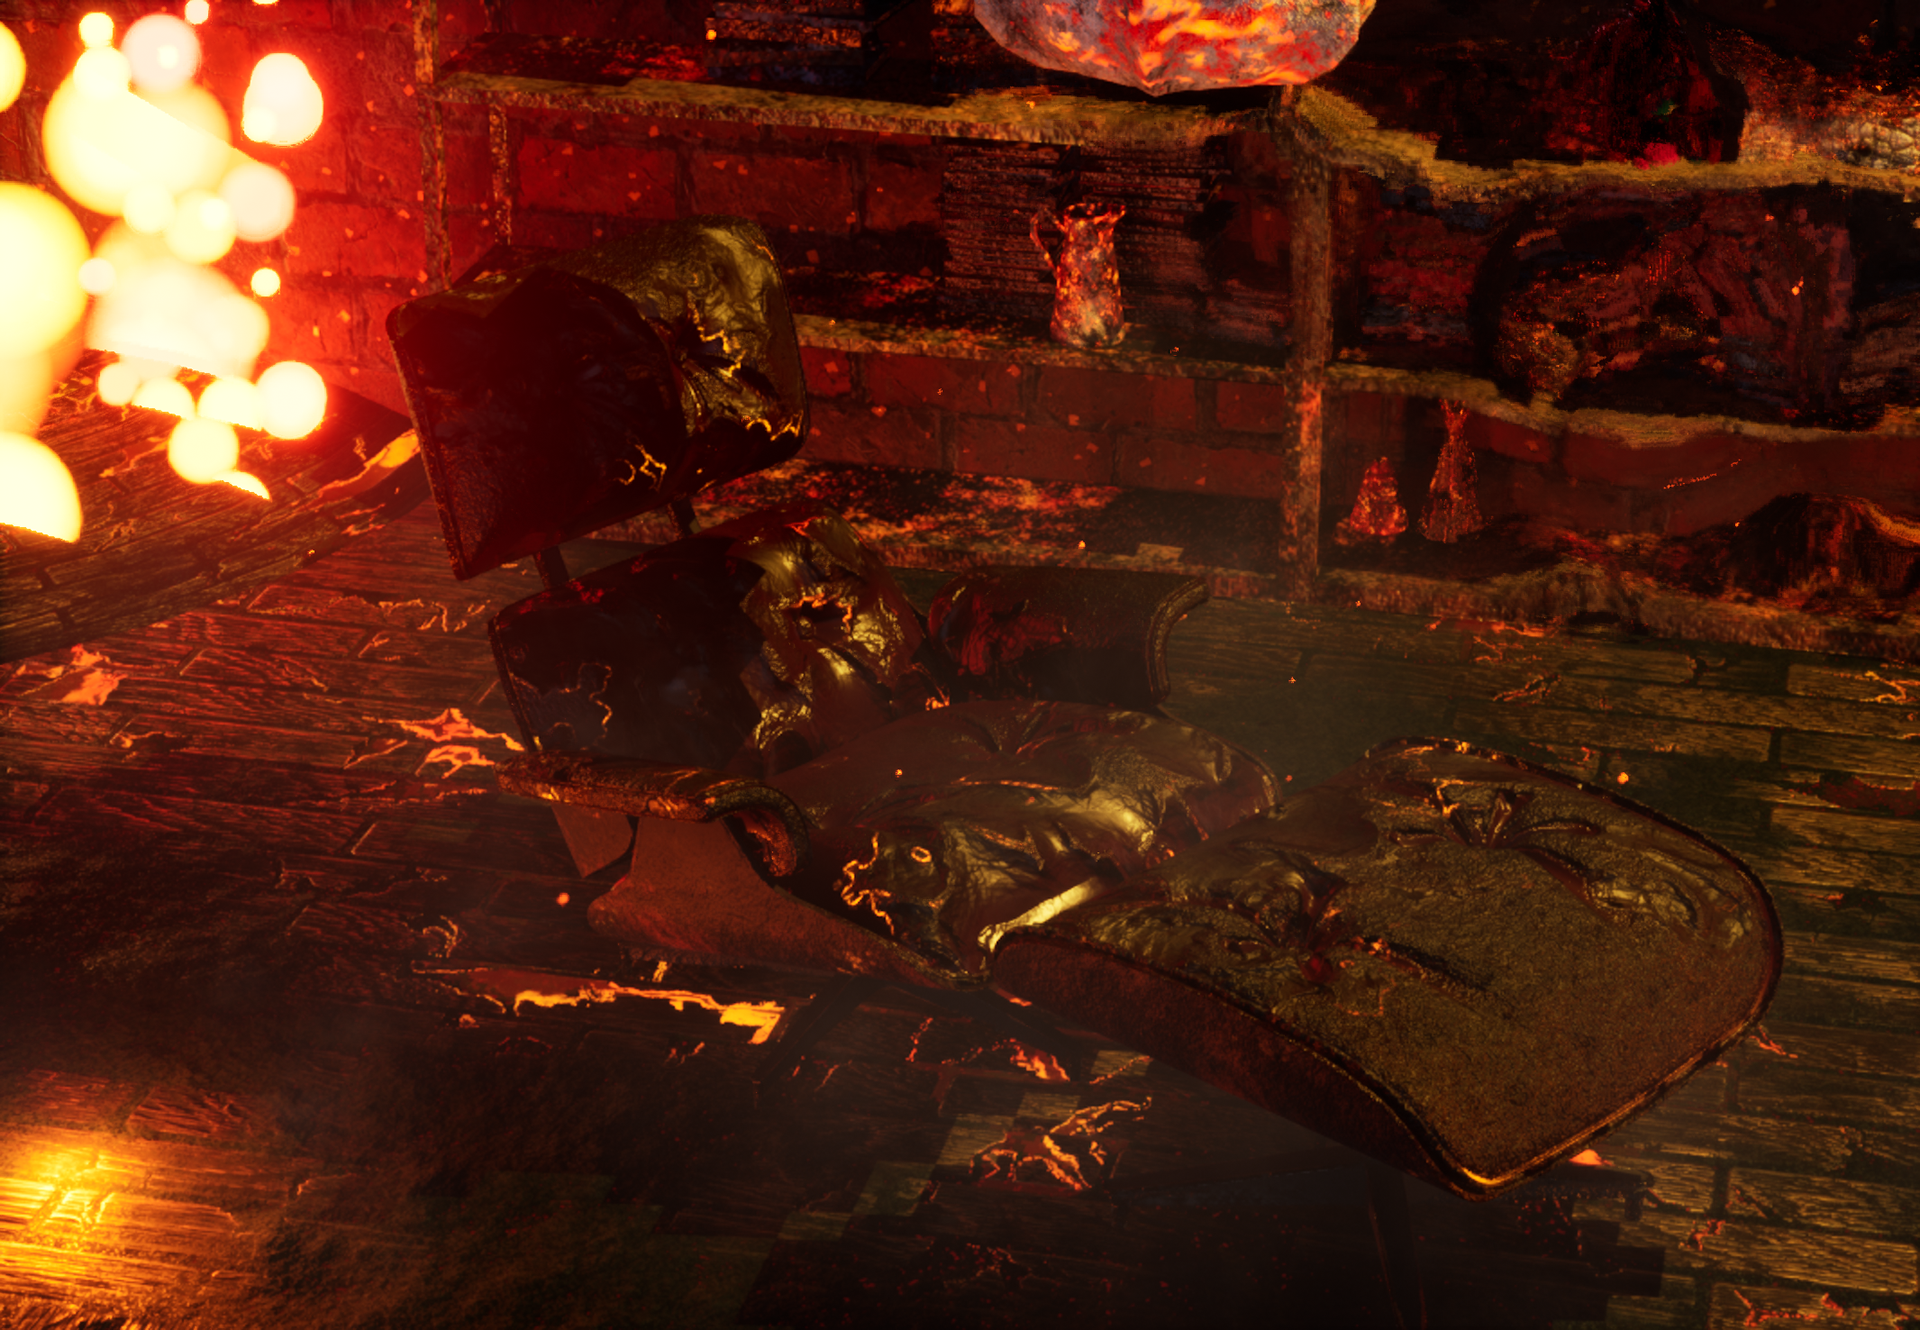
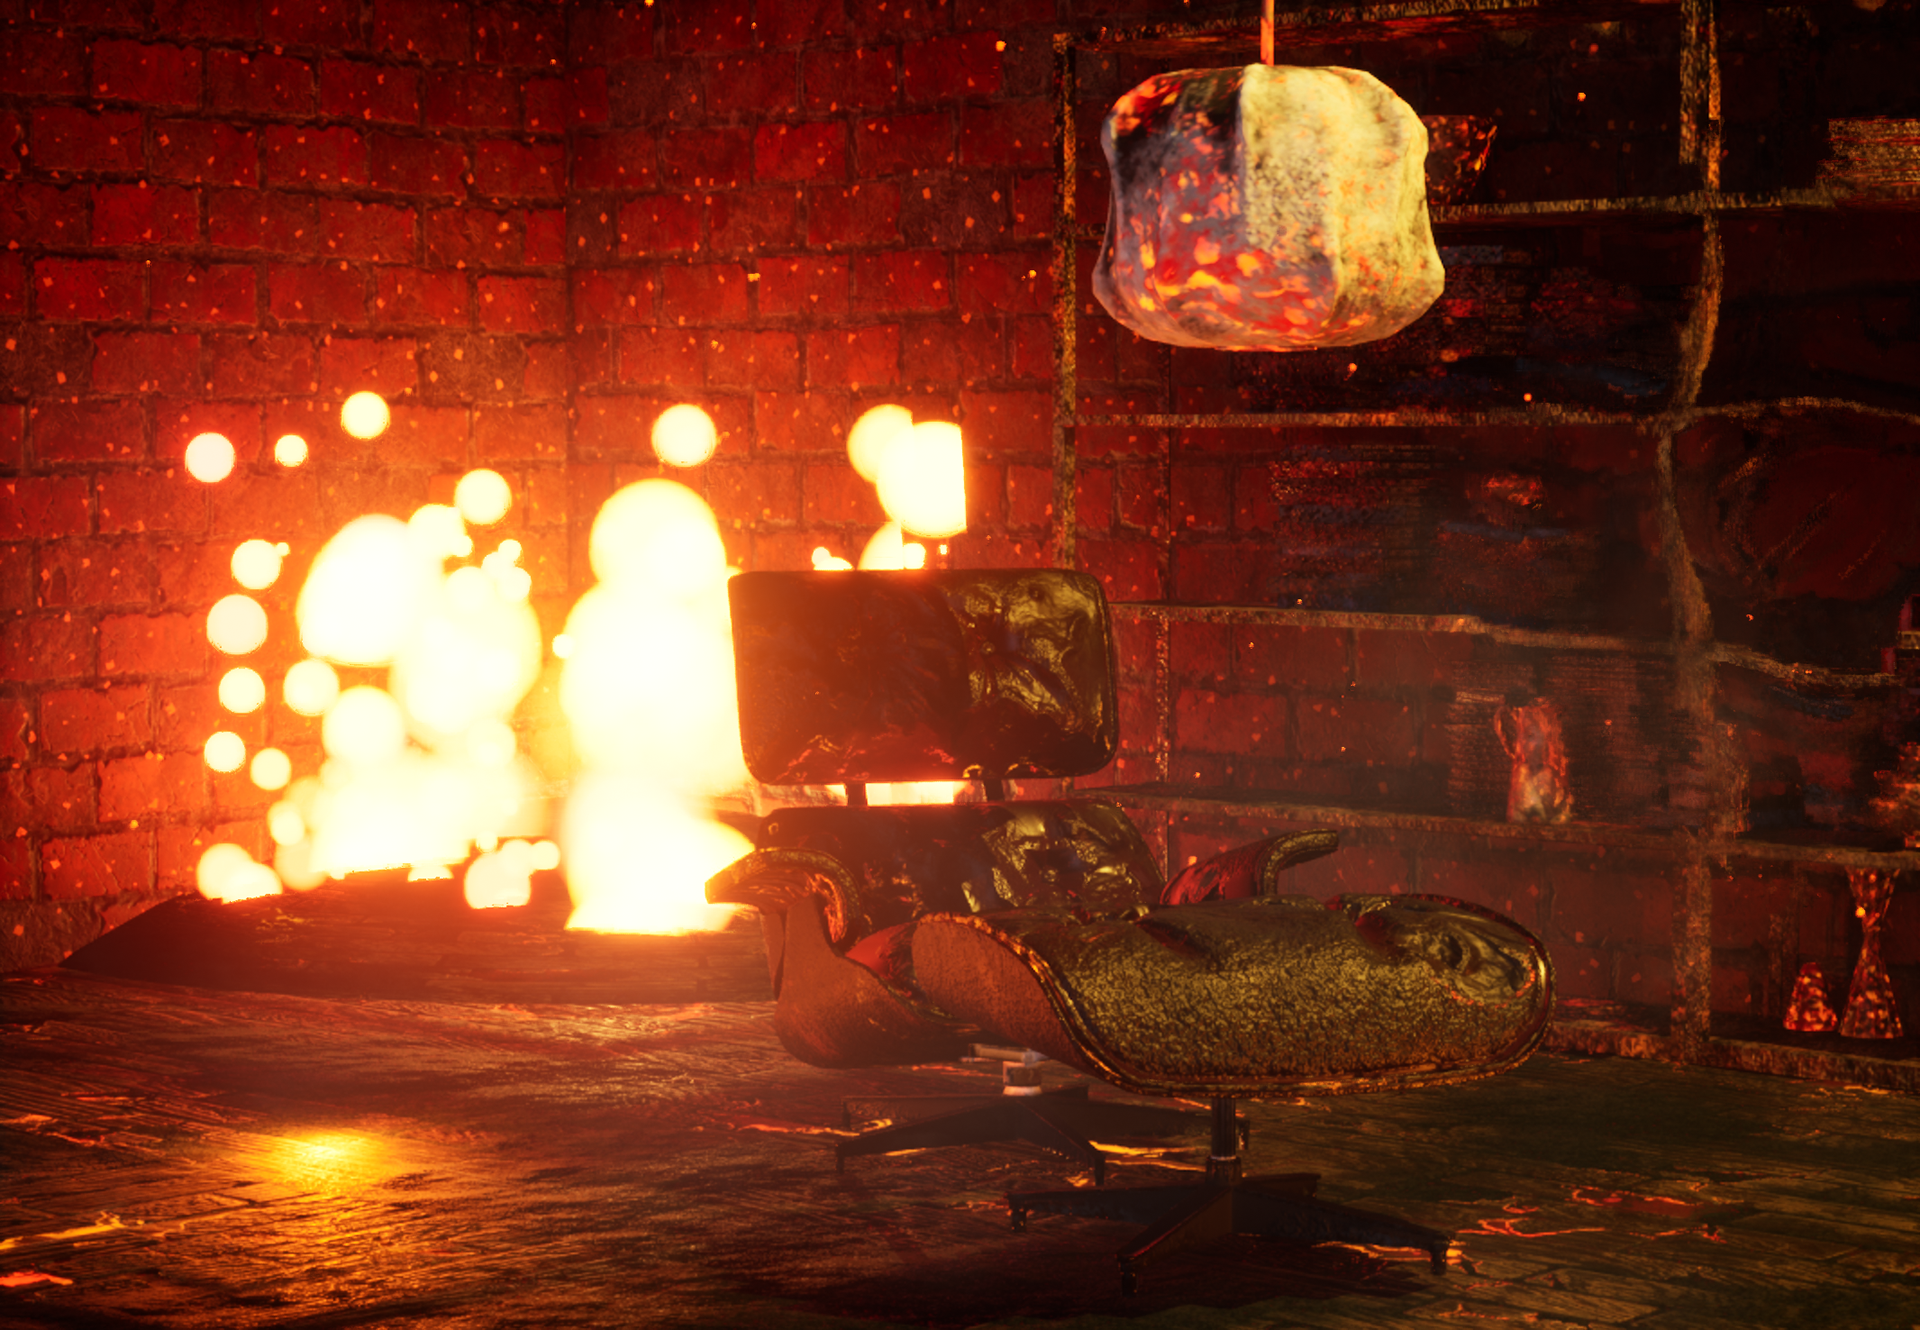
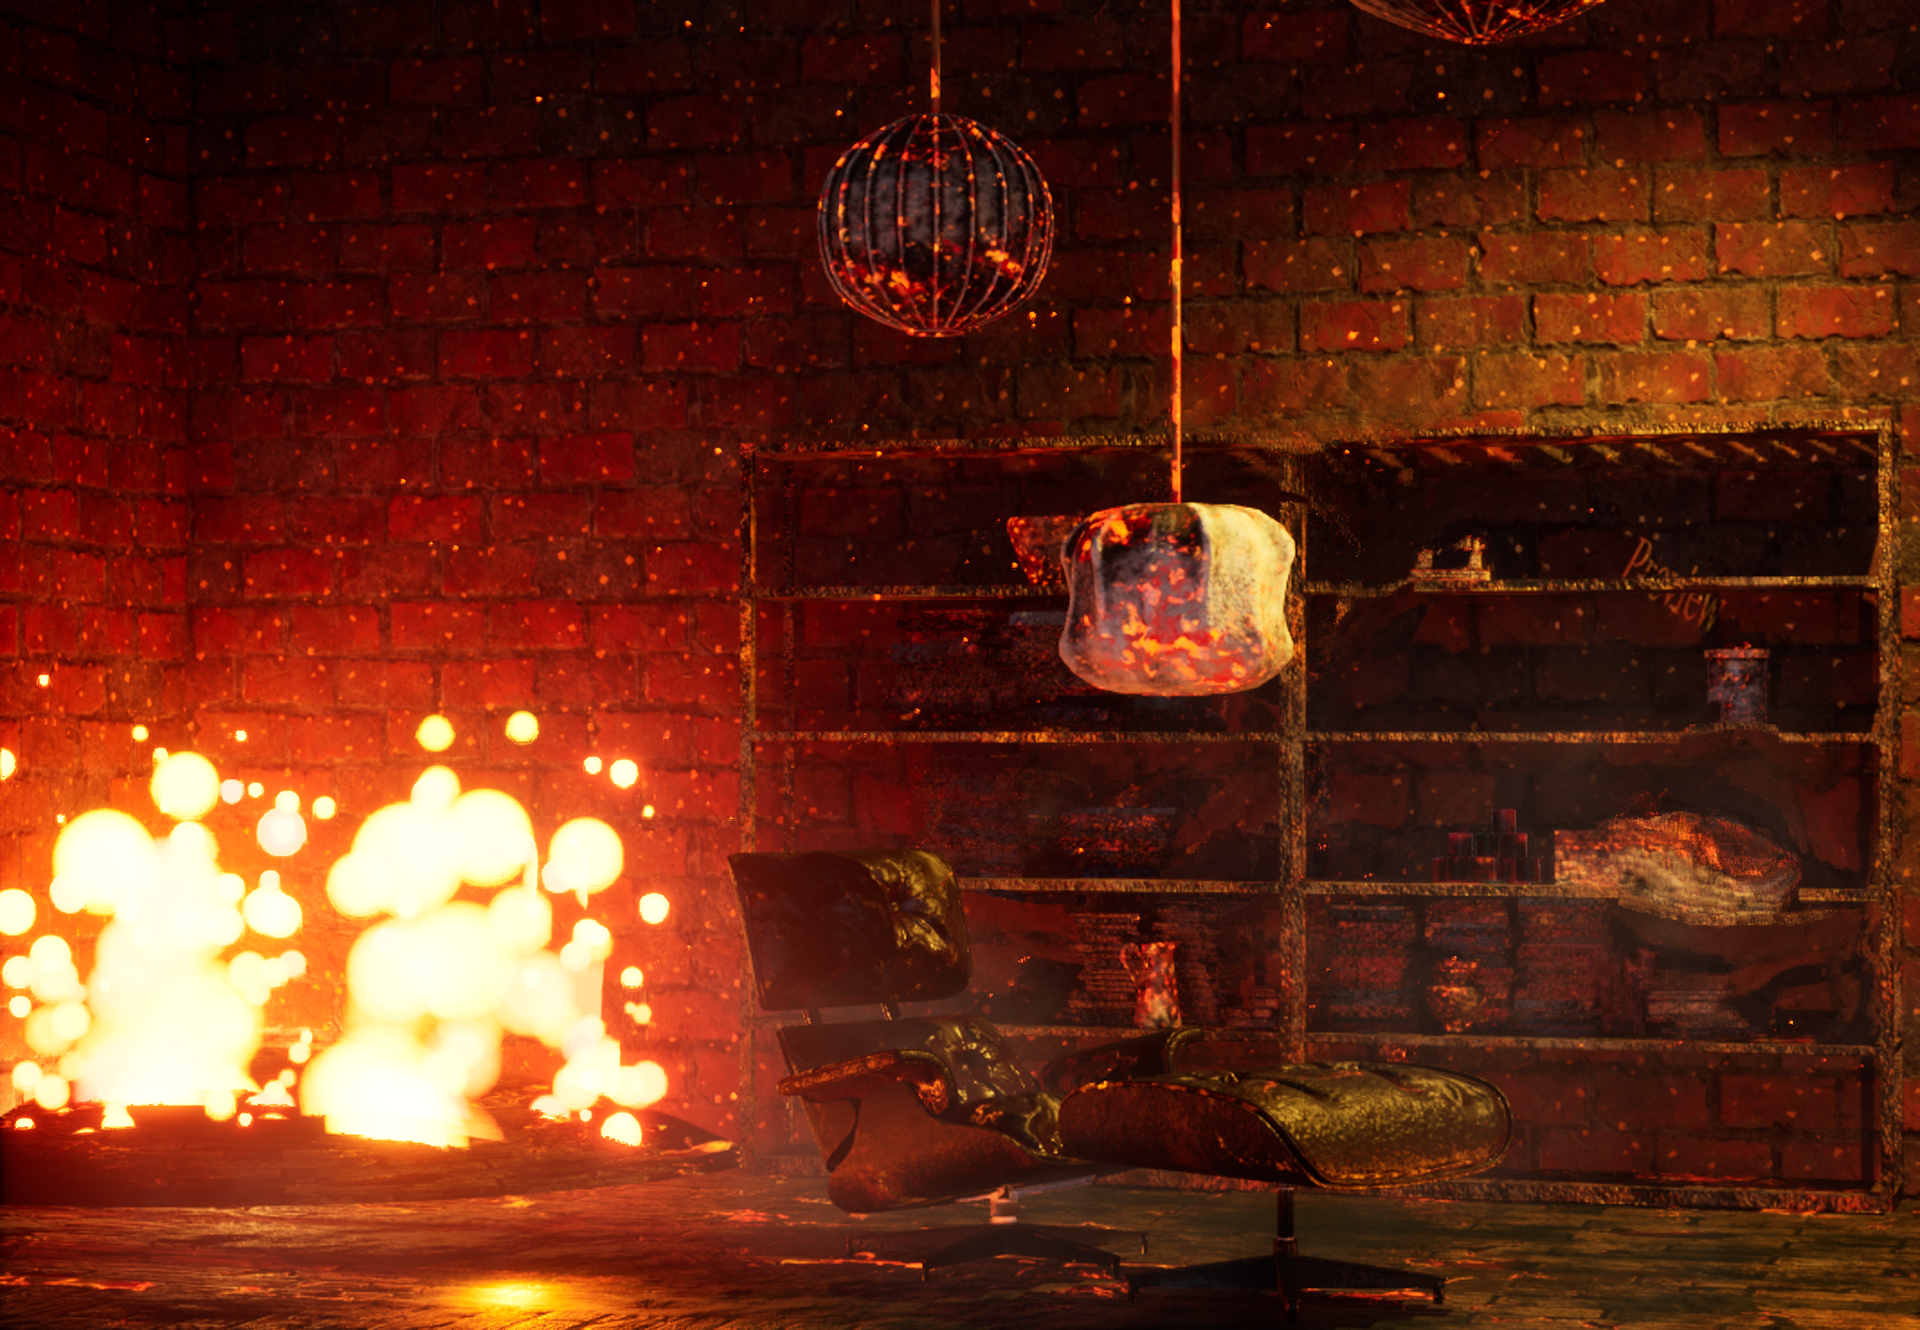
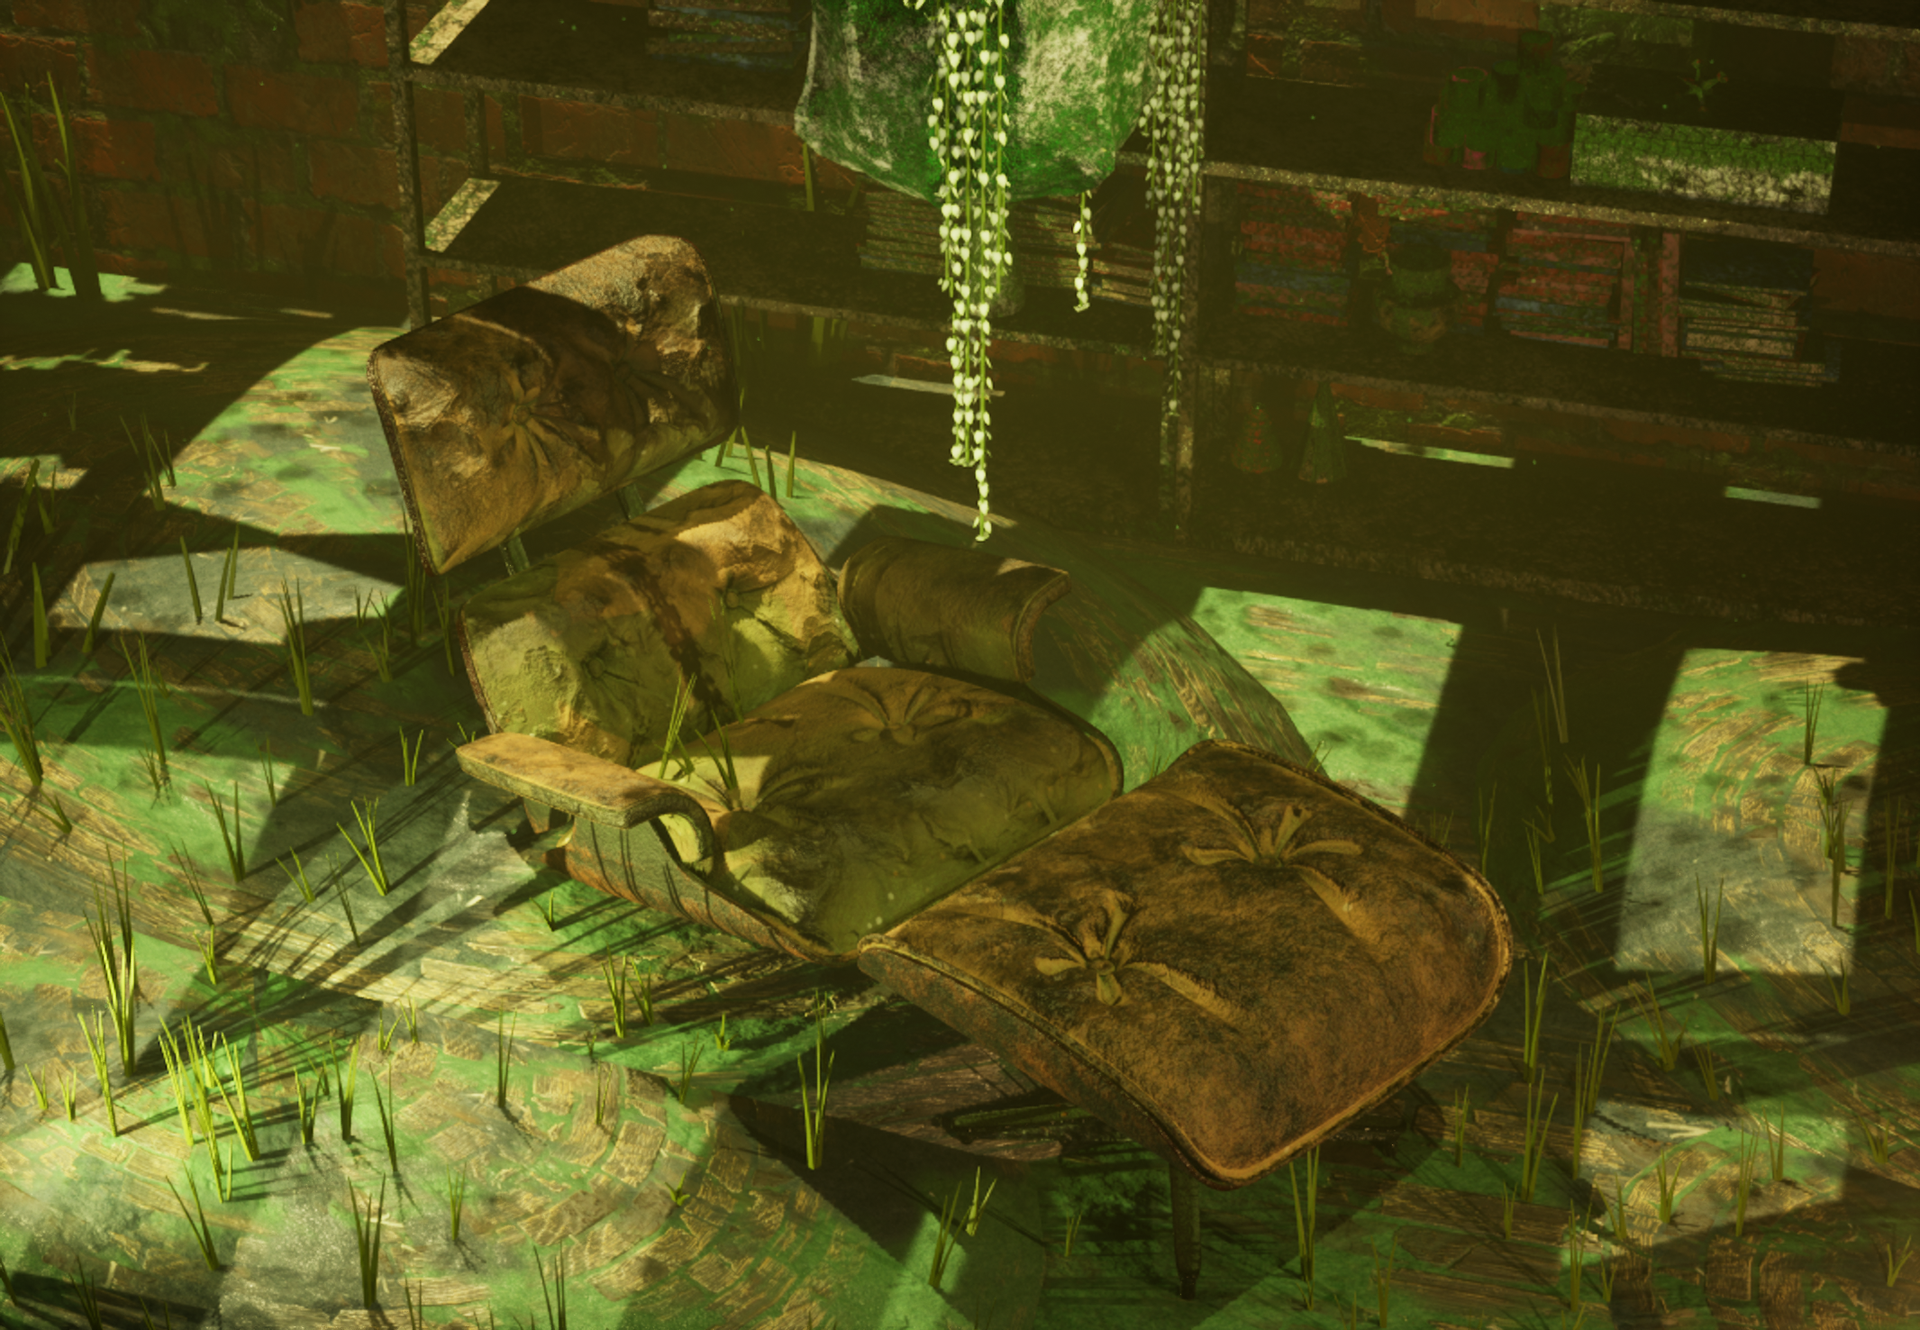
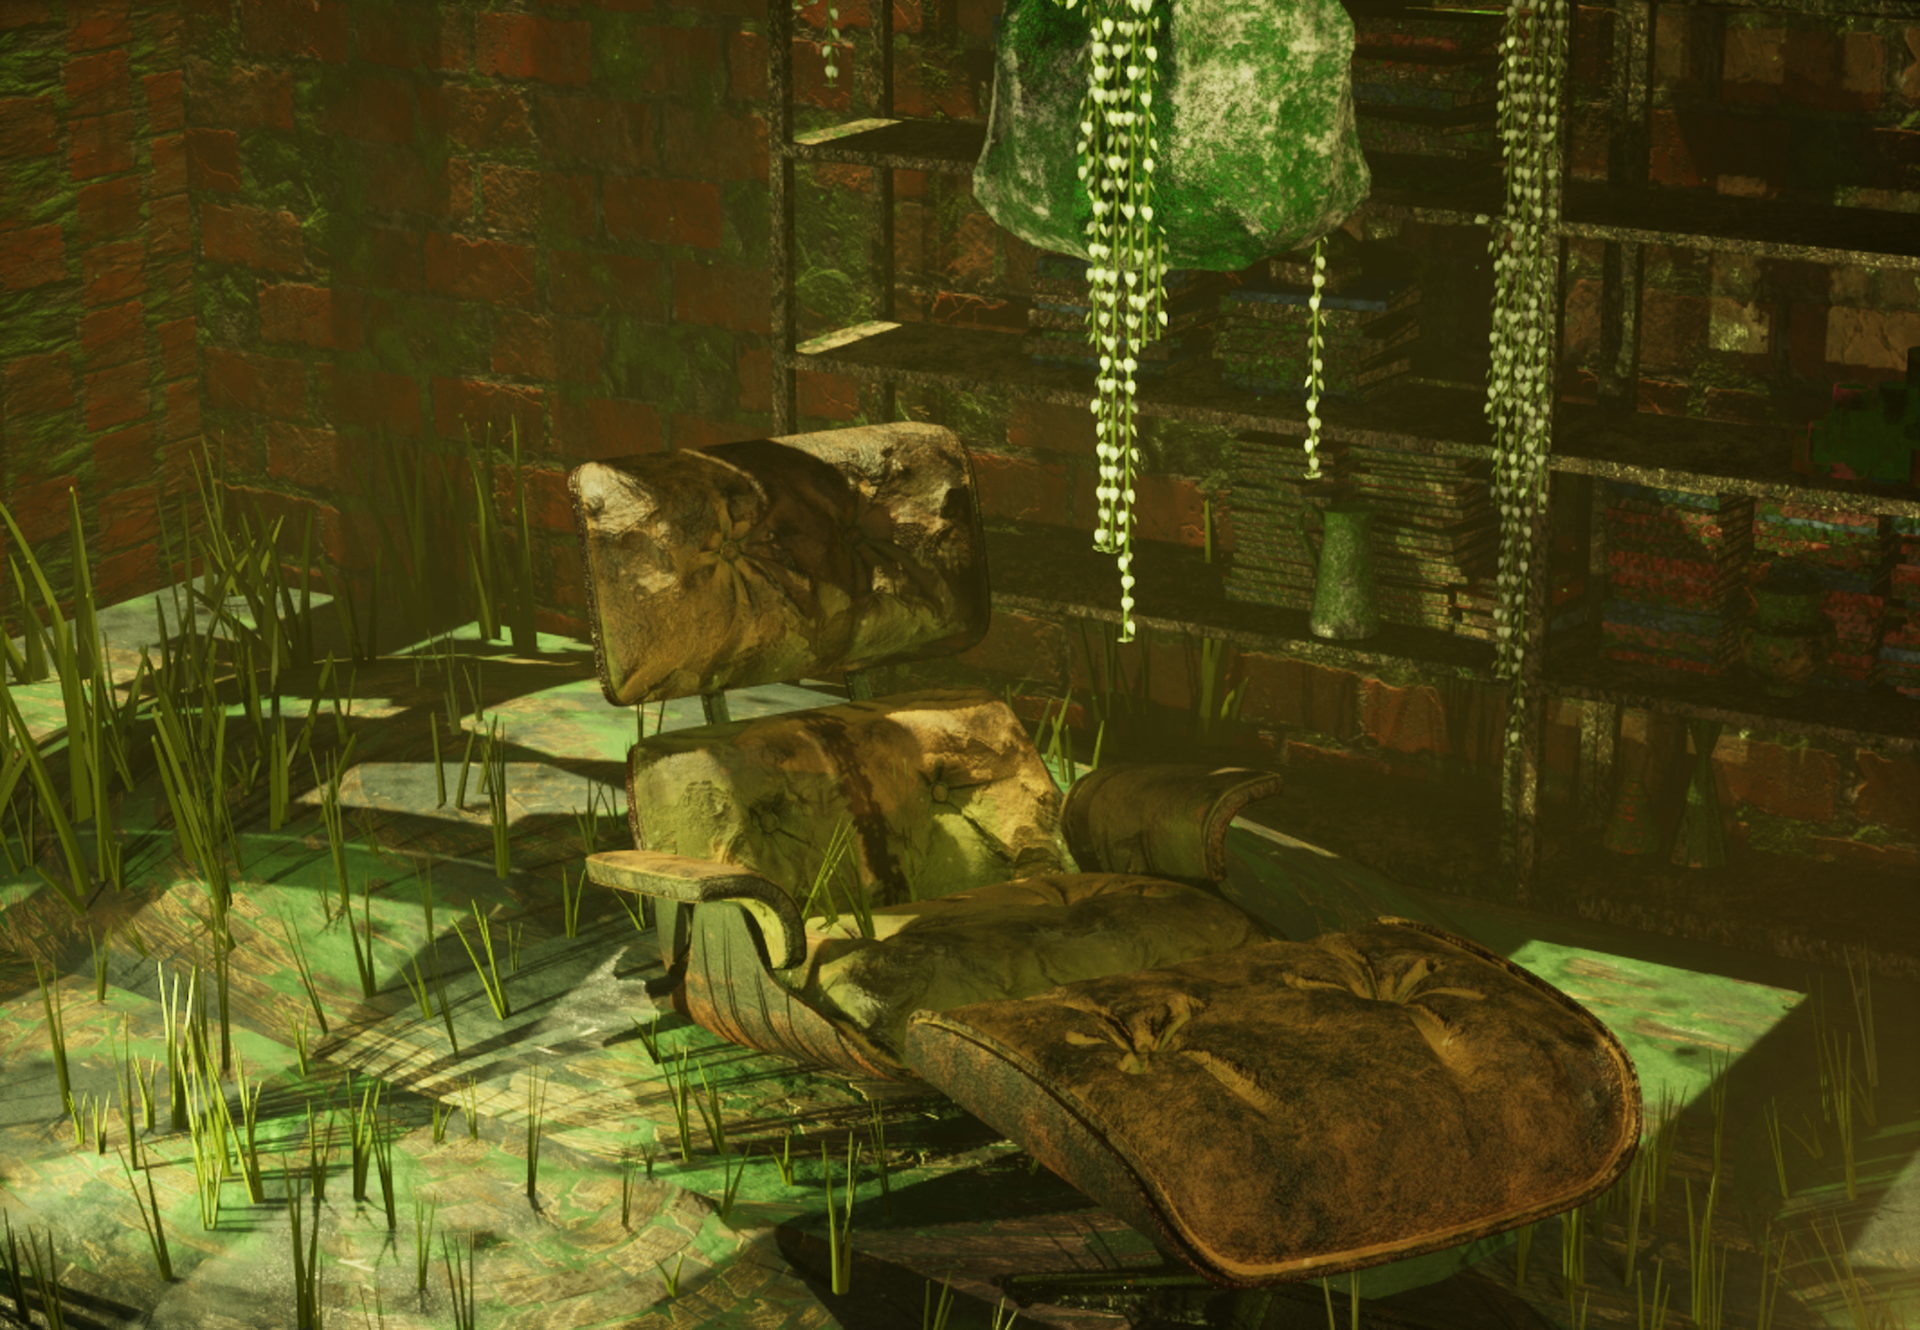
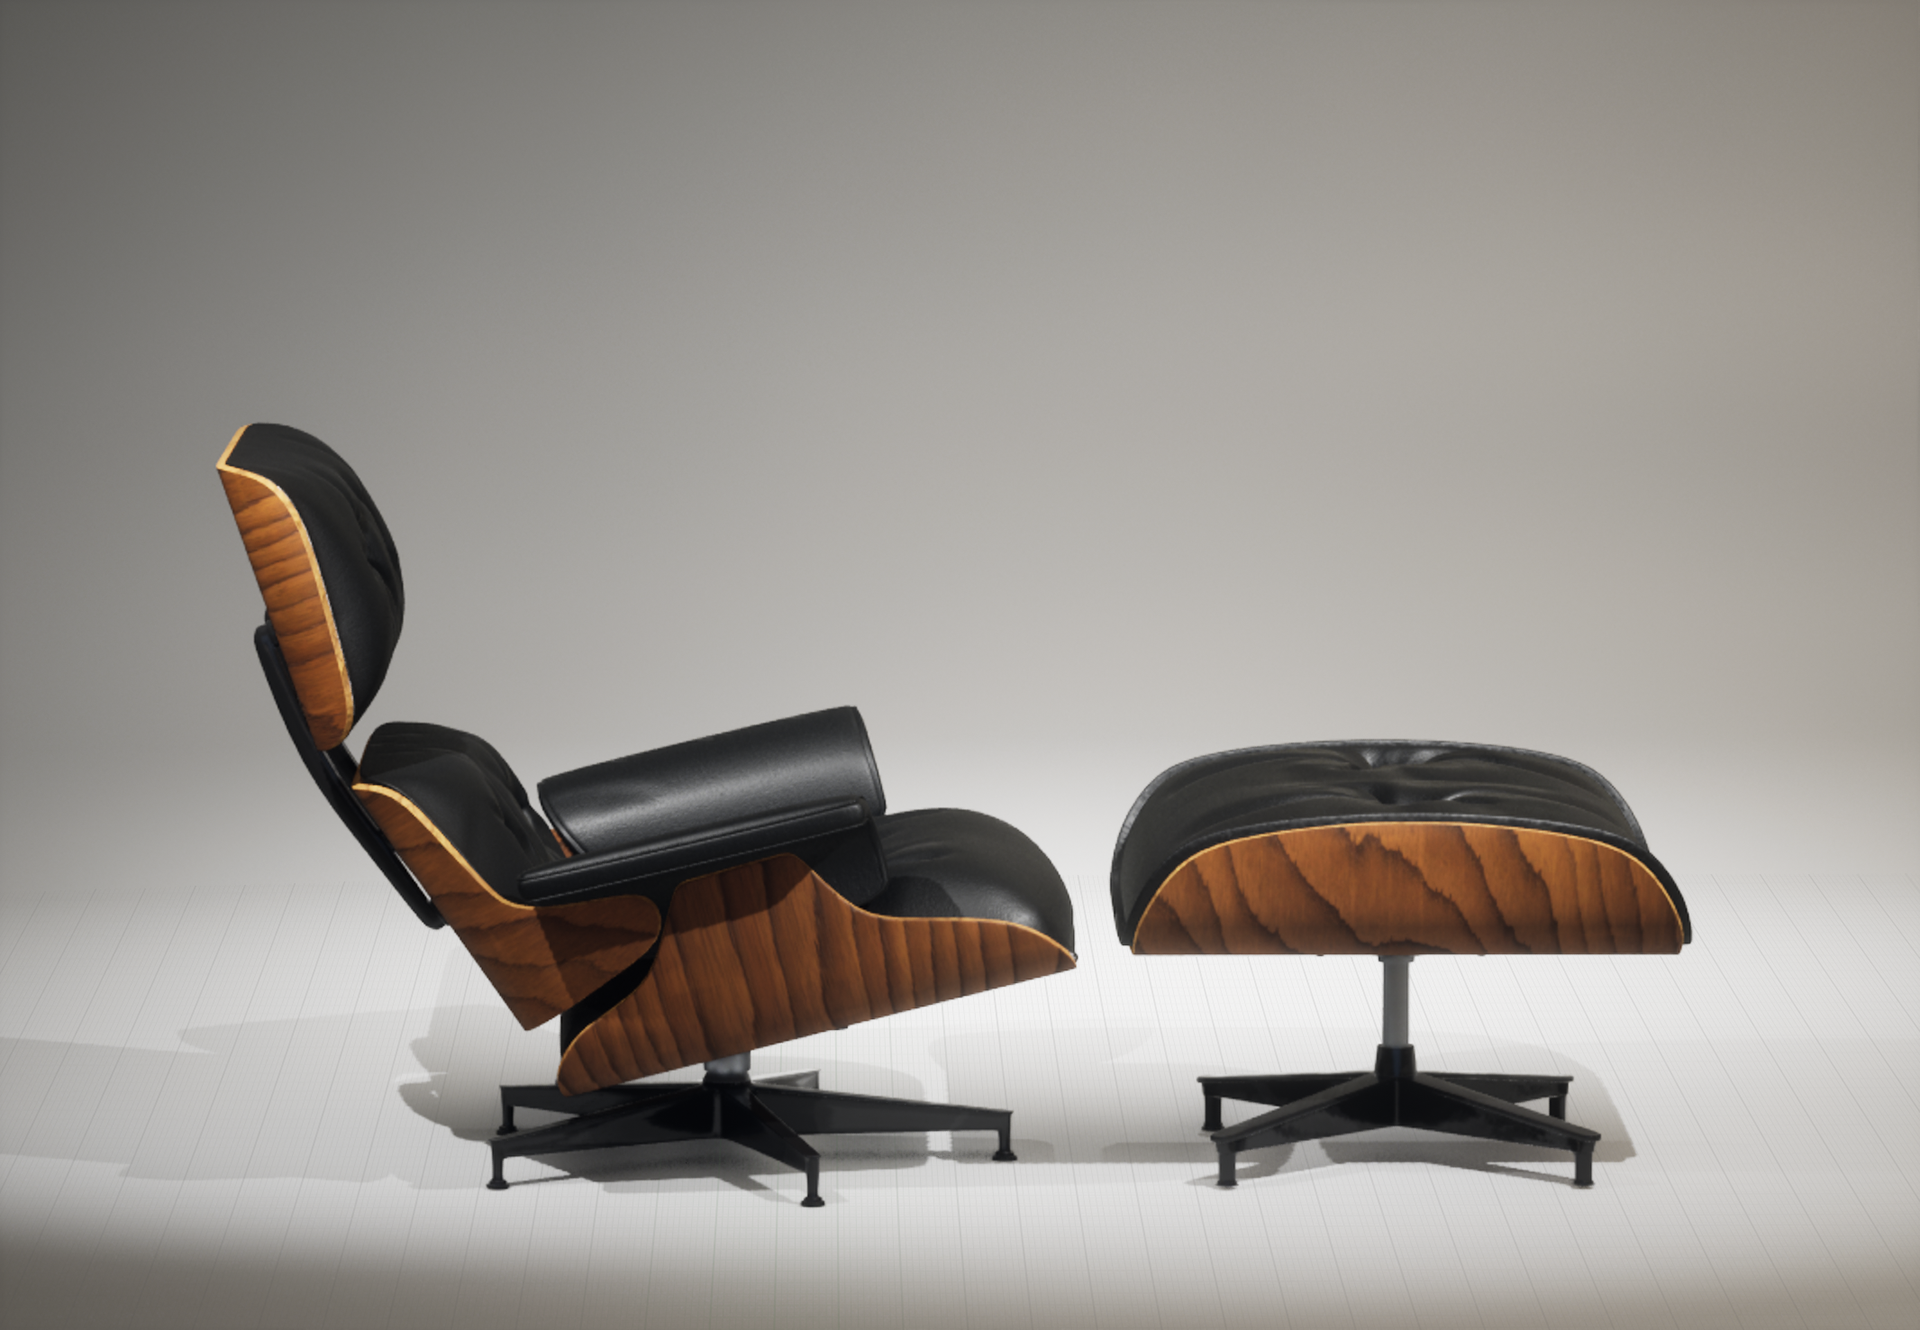
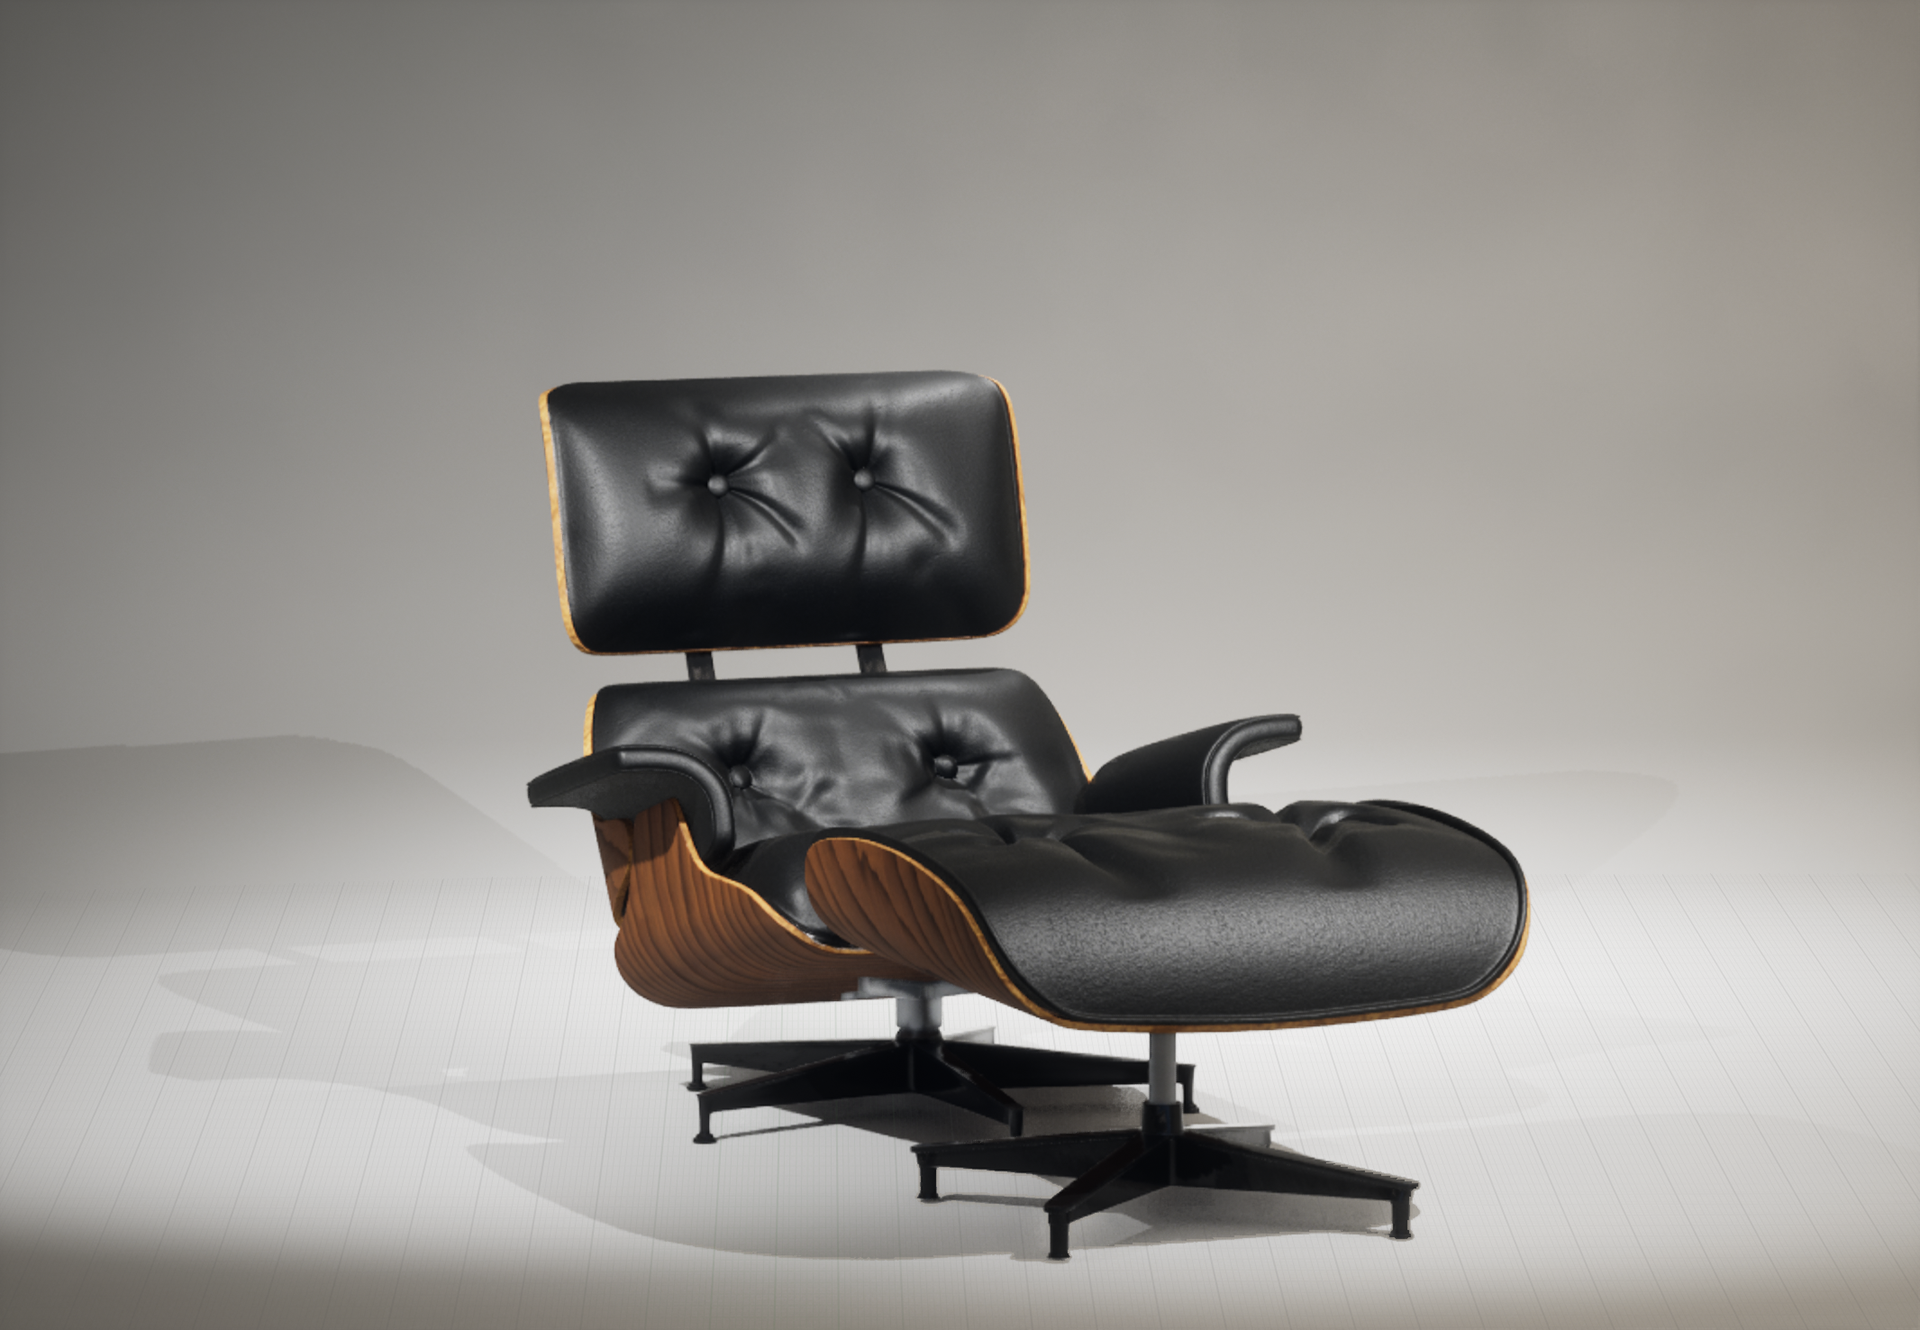
As many may know, artists tend to be a bit unconventional, and I certainly embrace that aspect of my creativity. One of my quirks is a deep love for furniture, especially chairs, and my absolute favorite is the iconic Eames Lounge Chair, designed by Charles and Ray Eames. With this project, I've embarked on a unique journey, modeling this beloved chair in three contrasting environments: the pristine, showroom-ready setting, one after a fiery inferno, and another where Mother Nature has triumphed and reclaimed her space.
Phase 1: Research
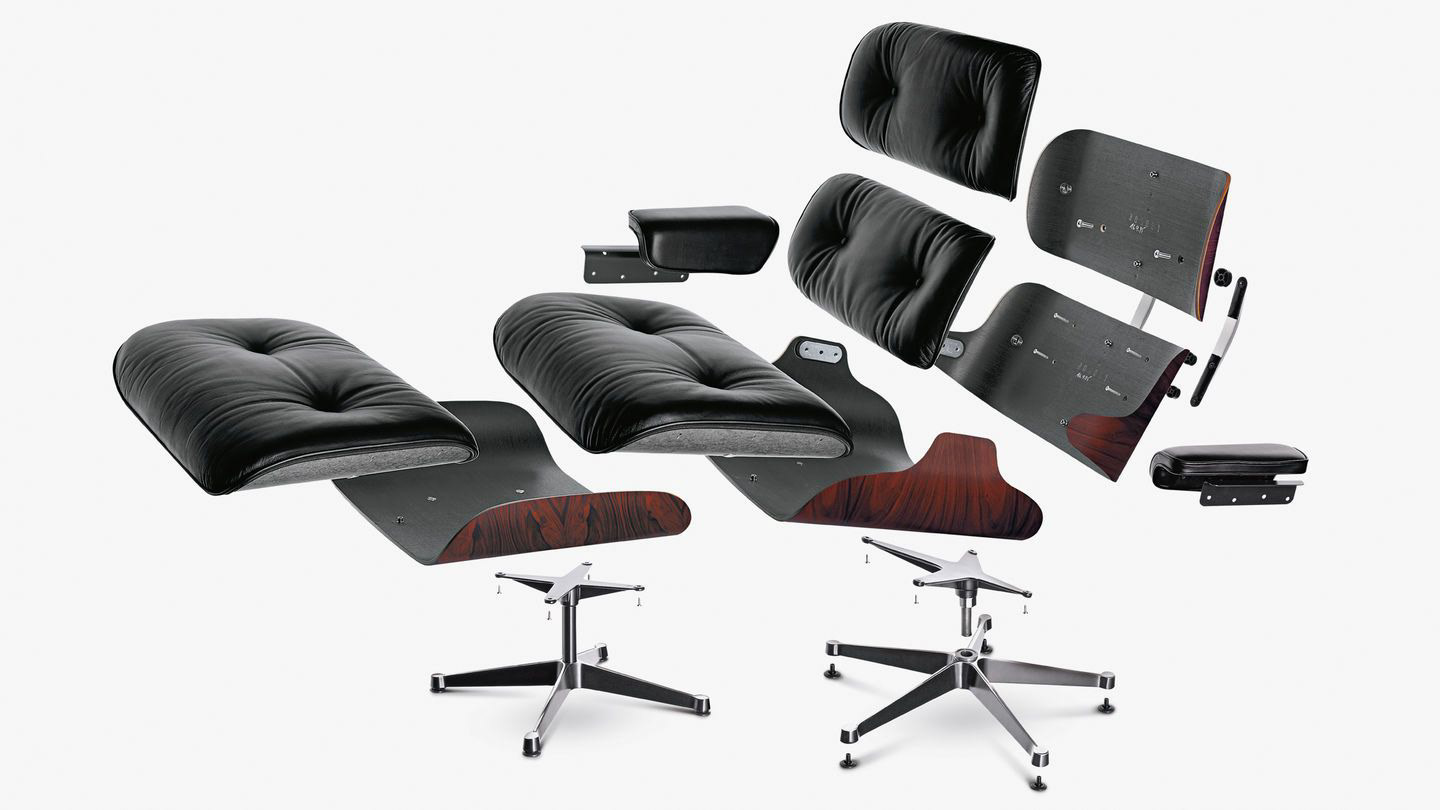
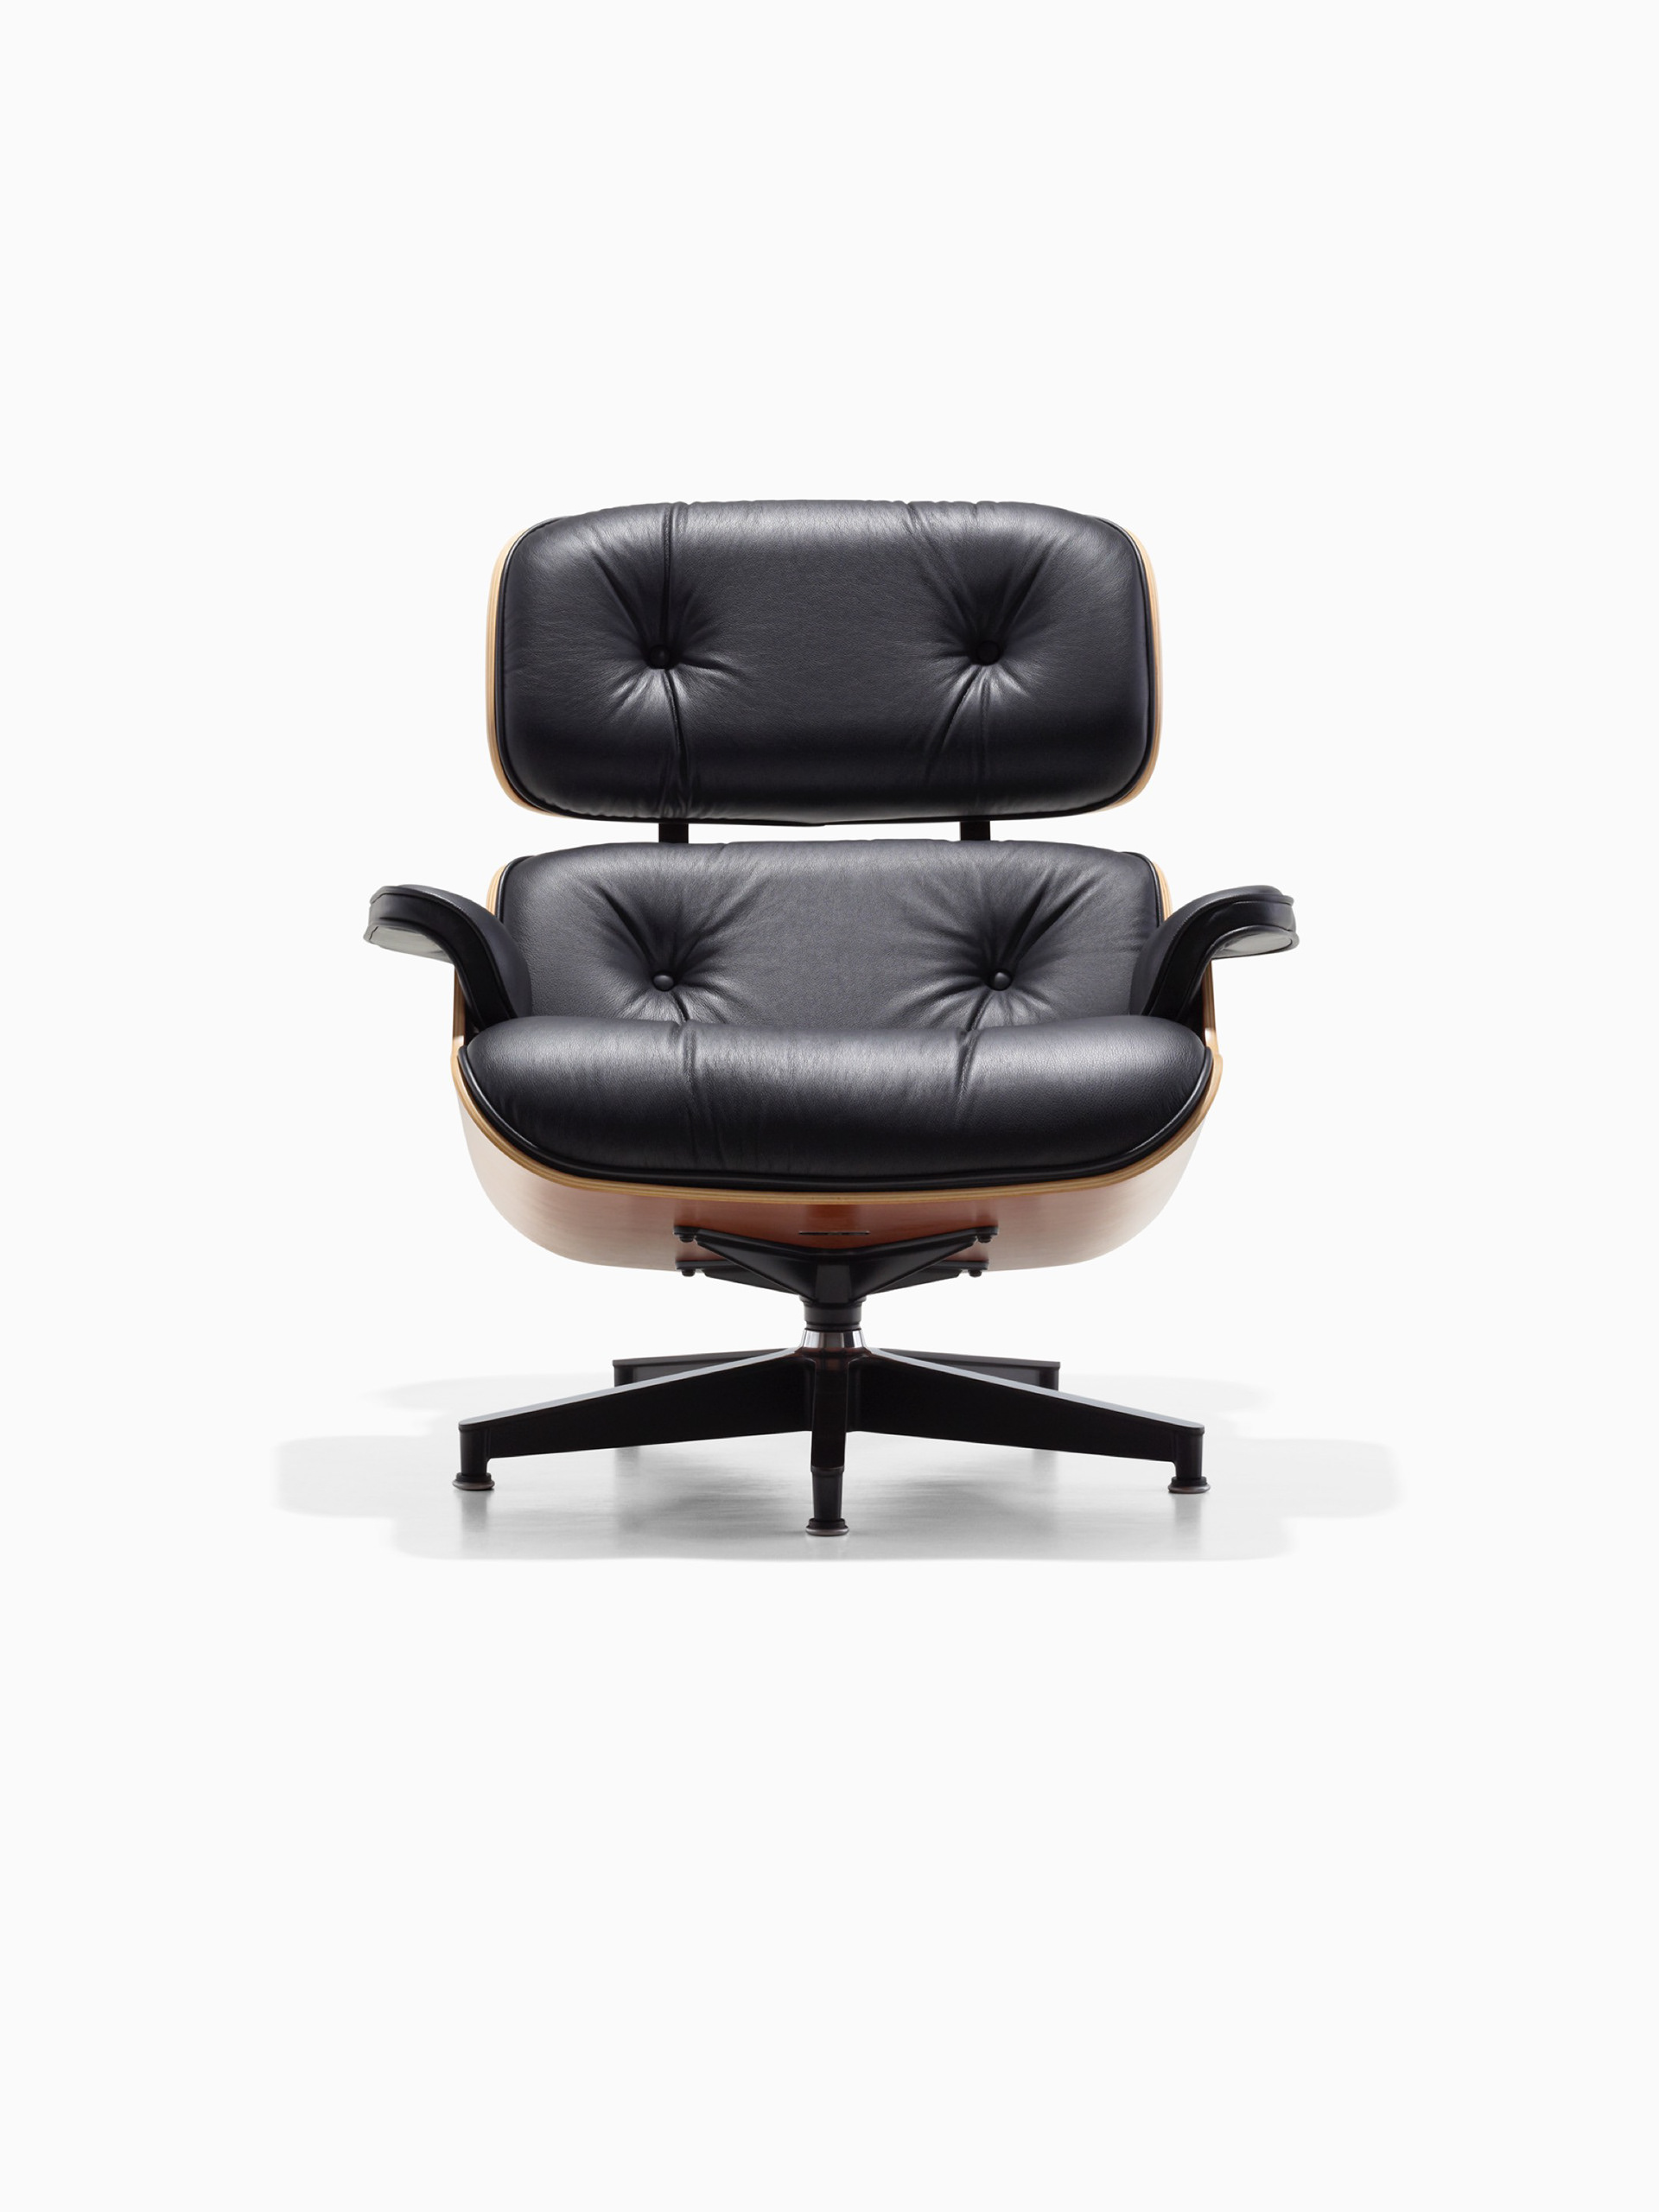
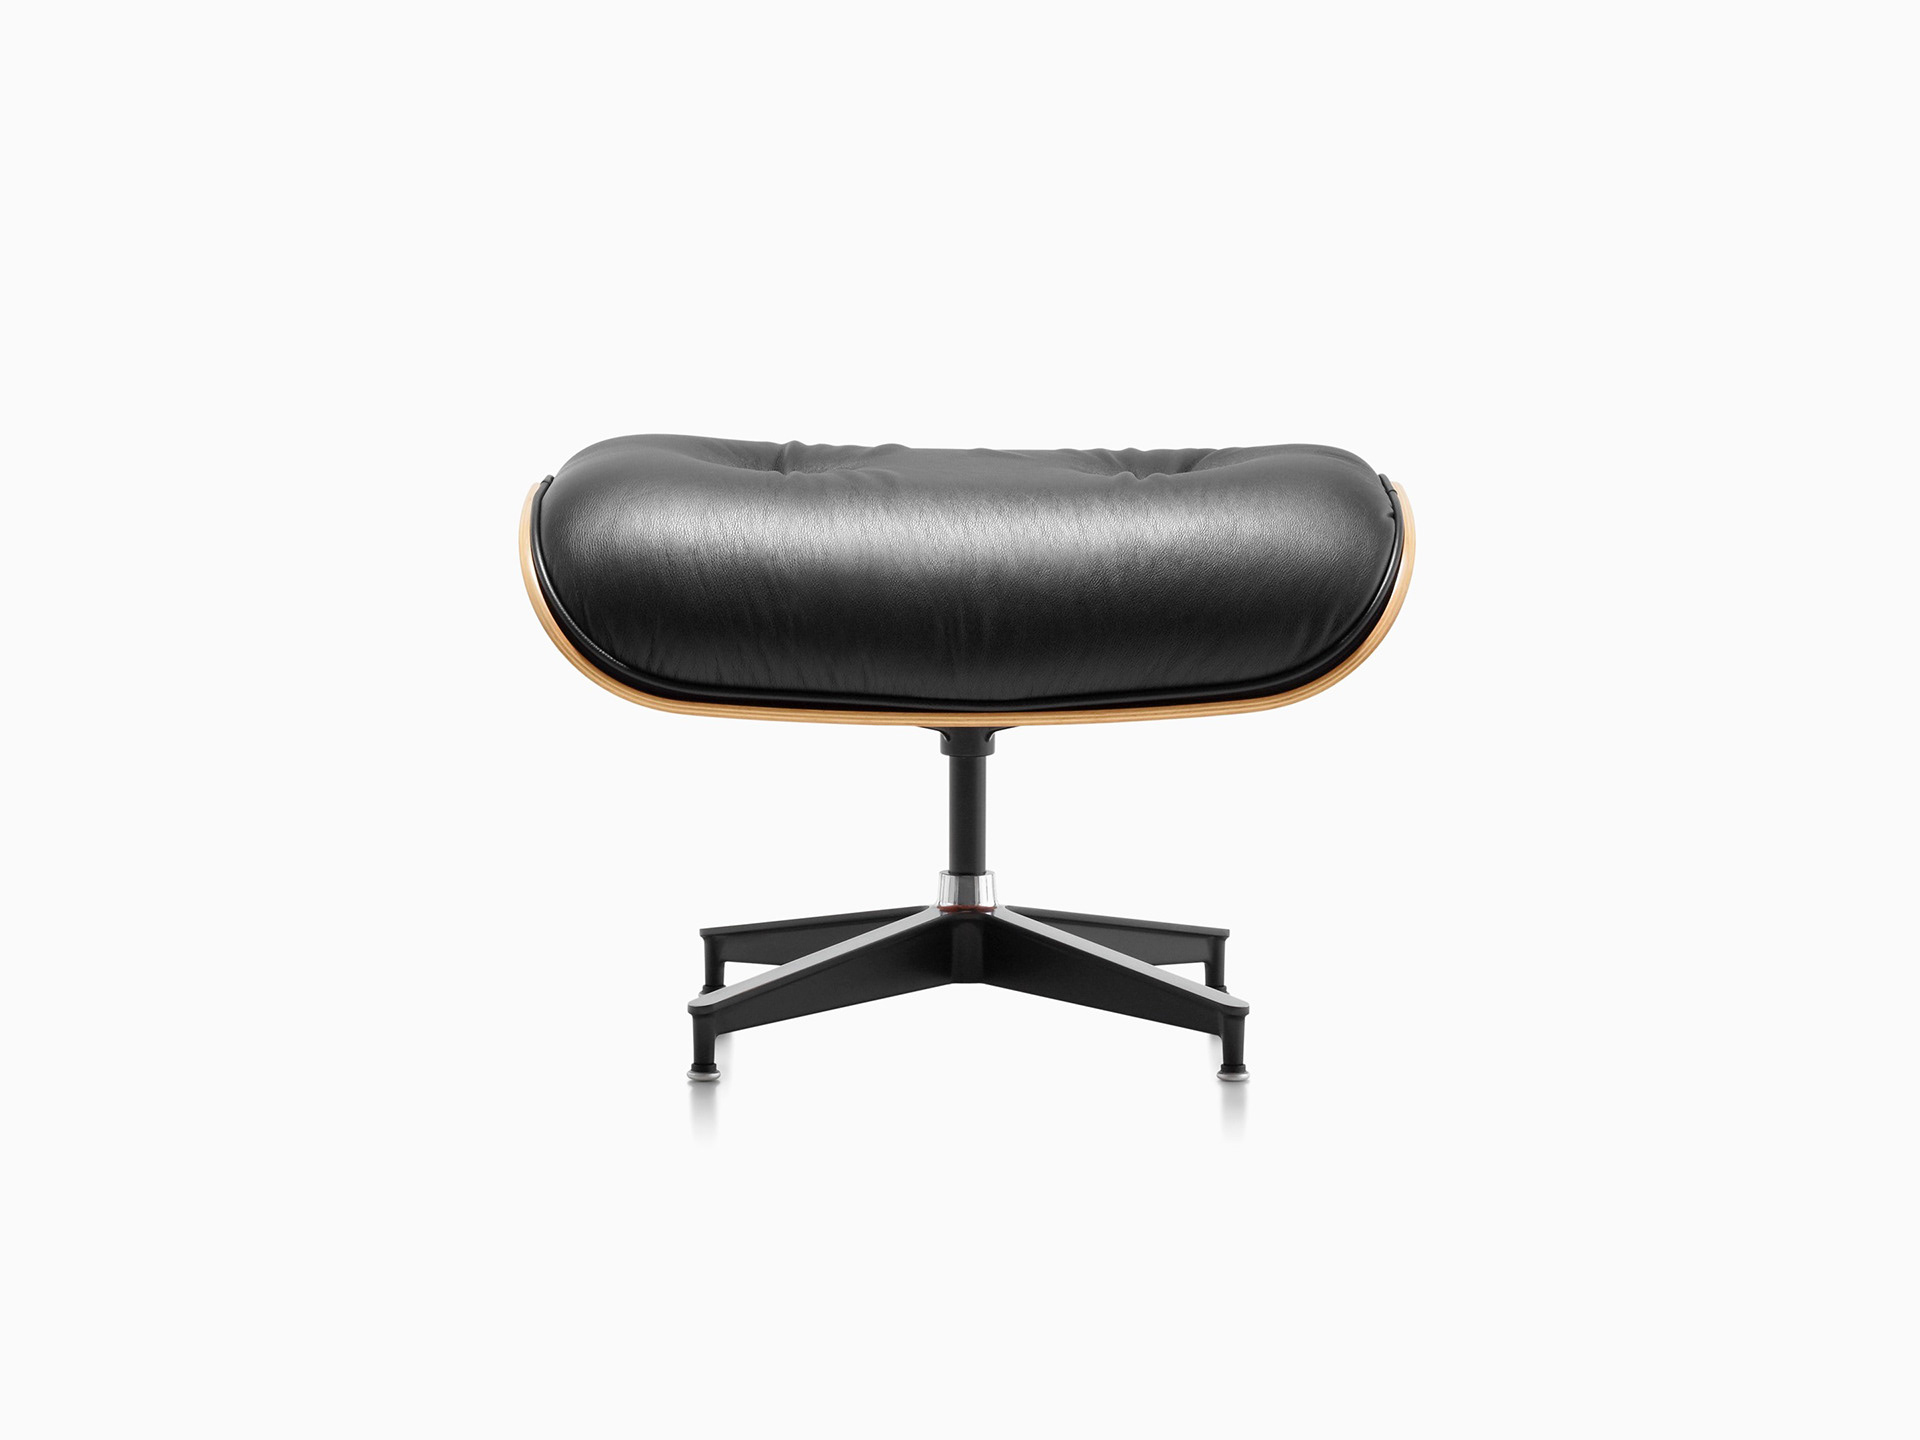
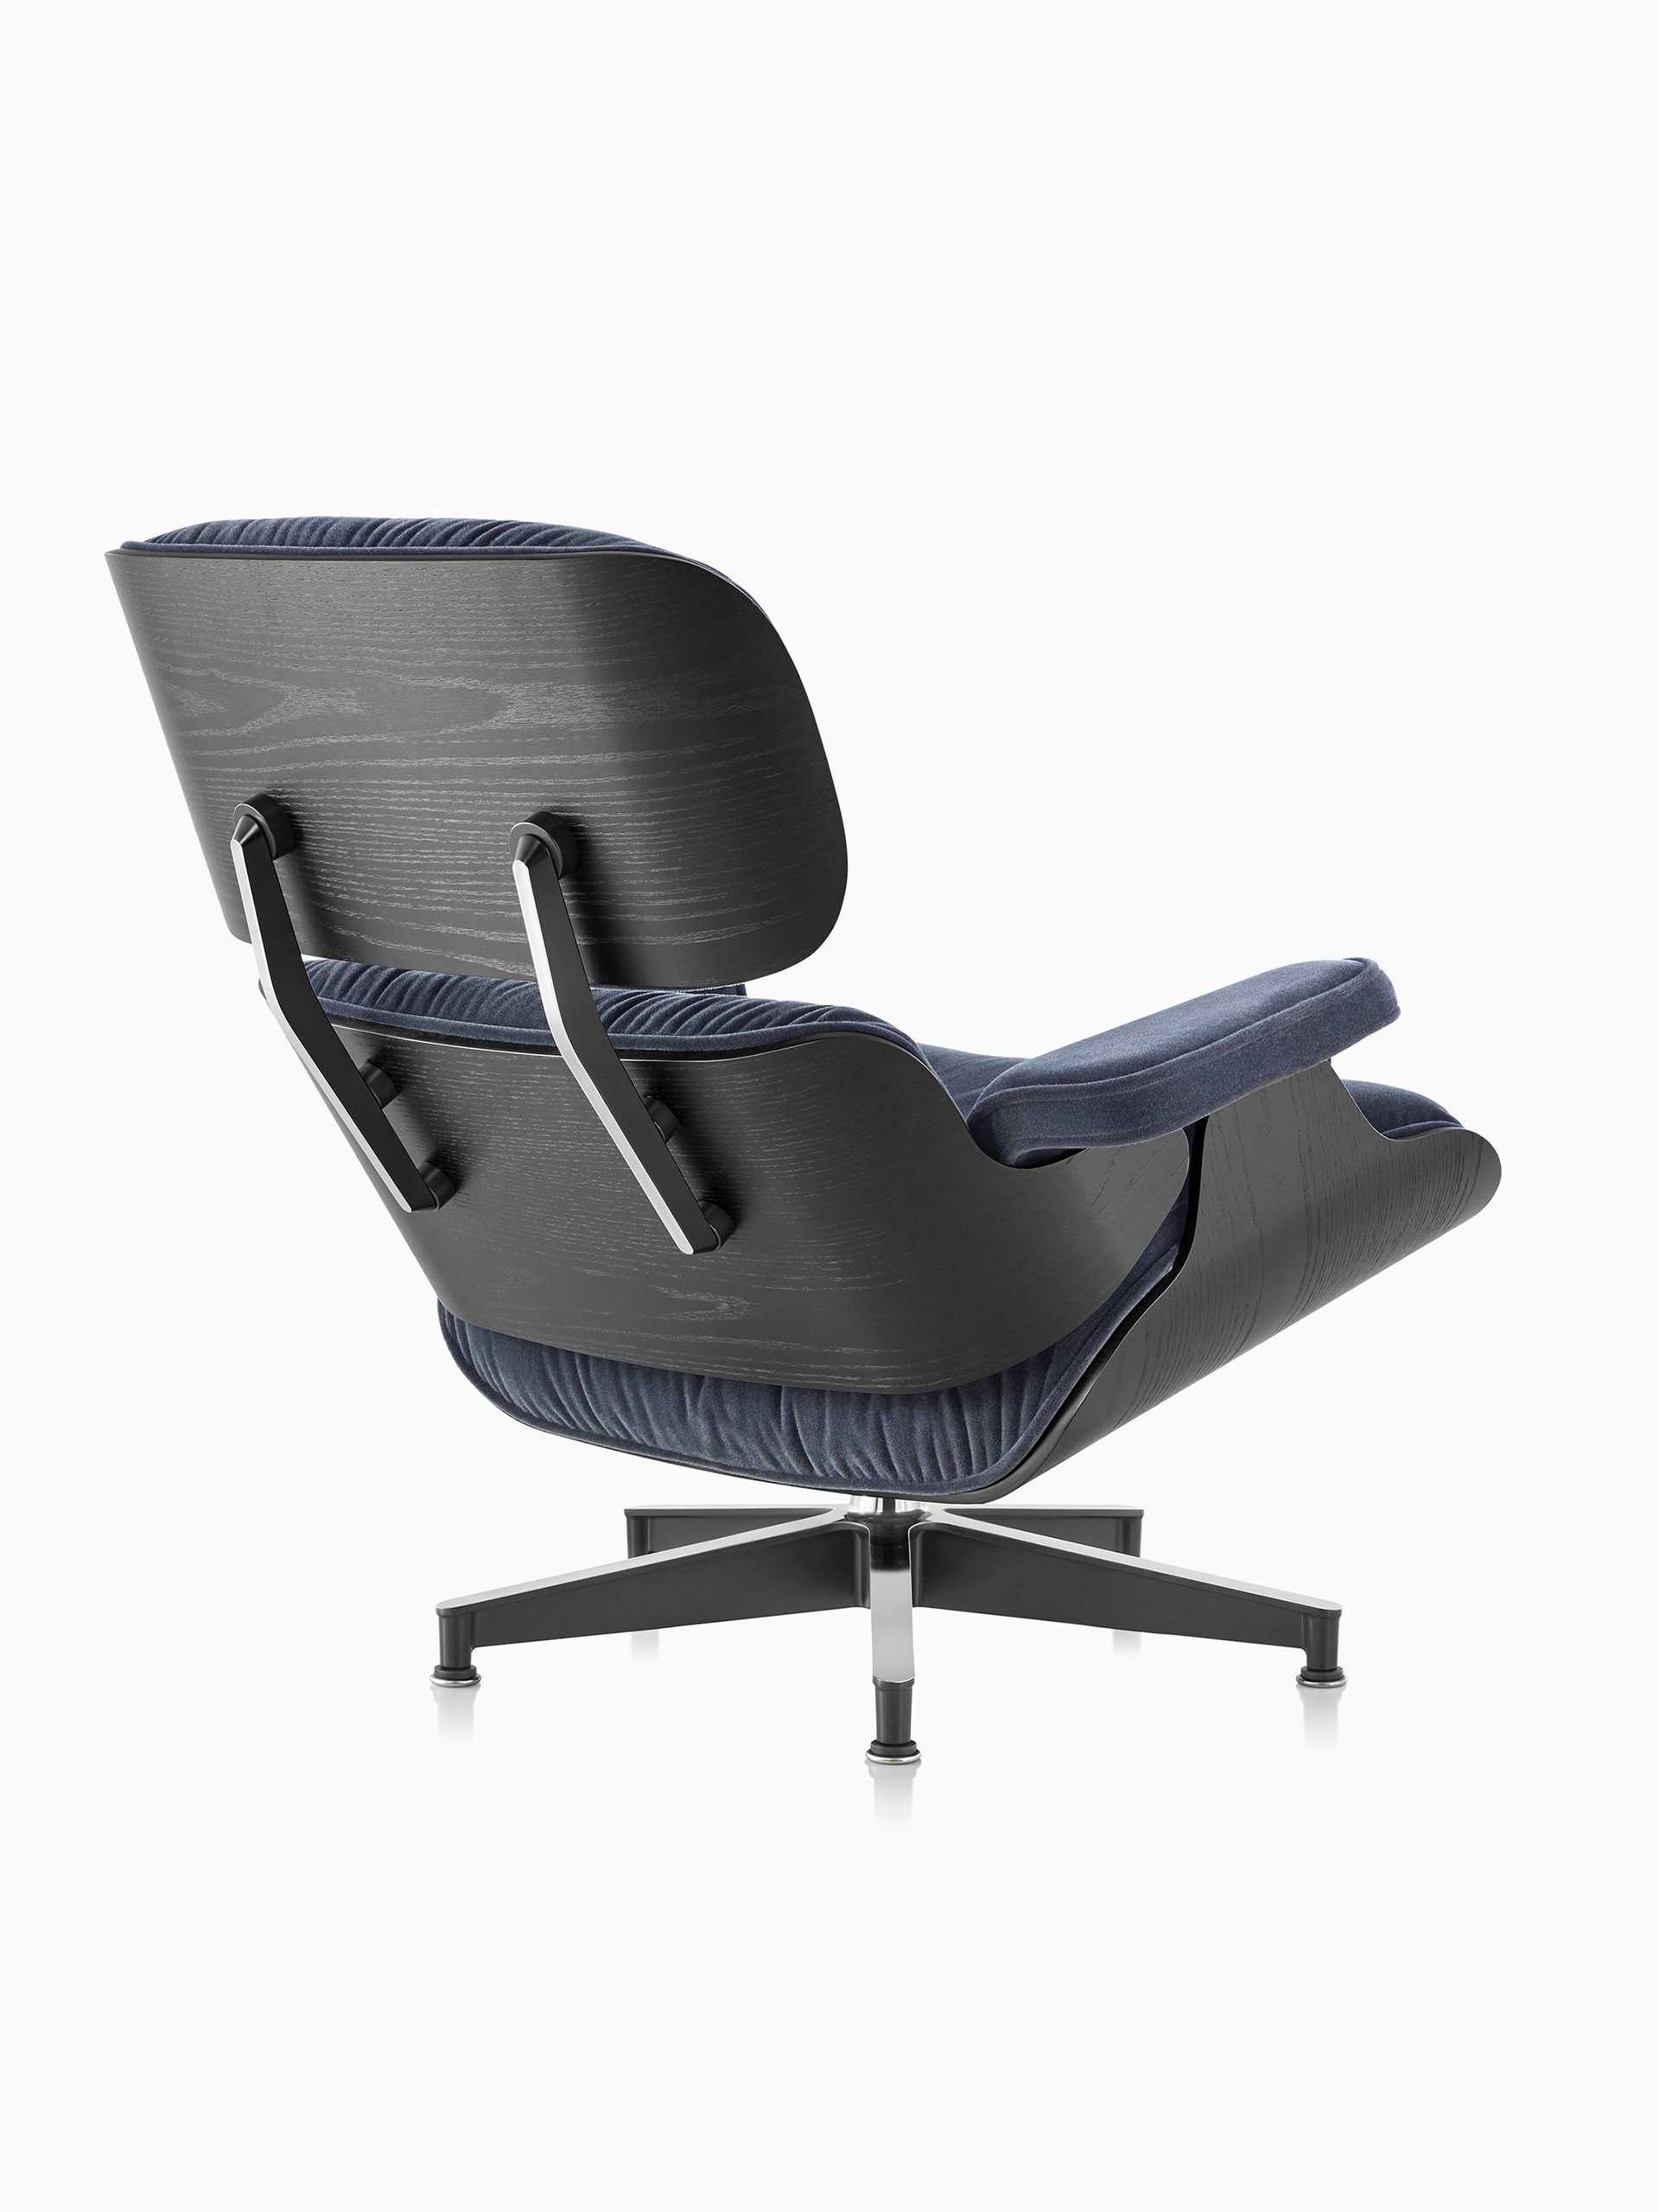
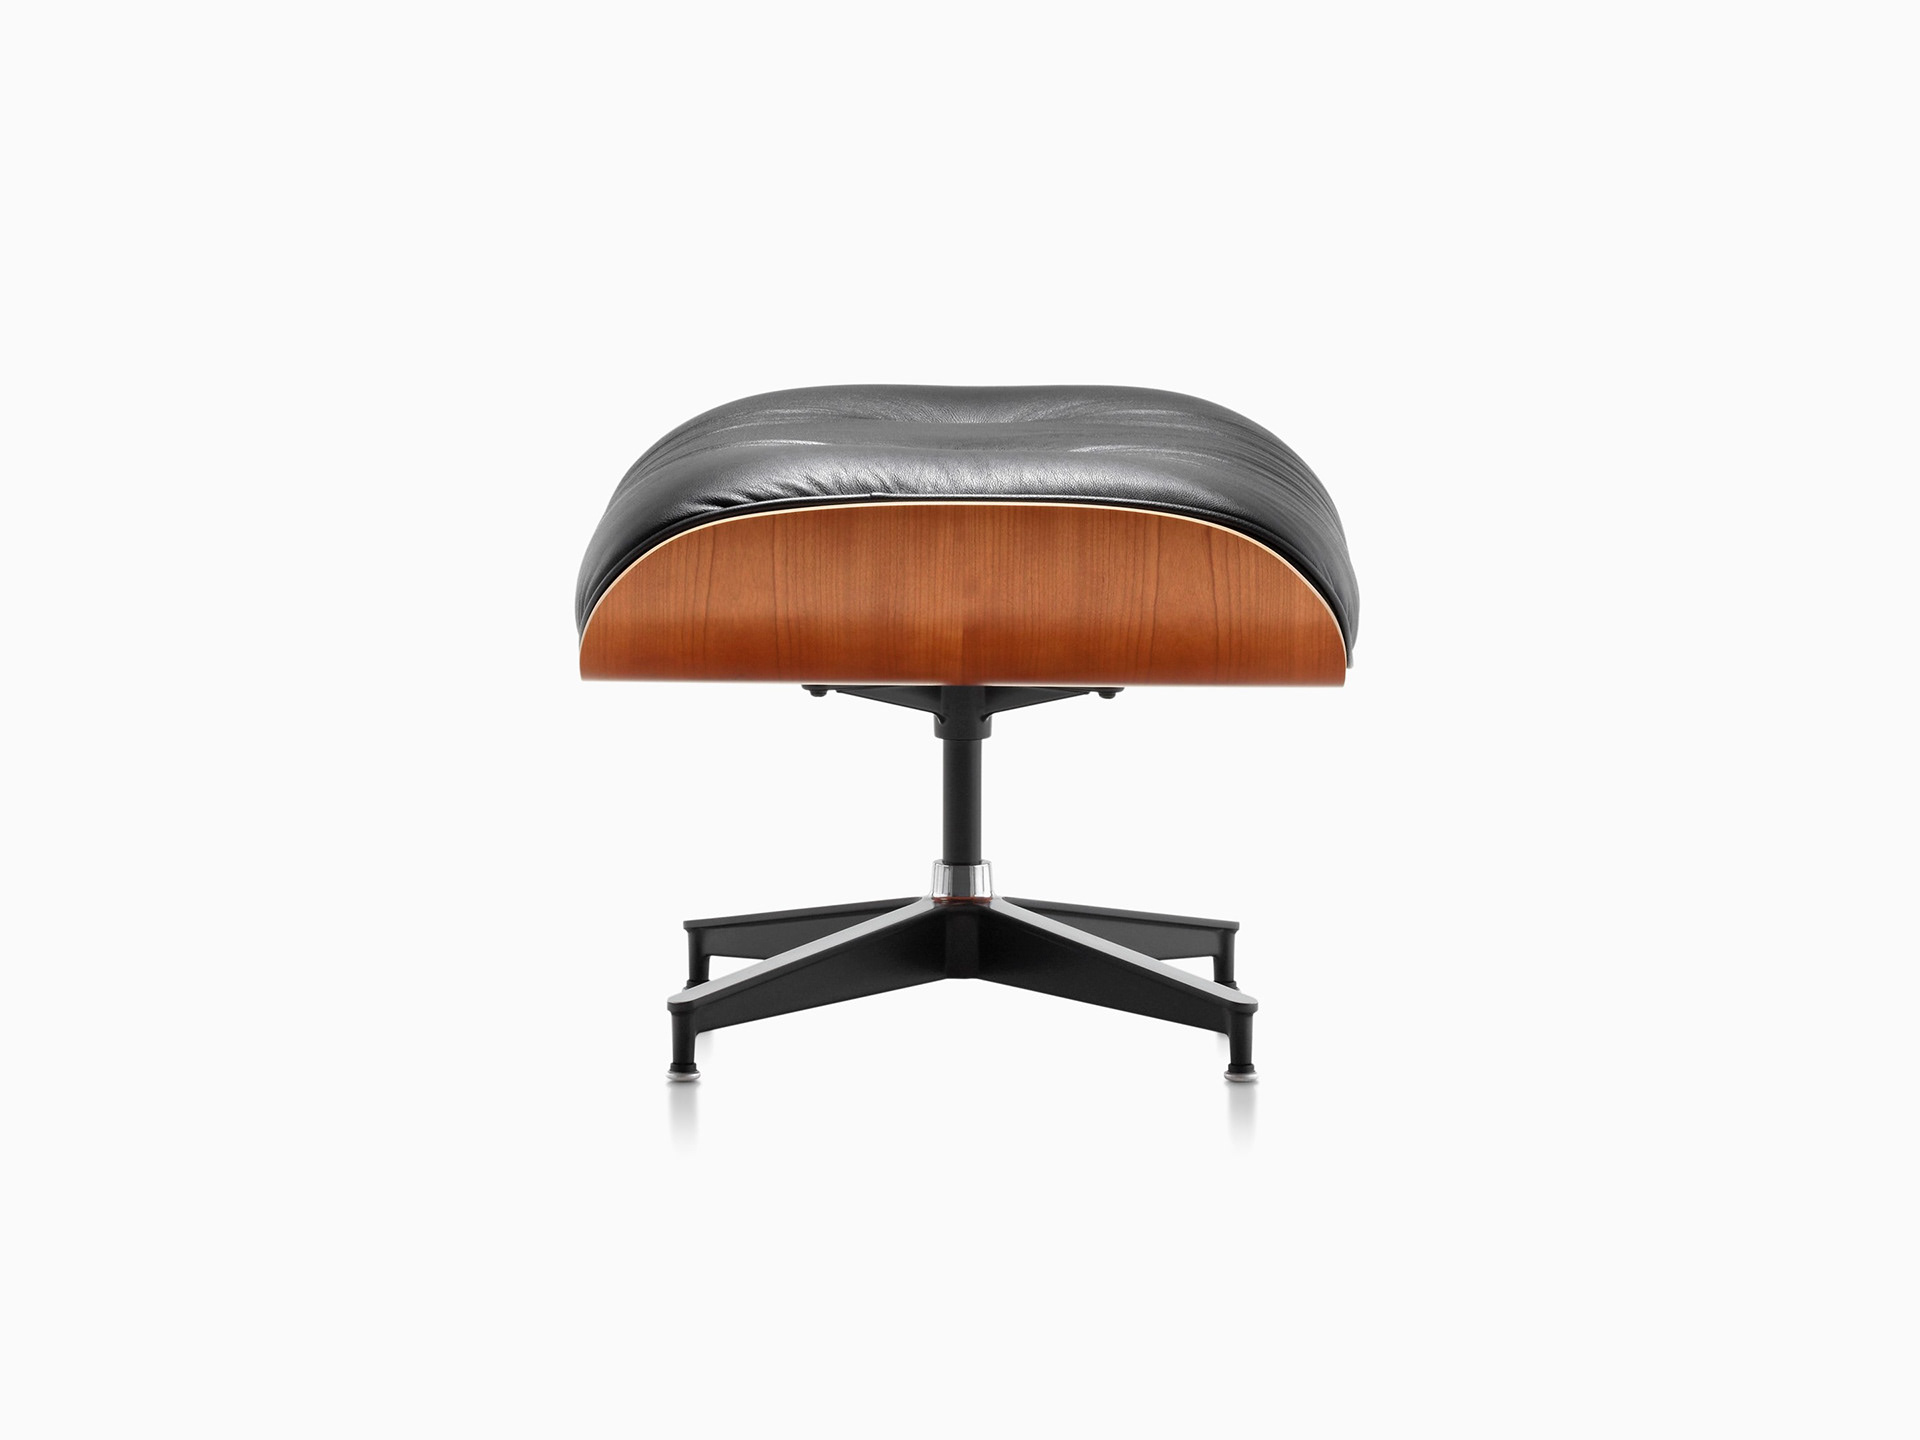
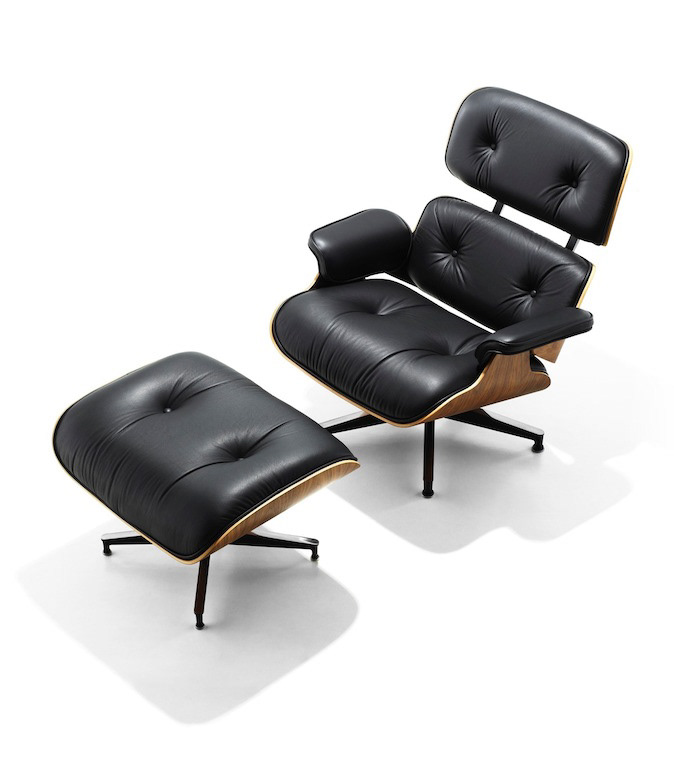
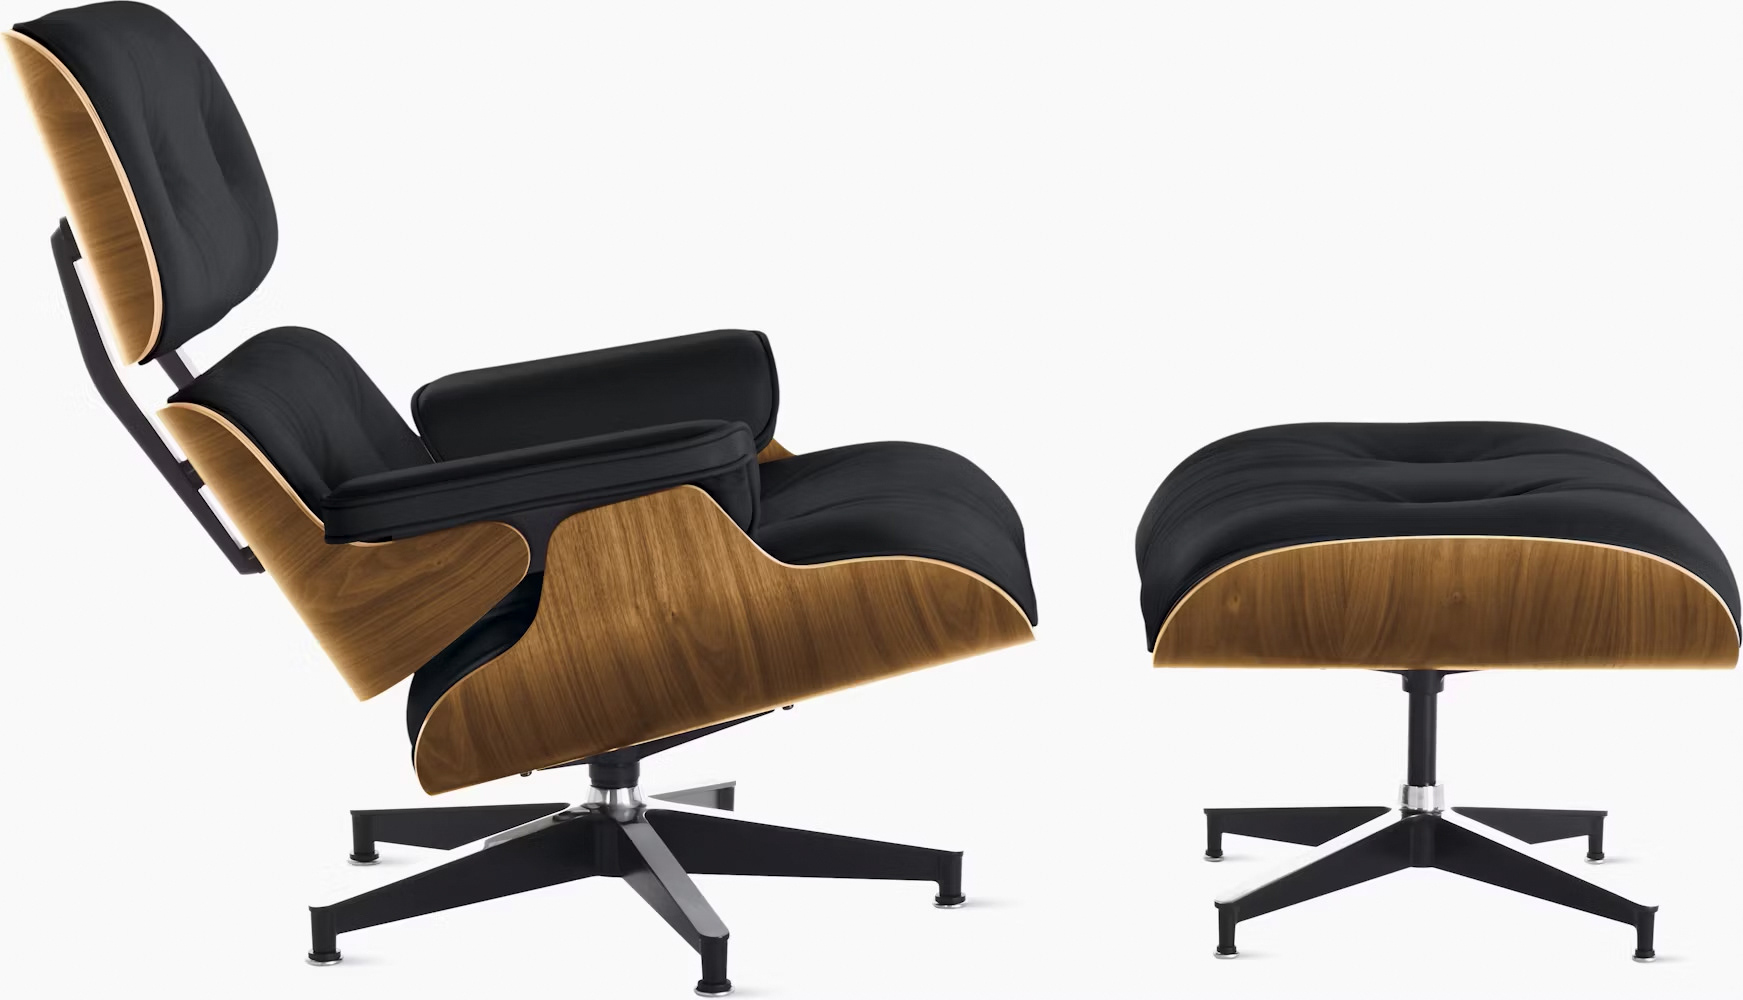
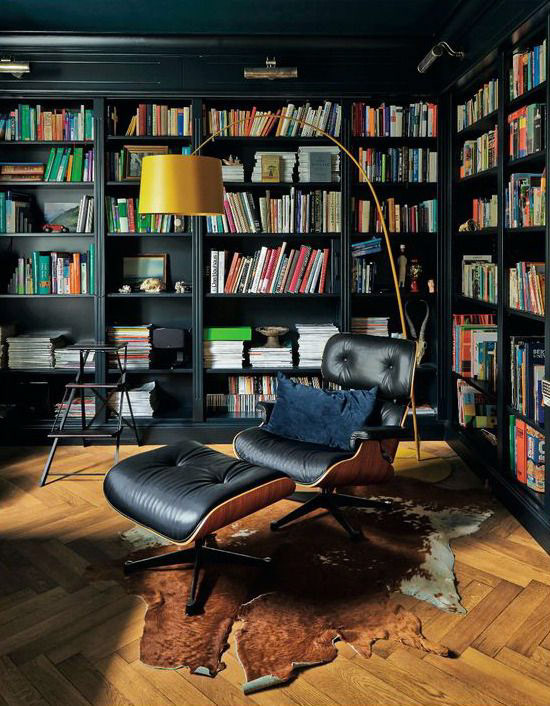
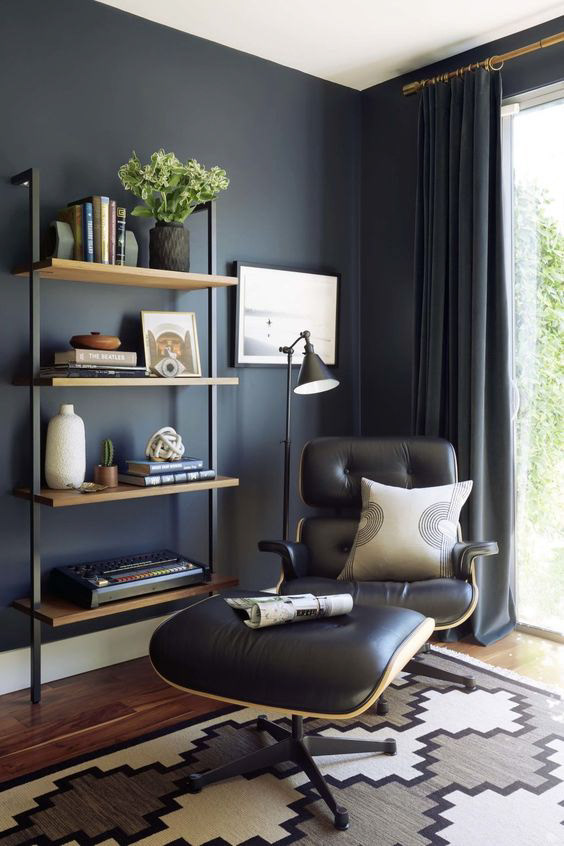
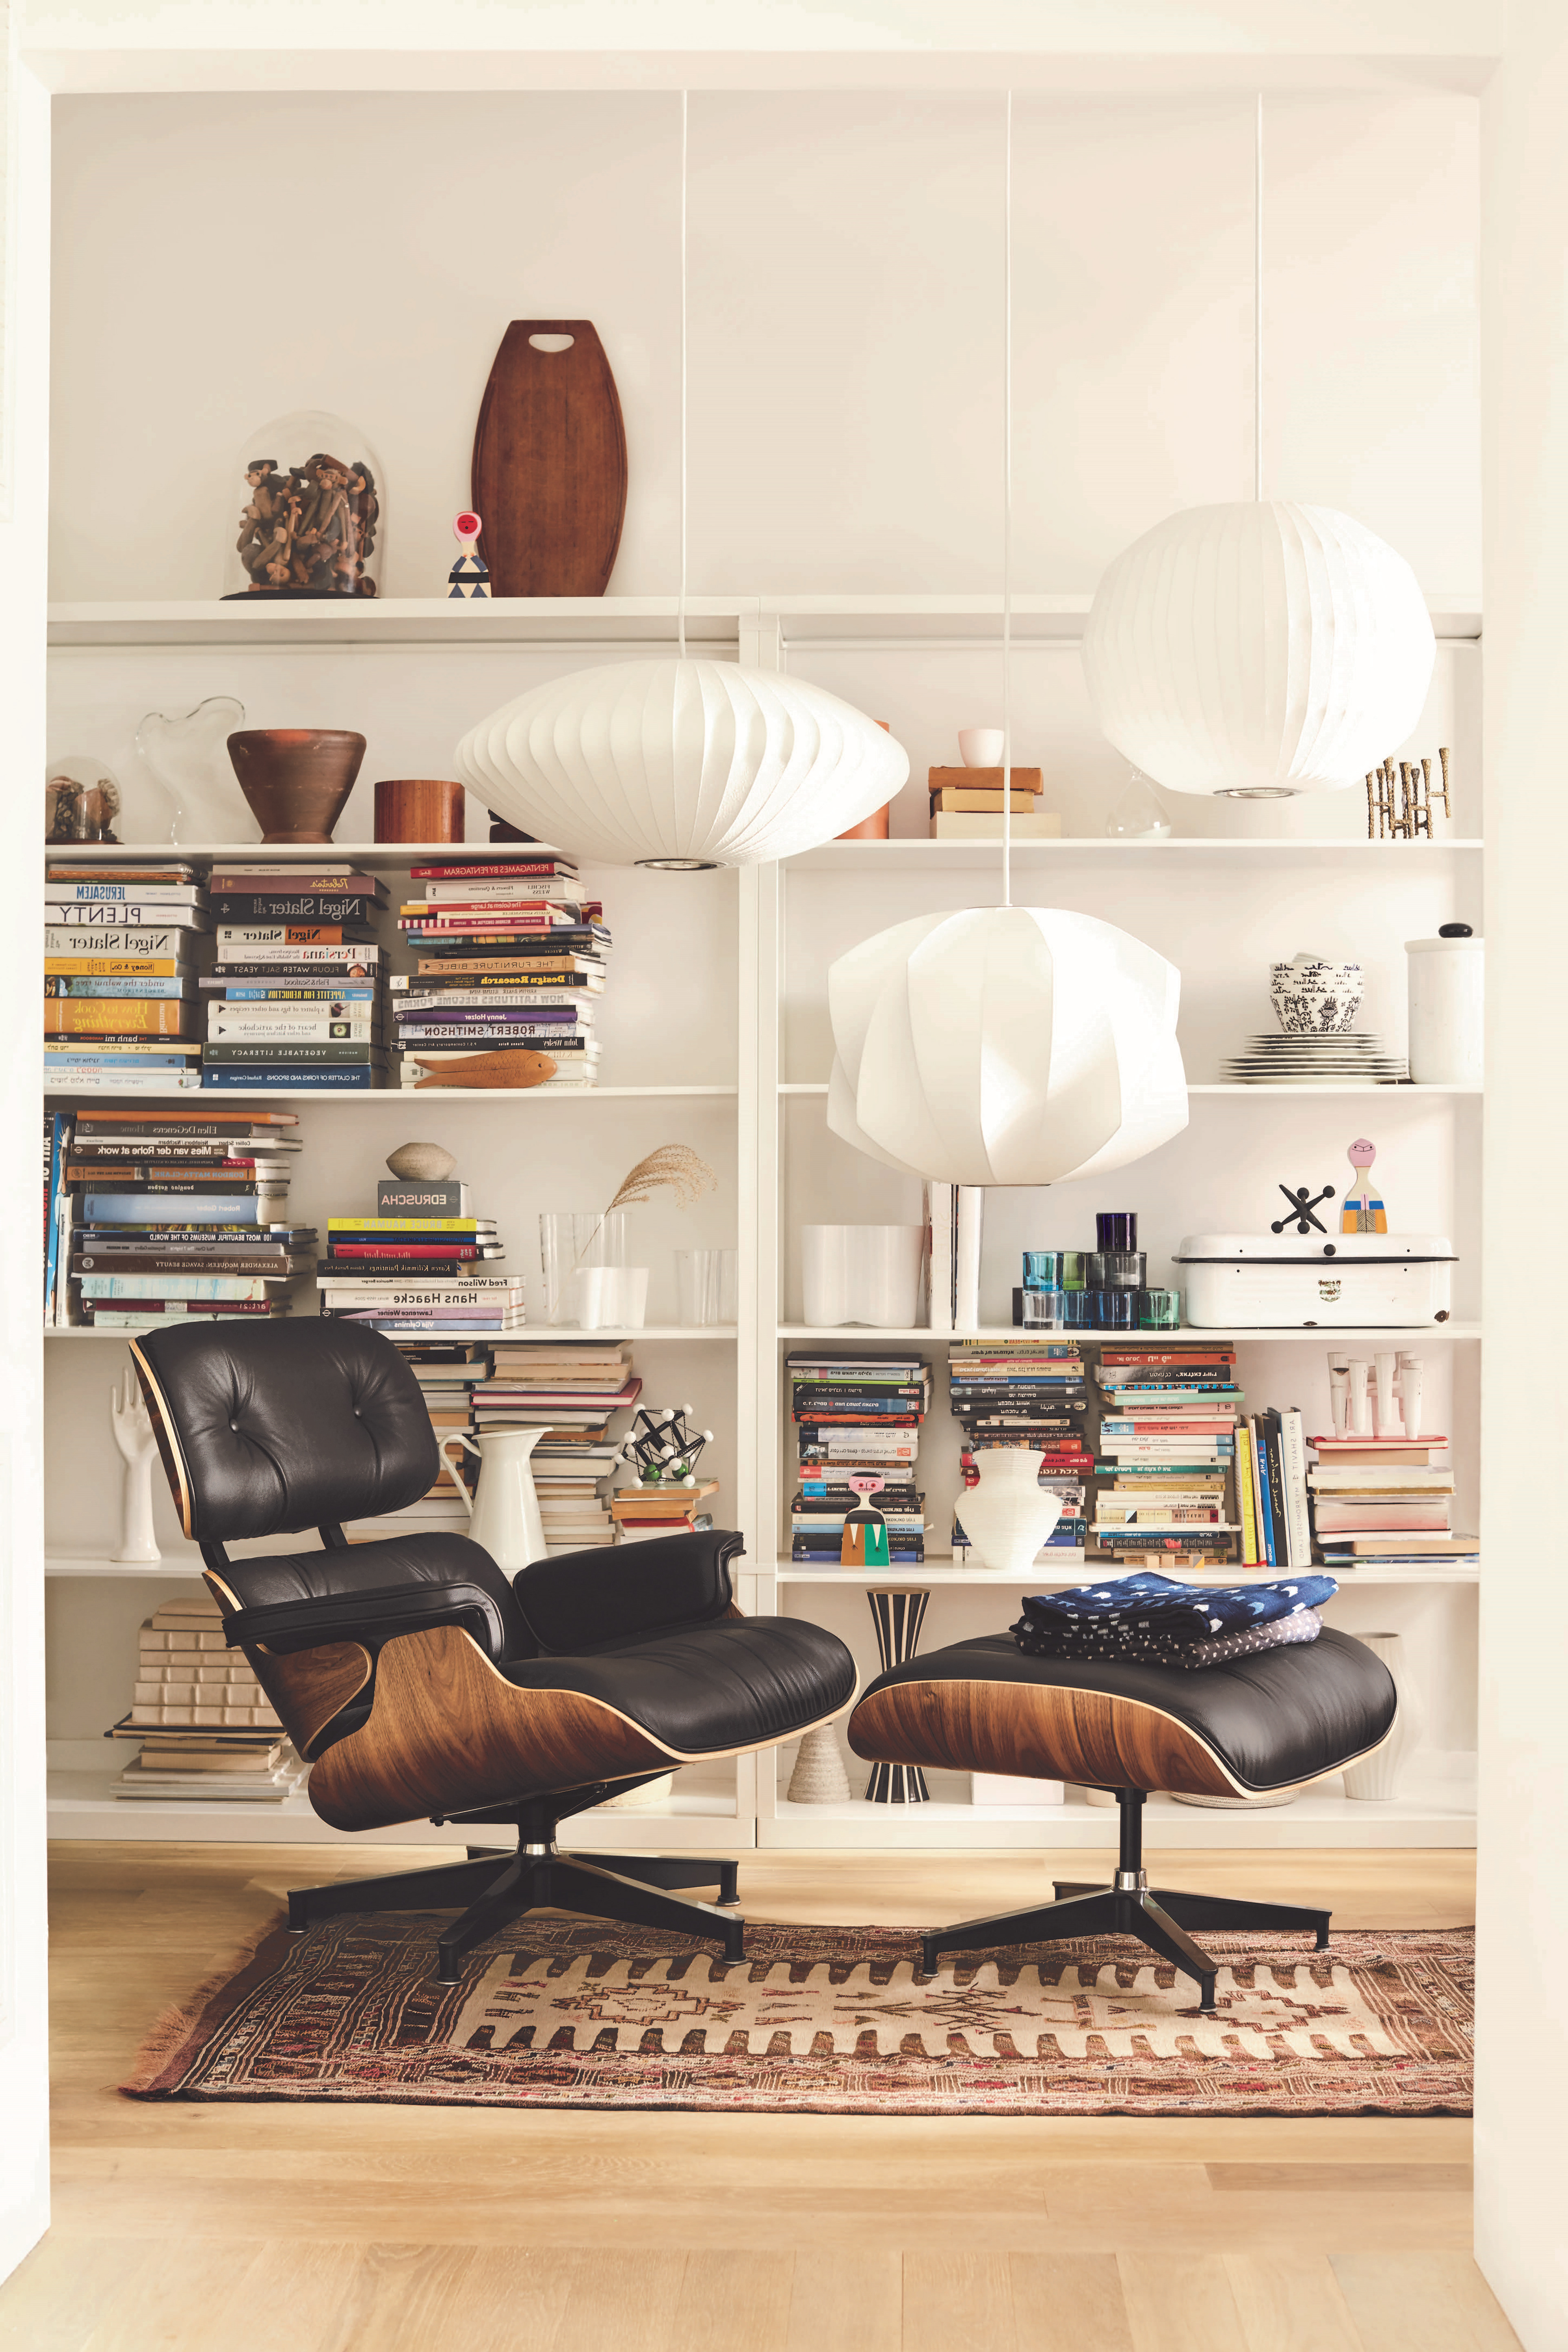
Before diving into the project, thorough research was my starting point. Finding reference photos wasn't too challenging since the iconic Eames design has been replicated extensively. However, I began to notice subtle differences in each rendition. To maintain accuracy, I primarily relied on references from Herman Miller, the original and current manufacturer of the chair. Here are my reference images:
Phase 2: Modeling and texturing
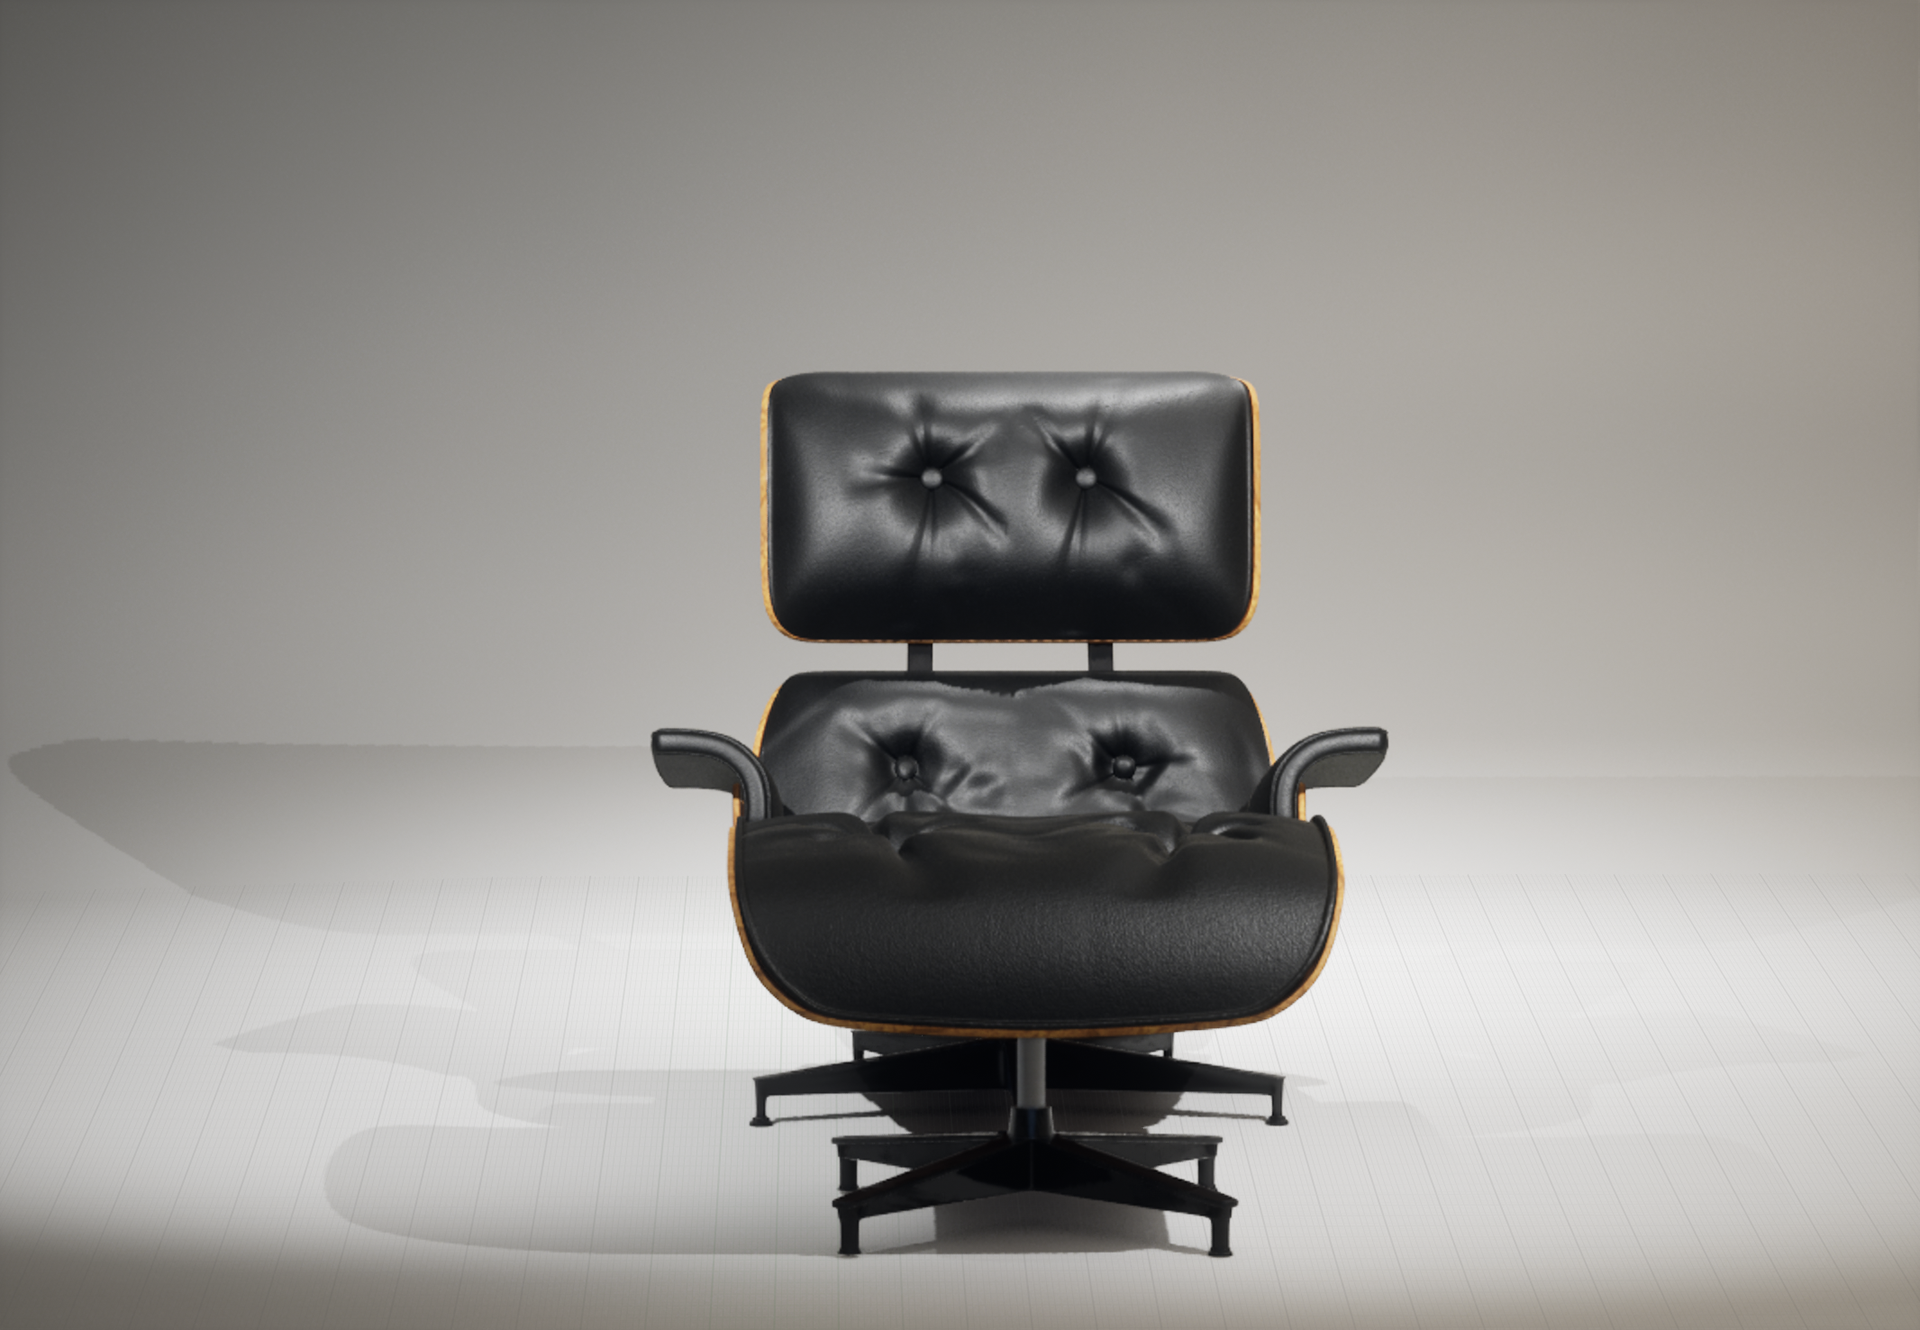
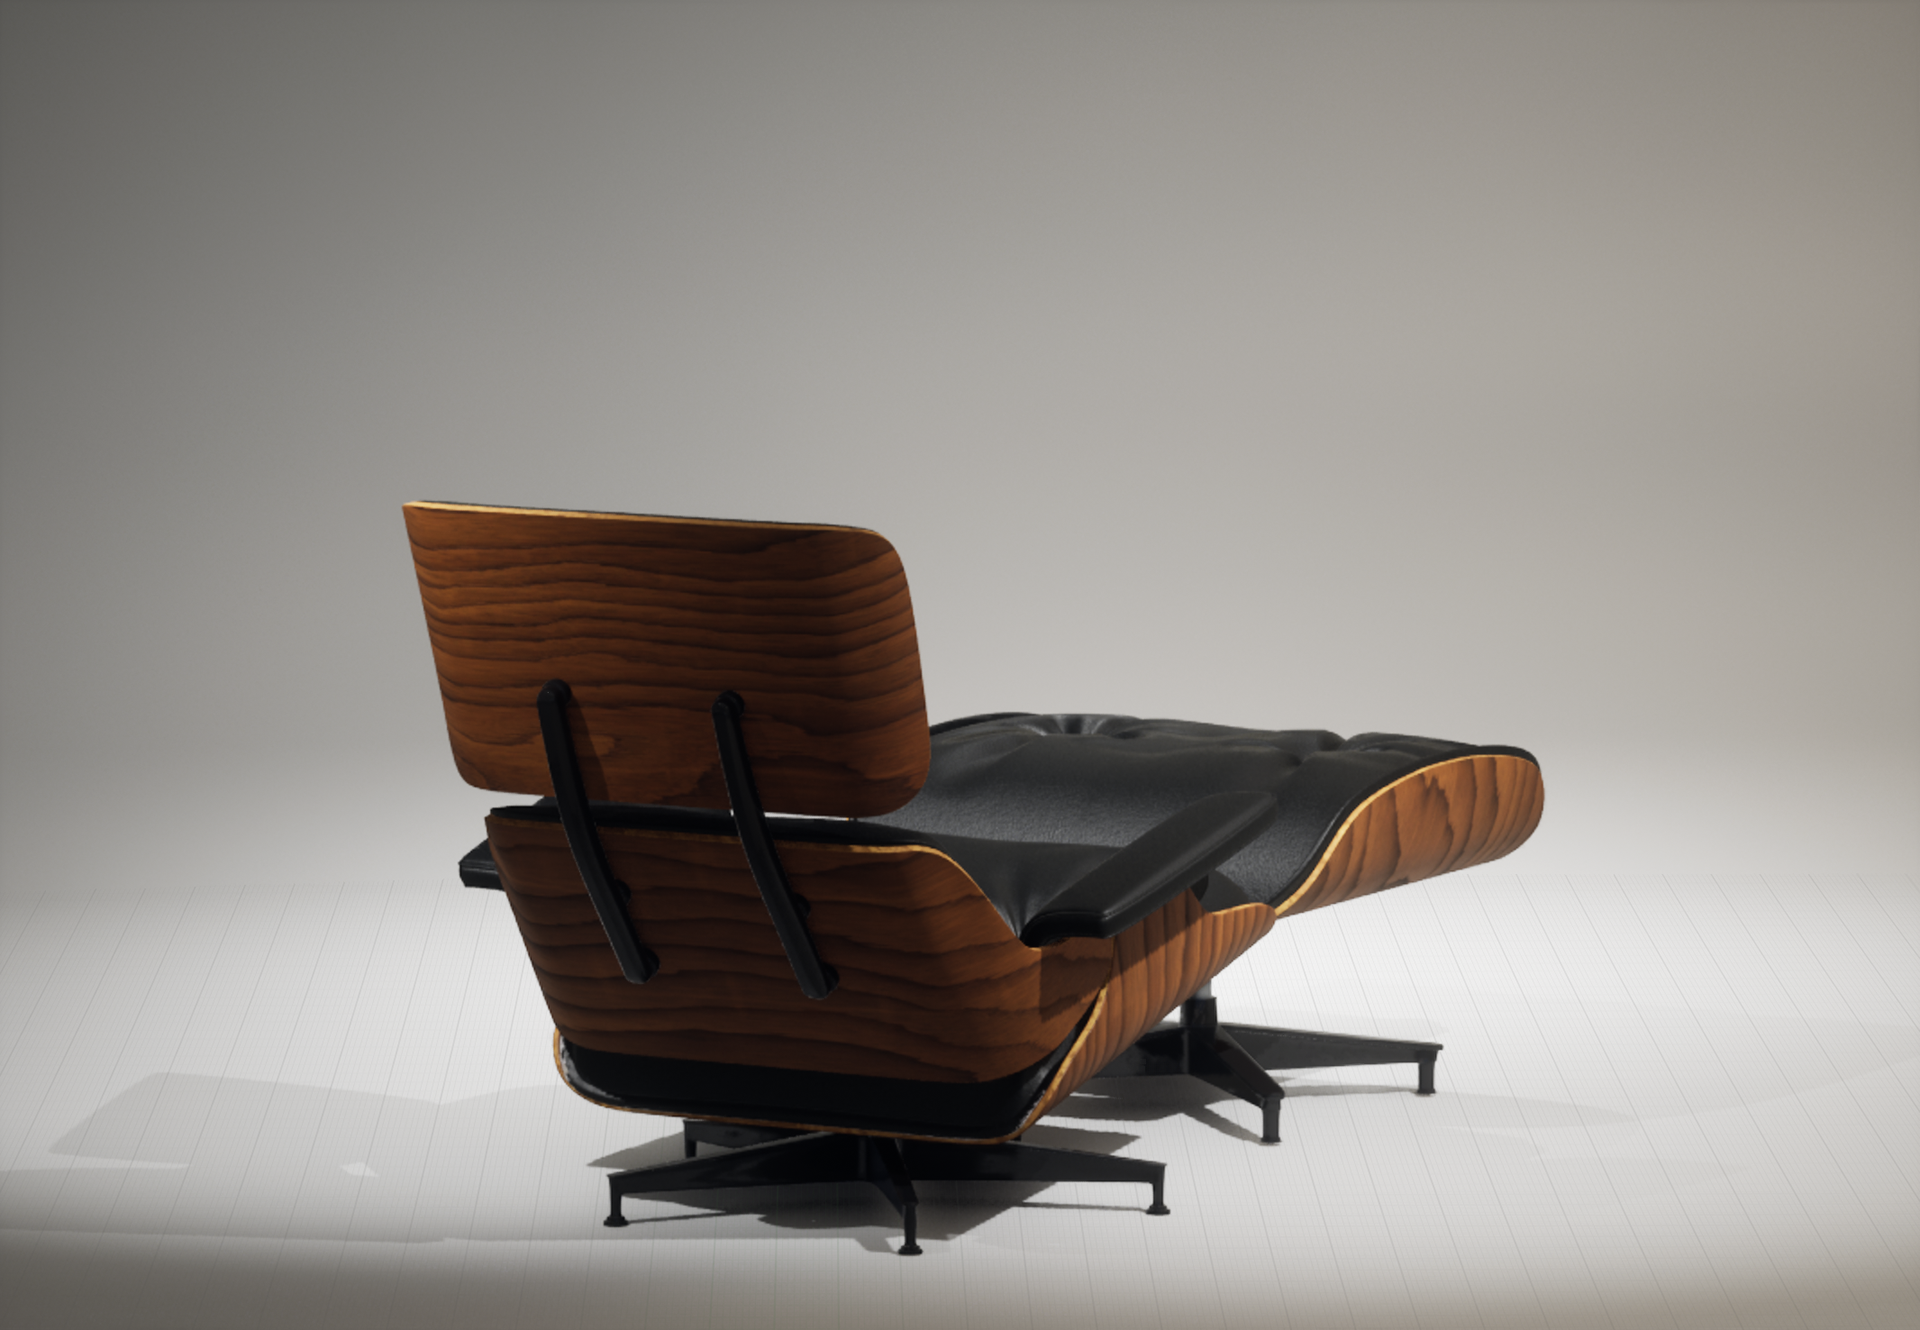
Phase 2 was an immensely enjoyable stage of the project, as it allowed me to focus on modeling my hero prop, the iconic Eames Lounge Chair. All the intricate modeling work was carried out in Autodesk Maya, and the final renders were produced using Unreal Engine 5. Despite the chair's deceptively simple design, I encountered unexpected challenges during the process. It required numerous iterations, involving more than nine significant drafts and countless tweaks, before I achieved a result that truly met my standards. While I had initially developed a game-ready low-poly version, my professor and I made the deliberate choice to preserve the high-poly model, recognizing its significance in this project. Additionally, during this phase, I undertook the intricate task of texturing the chair using Adobe Substance Painter. This approach allowed me to work dynamically, embracing a 'Live' workflow, where I could make model updates seamlessly without the need for a complete texture overhaul and vice versa. It marked my first significant foray into Substance Painter, and I'm elated with the remarkable results achieved through this approach.
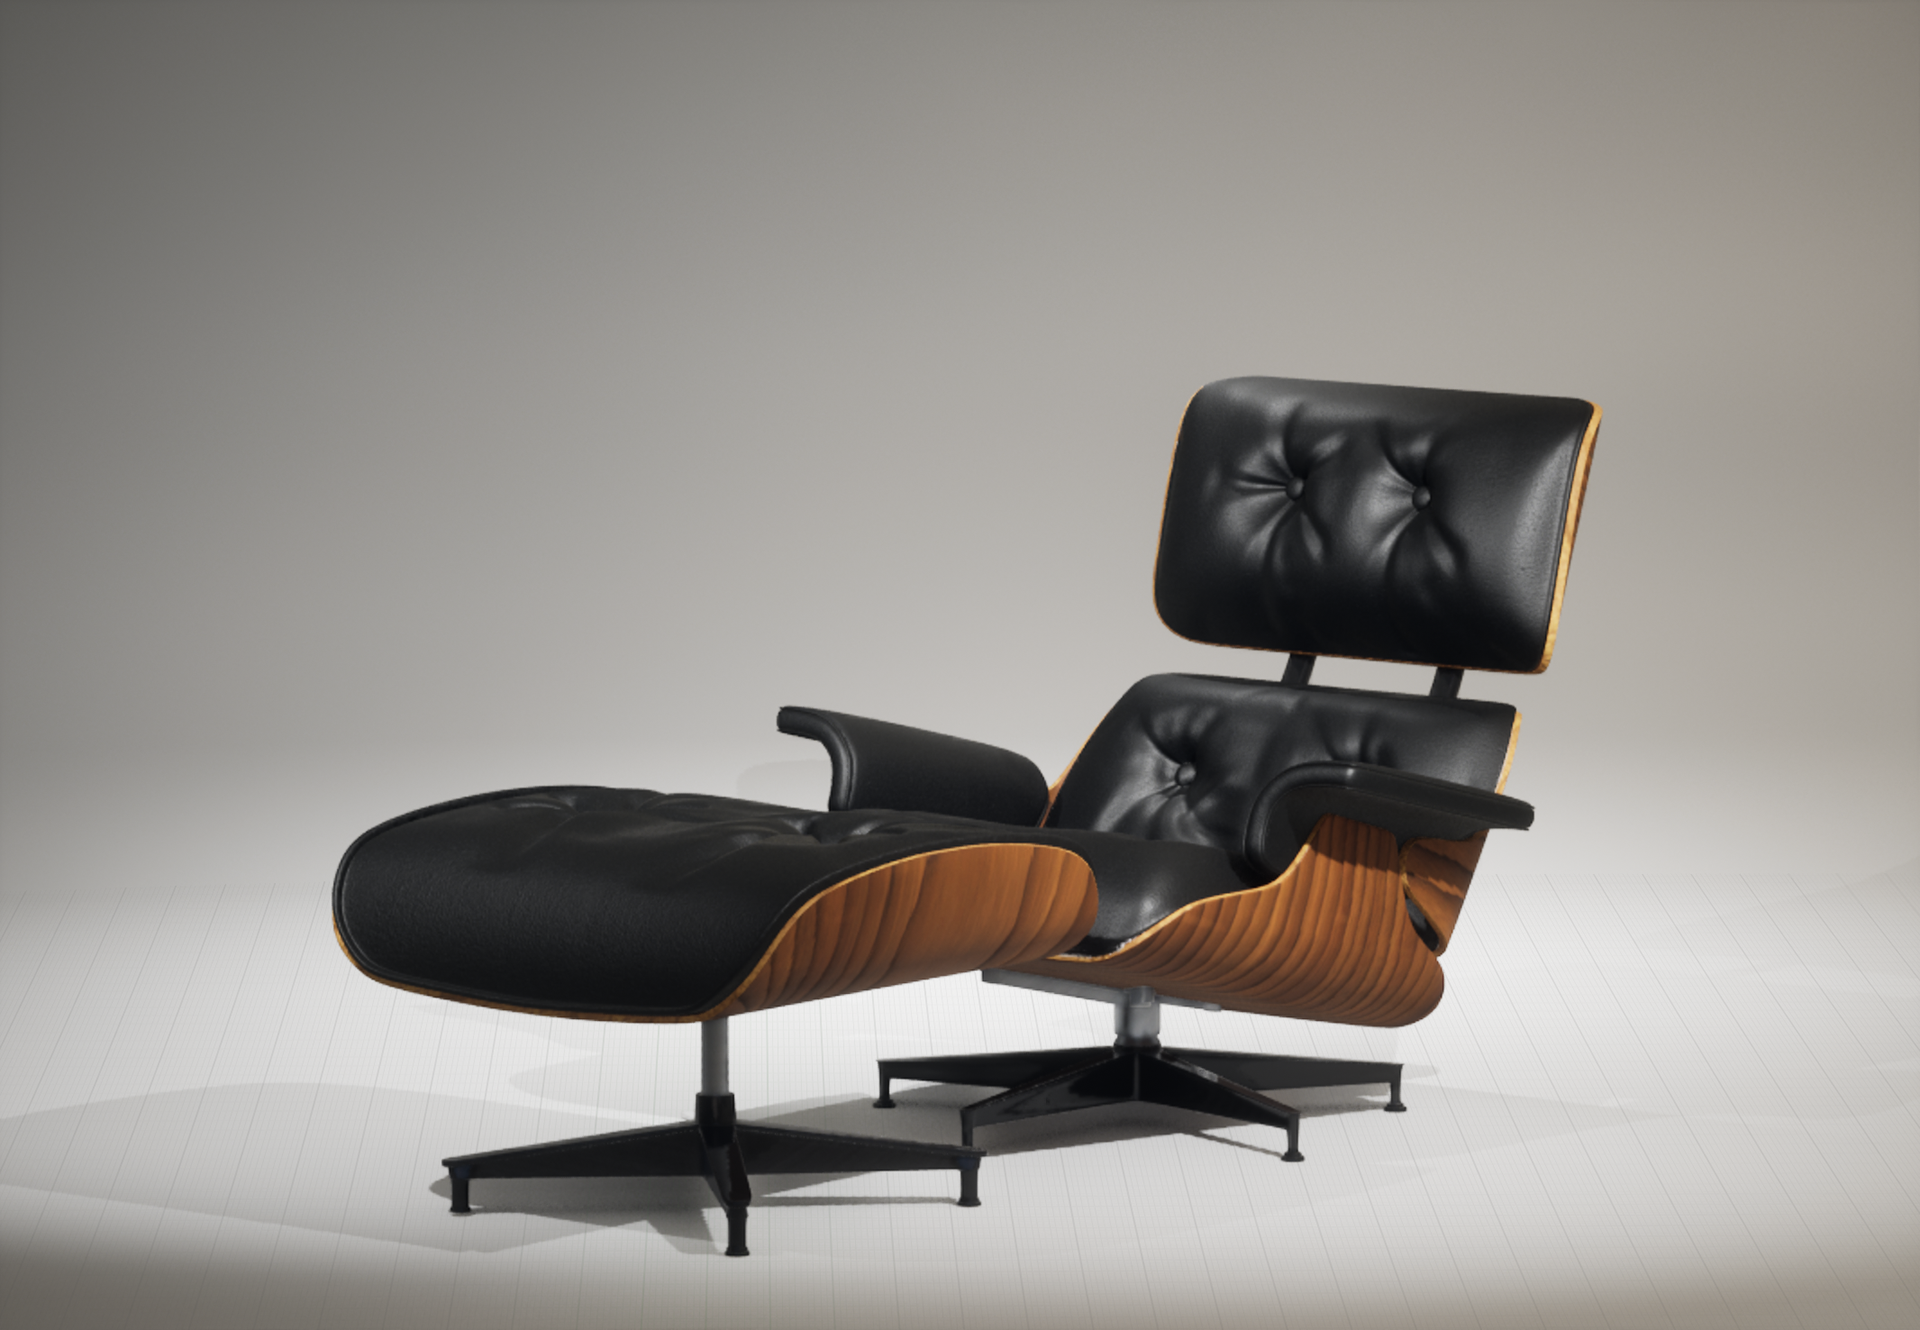
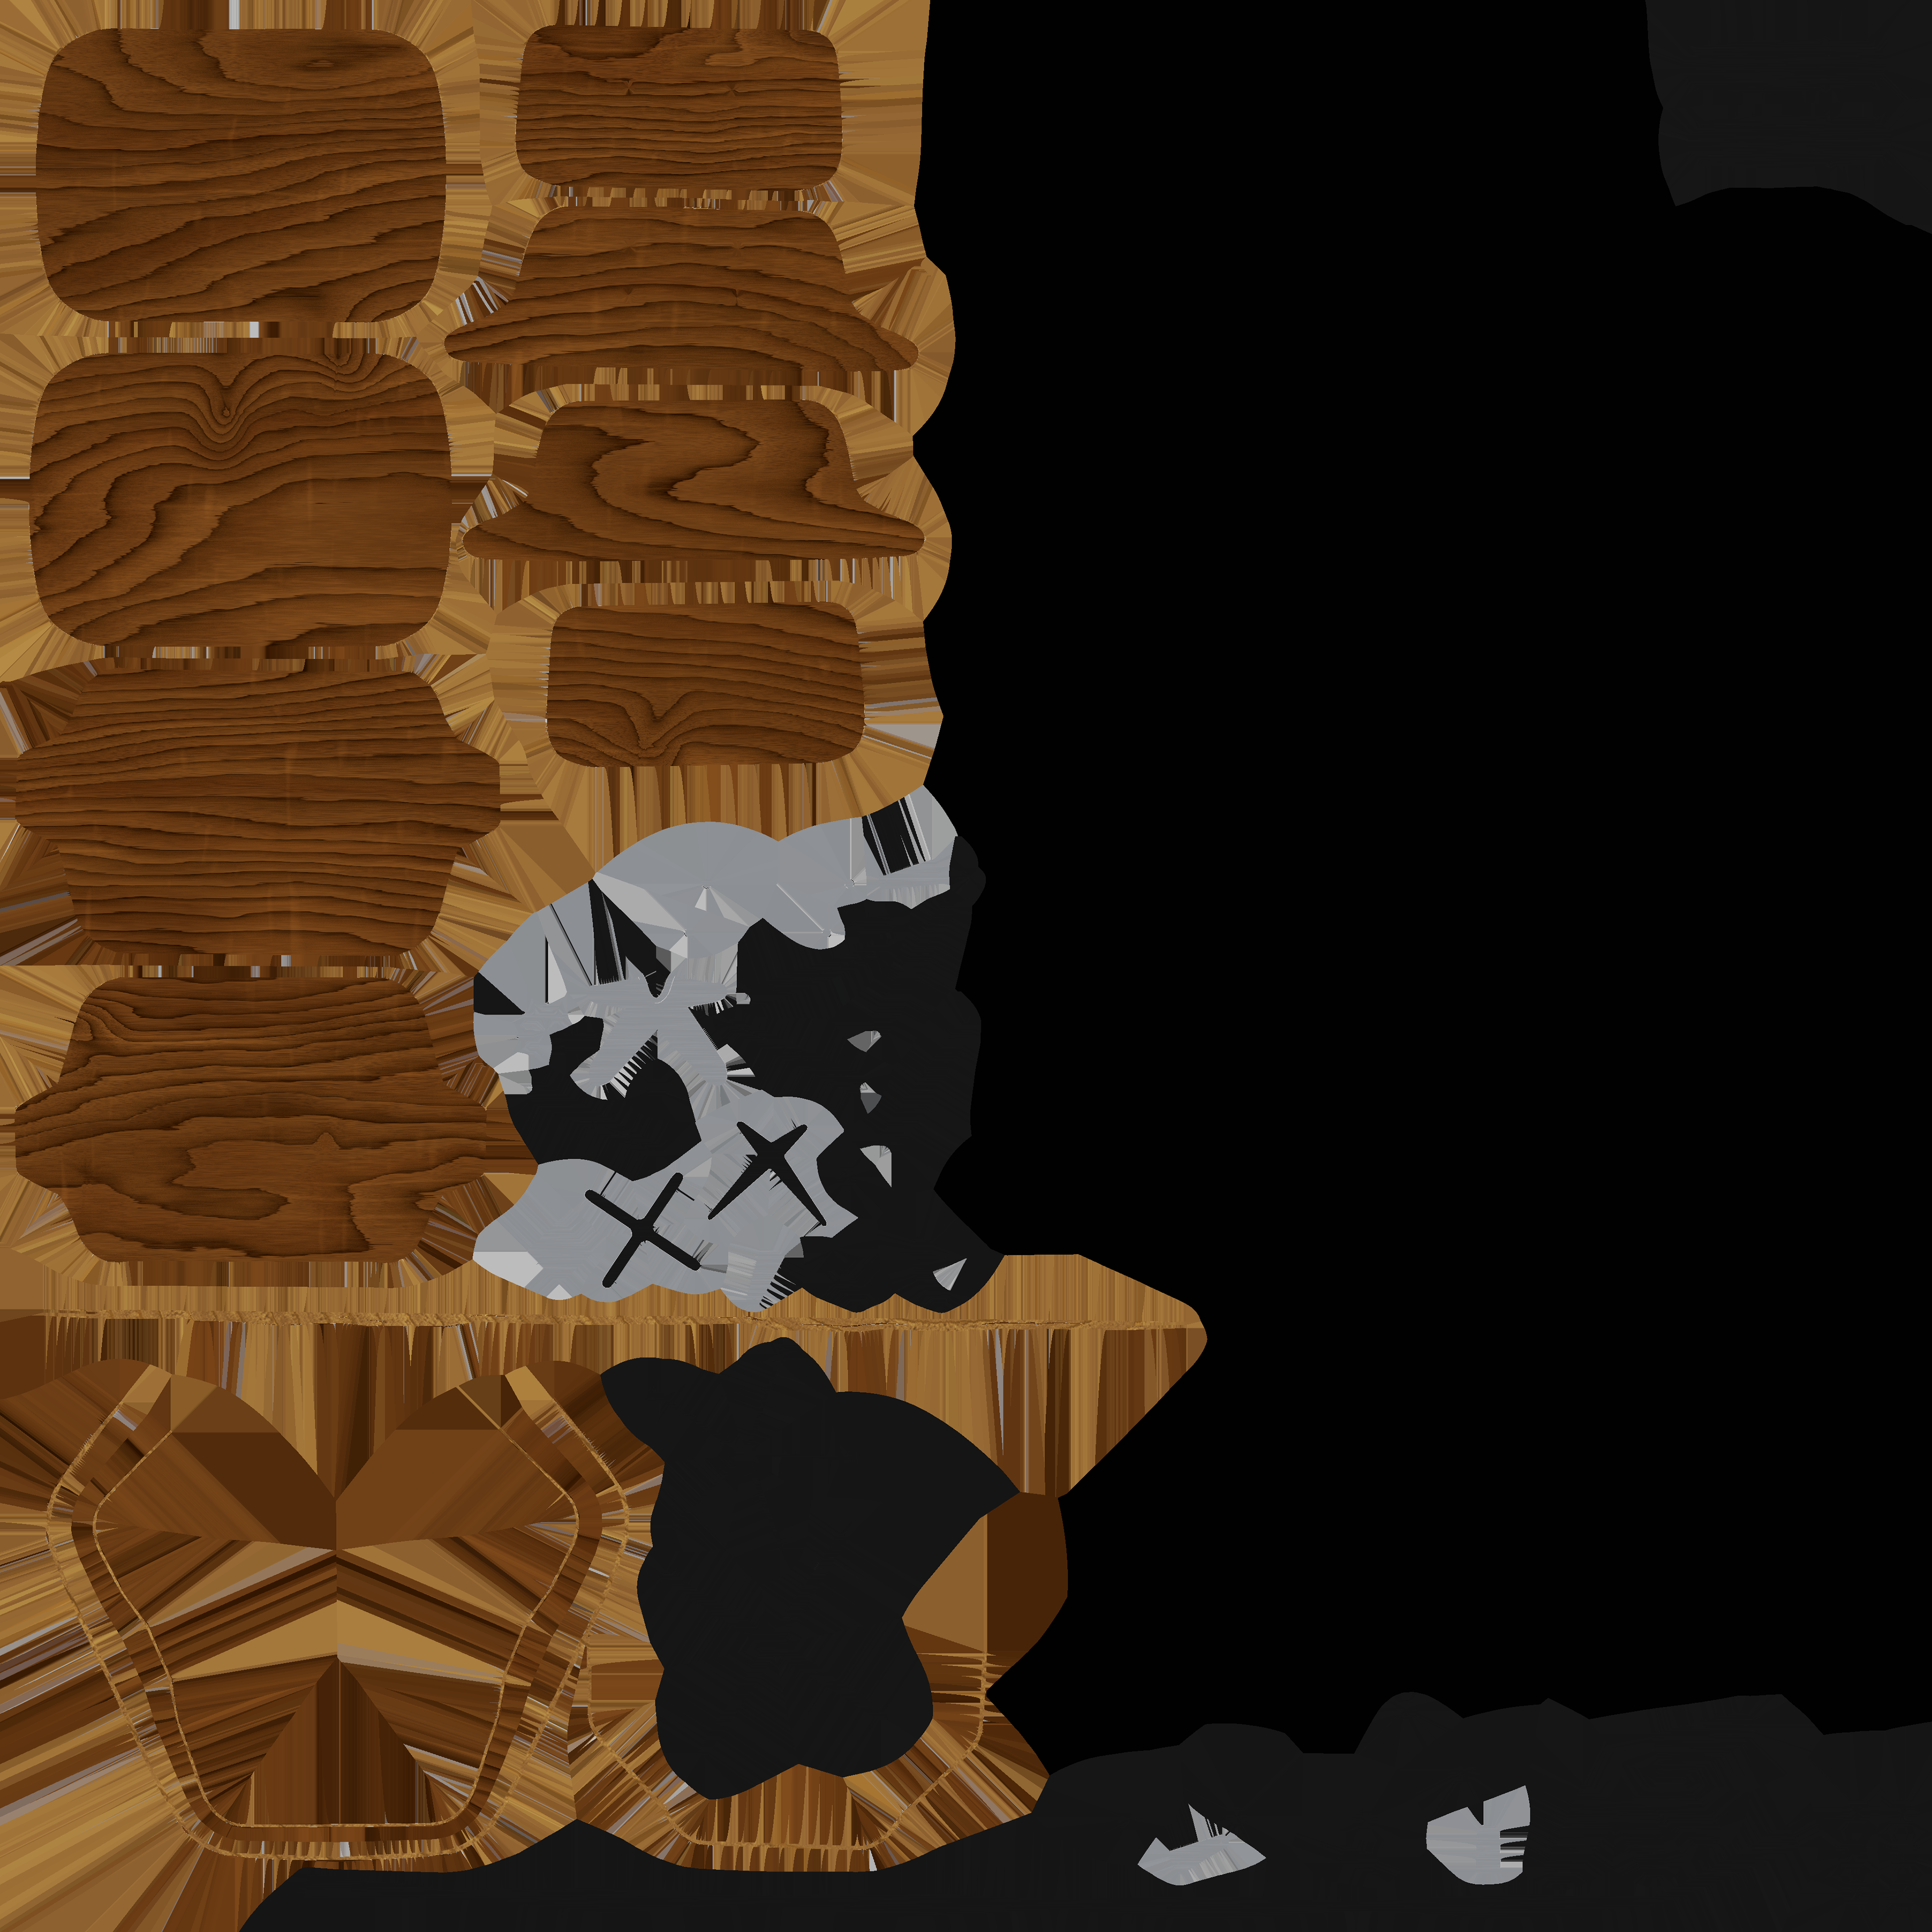
Base Color Map
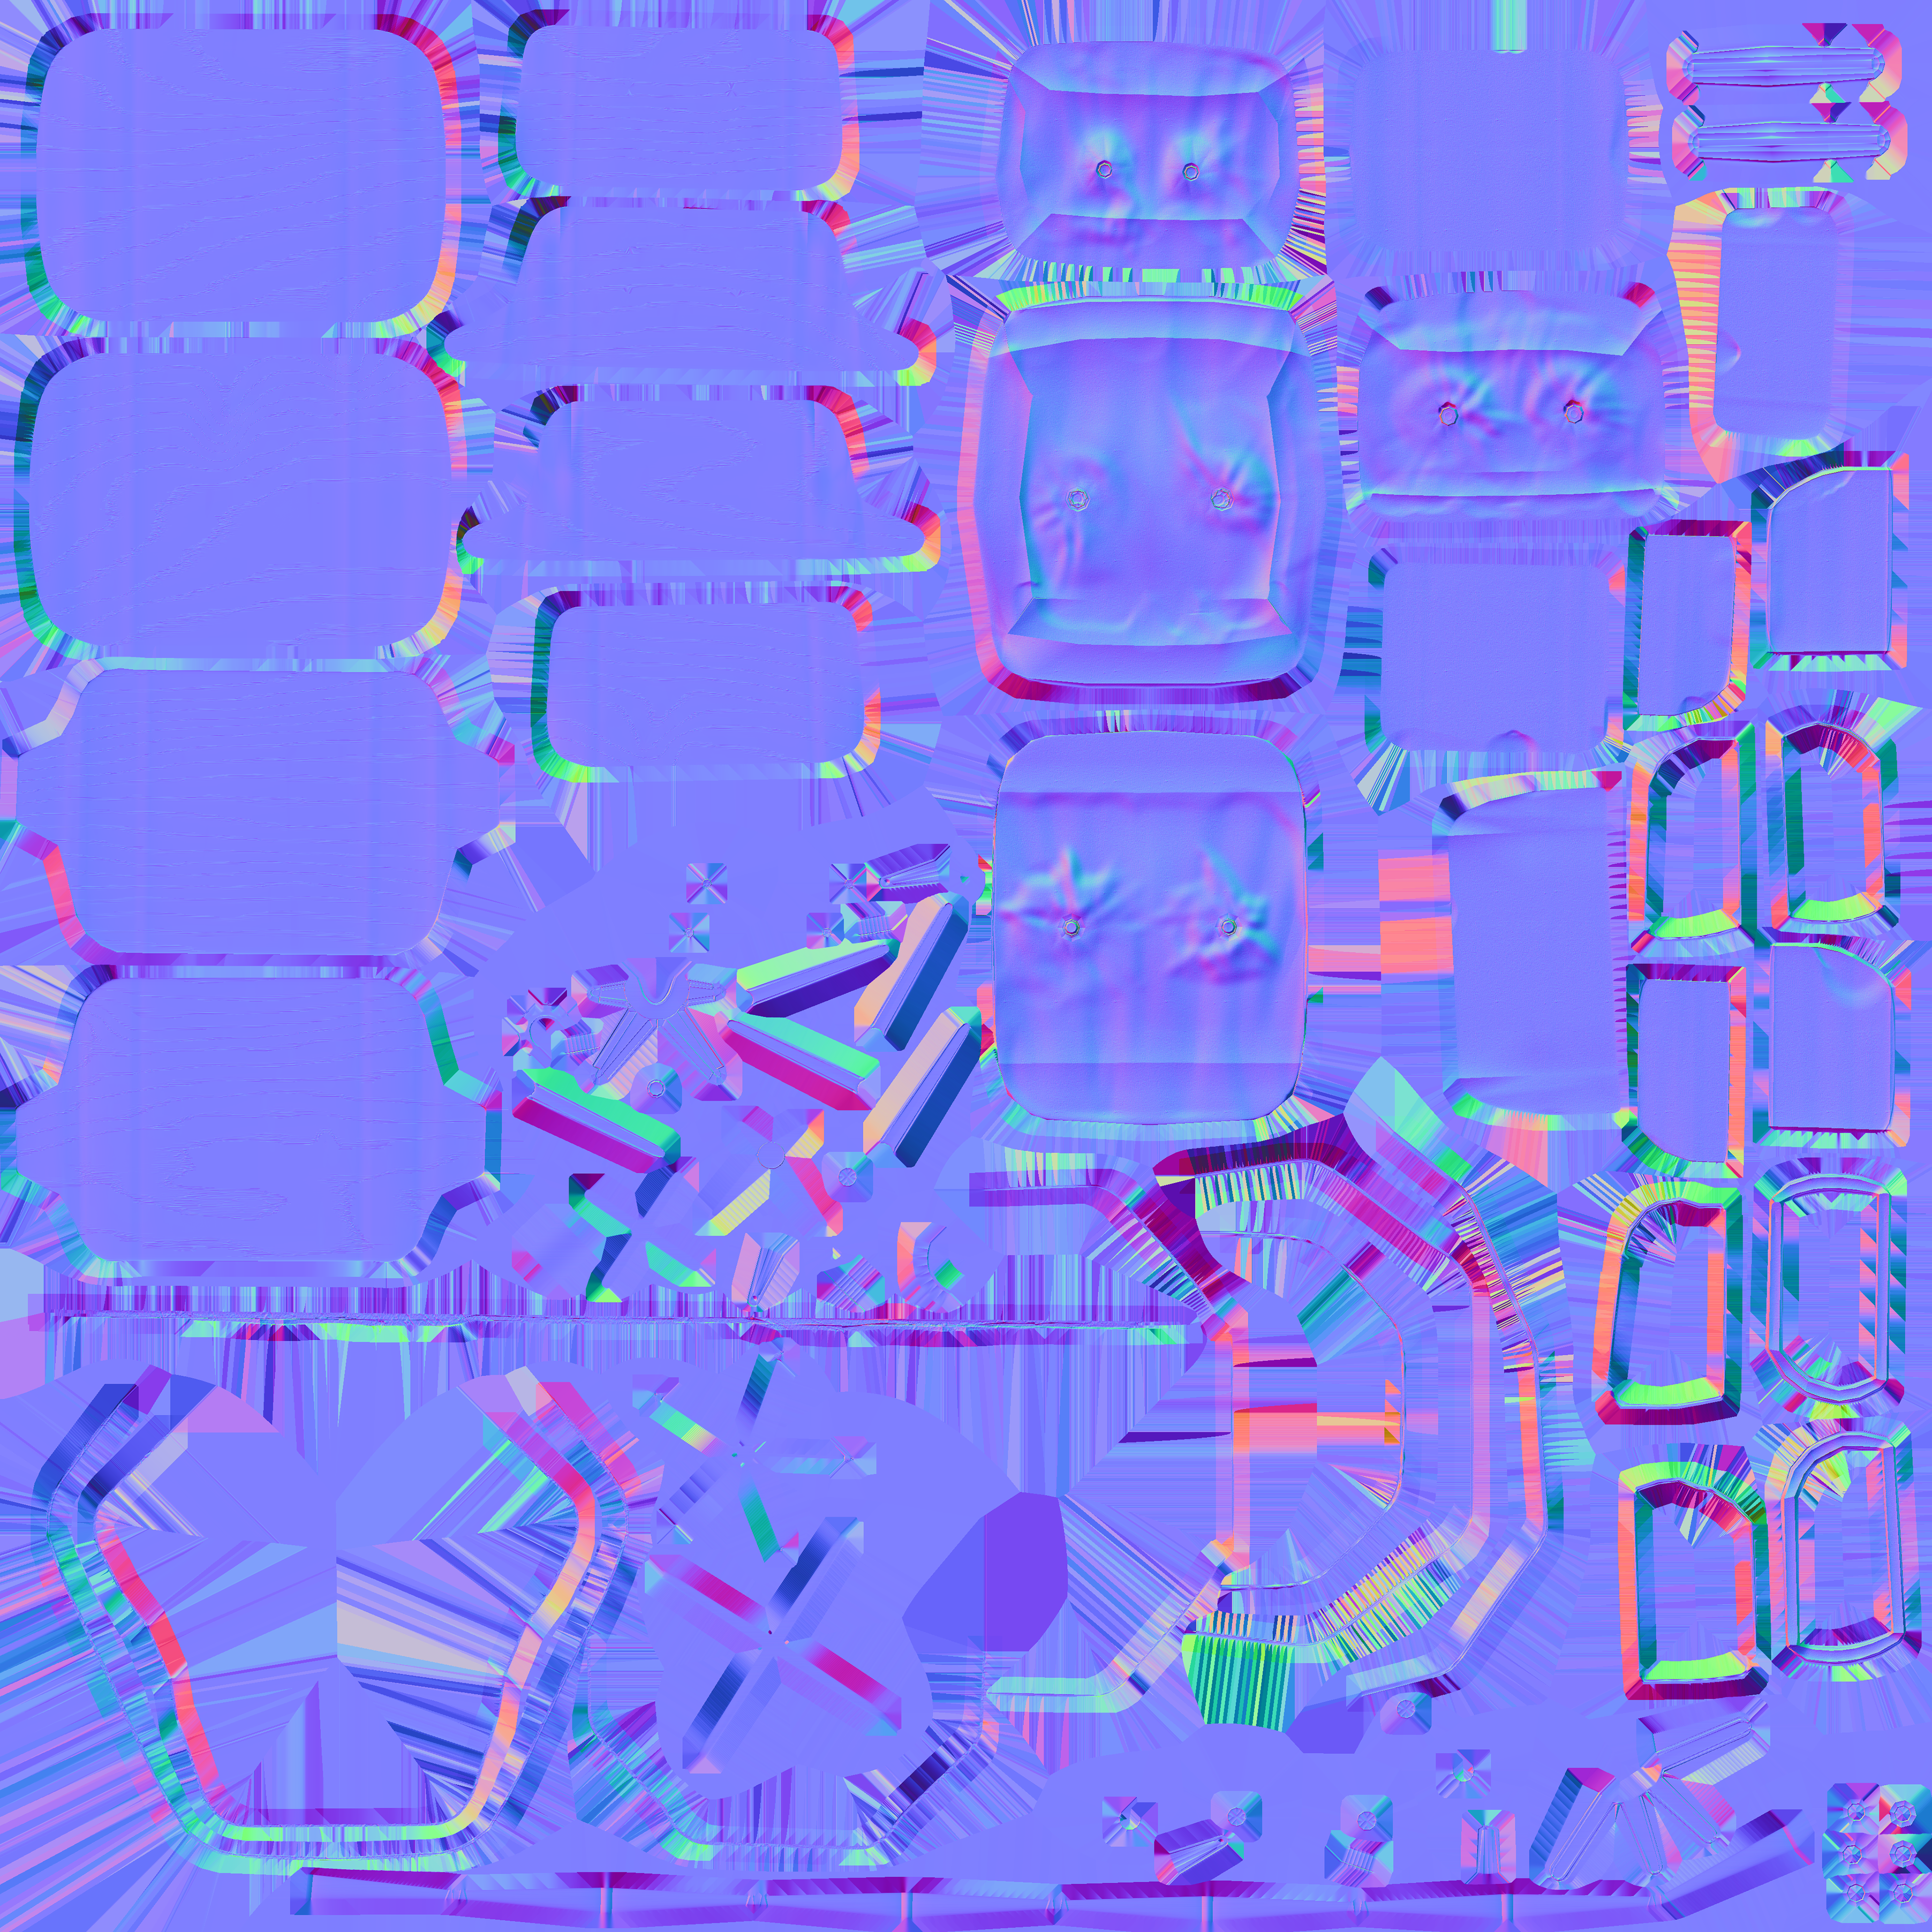
Normal Map
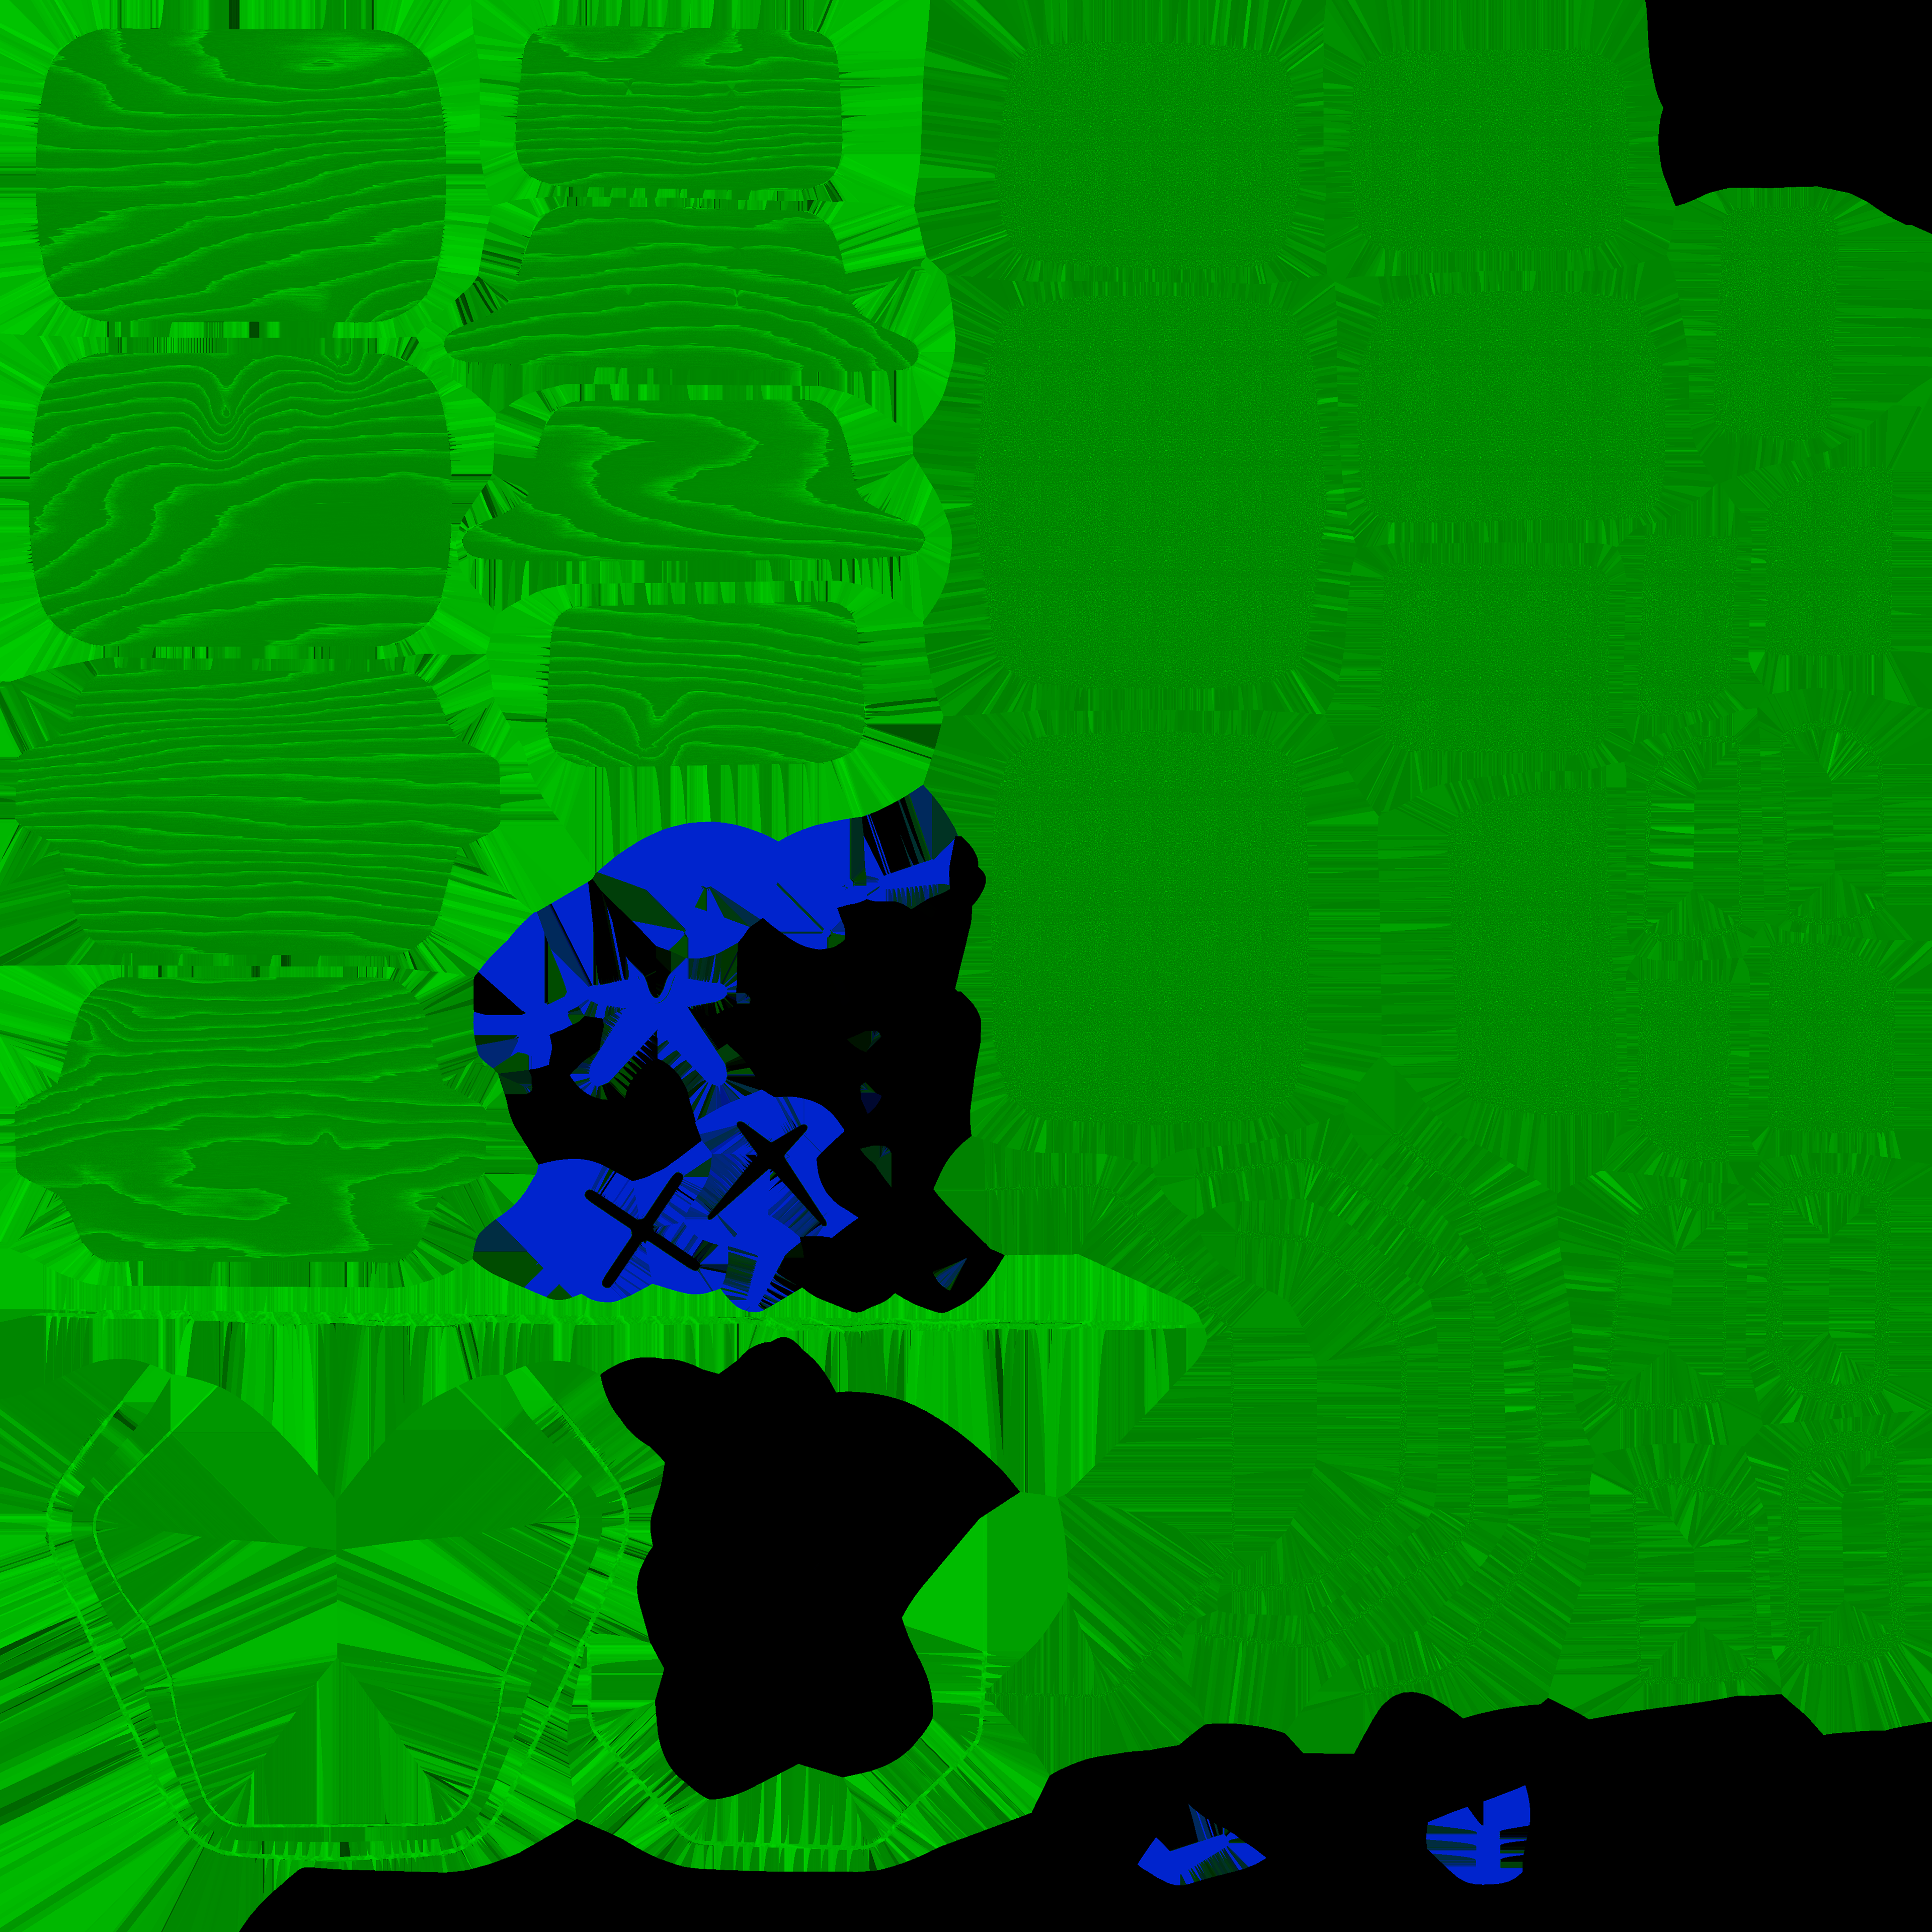
Occlusion, Roughness, Metallic Map
Phase 3: Block out
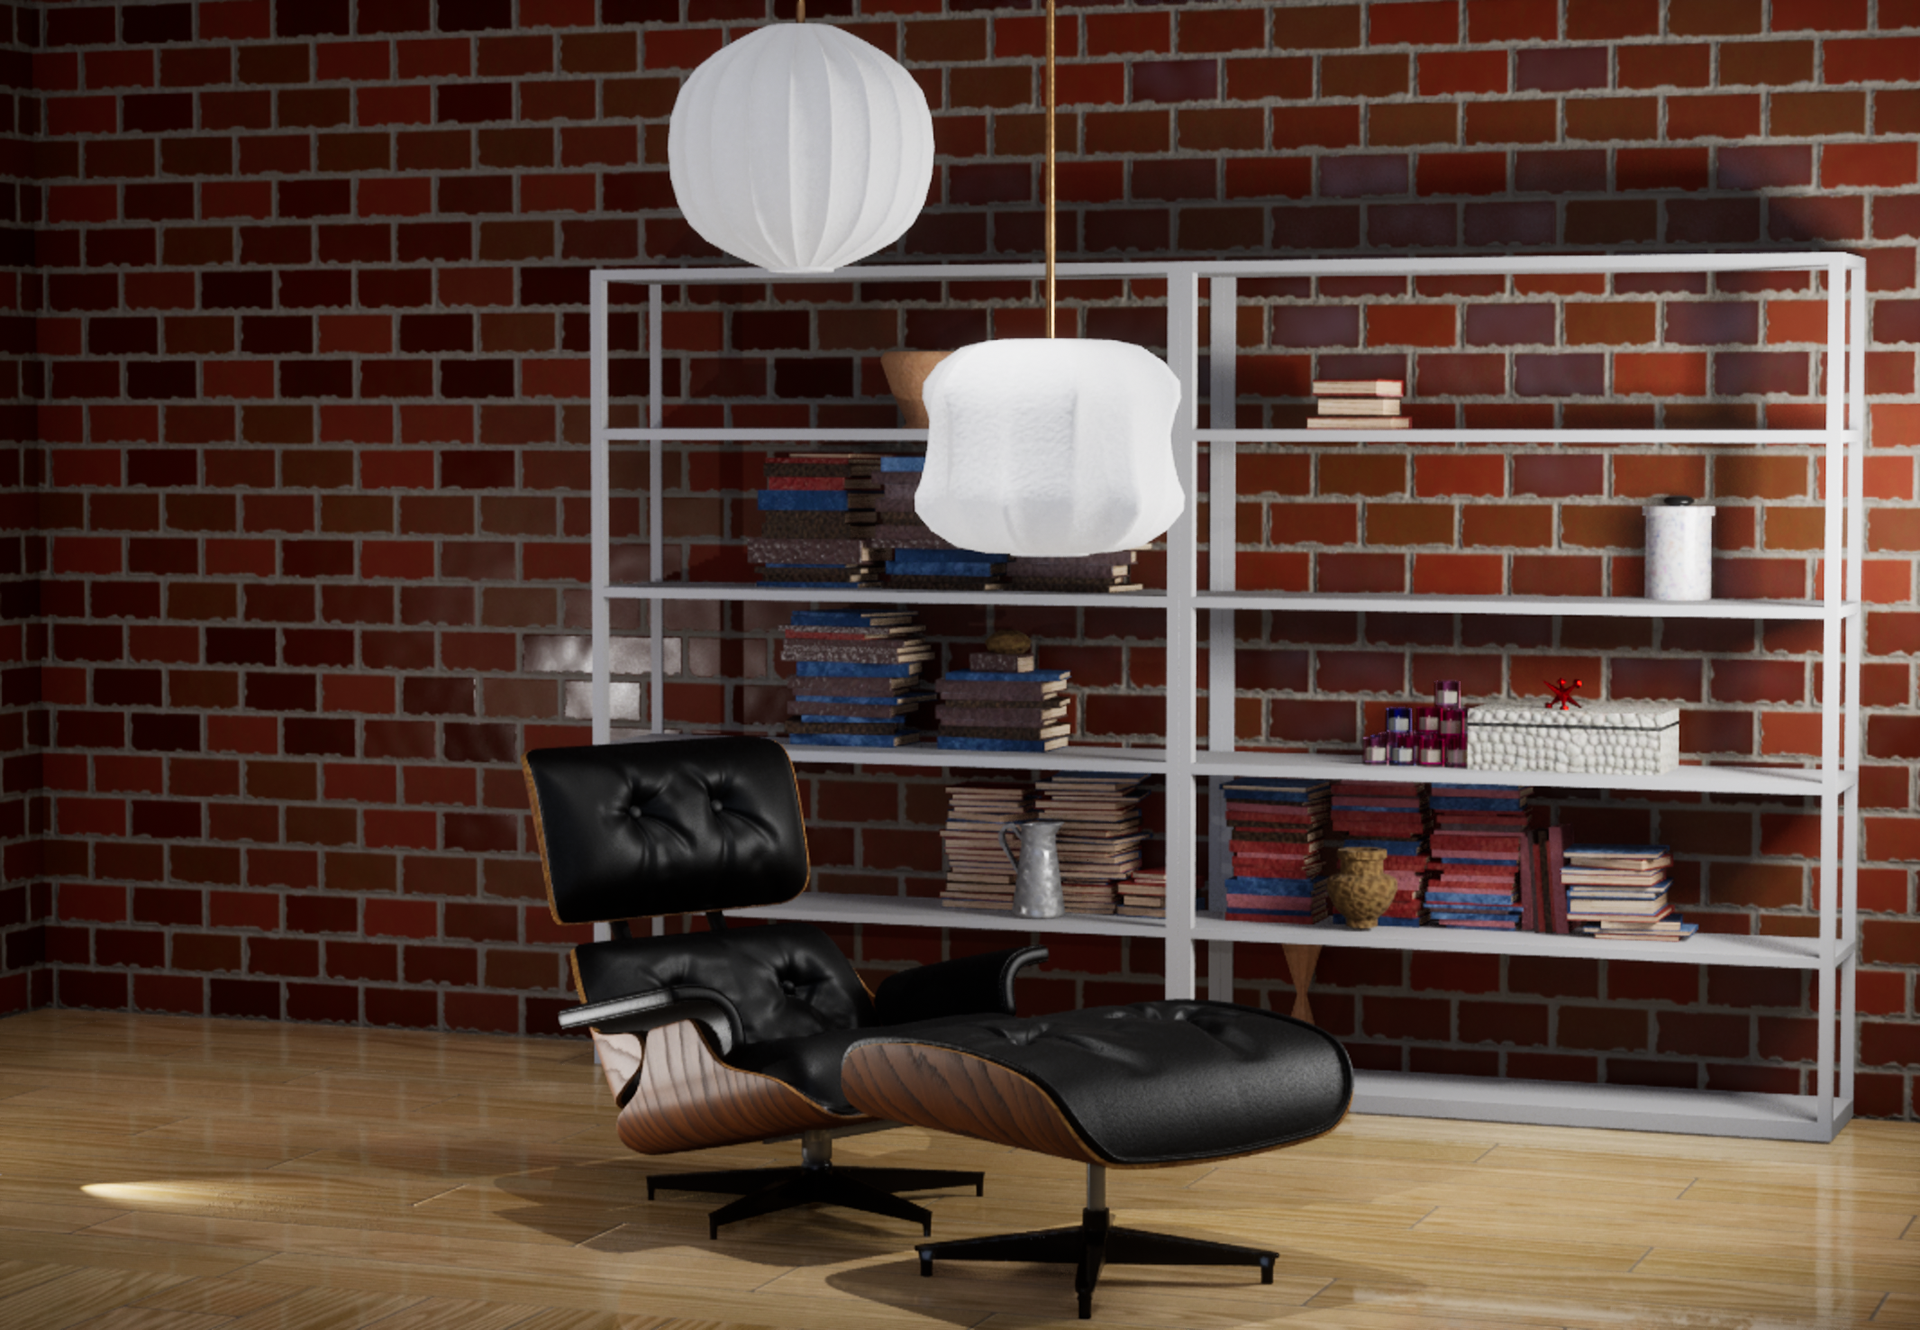
After completing Phase 2, I could have considered the project finished, but my ambition for it extended far beyond. I envisioned this work as a standout piece within my portfolio, and to achieve that, I decided to revisit my original reference images and set out to recreate one of the environments I had encountered. Below is my block out in Unreal Engine based on this environment.
Phase 4: Final Phase
Phase 4 proved to be a substantial undertaking, to the extent that it could easily stand as an independent project. I was committed to going beyond mere replication of the reference images I had seen. I aimed to infuse my own creative twist, which led to the development of the fiery inferno and the lush forest environments. Each of these scenes demanded its unique lighting setup in Unreal Engine, and I meticulously crafted textures to convey the charred aftermath and vibrant overgrowth, adding dust and distortion to heighten the sense of space and realism.
Each diorama possessed its distinct personality and required specialized attention. The inferno scene called for distinct particle and visual effects, while the forest environment saw the creation of hanging vines using Unreal splines. Even the choice of plants, such as the Marble Queen Pothos, was the result of thorough research.
Here, you can explore some of the renders and a brief video showcasing this phase. While I acknowledge that this work represents an ongoing evolution of my skills, I believe in sharing my journey, including works that may not be my best, with the intent of continuous improvement and refinement.
